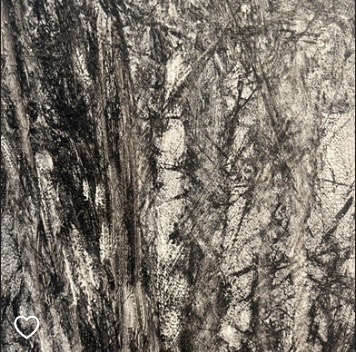
Modeling & Materials

Working and Experimenting with Formstorming and 3D Models

George Fish


Module 1


In this module I experimented and honed new skills within Cinema4D that I gained and experimented with different techniques. Below are 25 images of my creative process to document my journey through these challenges. I really enjoyed using this time to really experiment freely and try to explore as much as I could, although I stuck with pretty simple objects to start with I defintely now feel more familiar with this software and feel confident I can use it to better use in the future.

Design Challenge 1
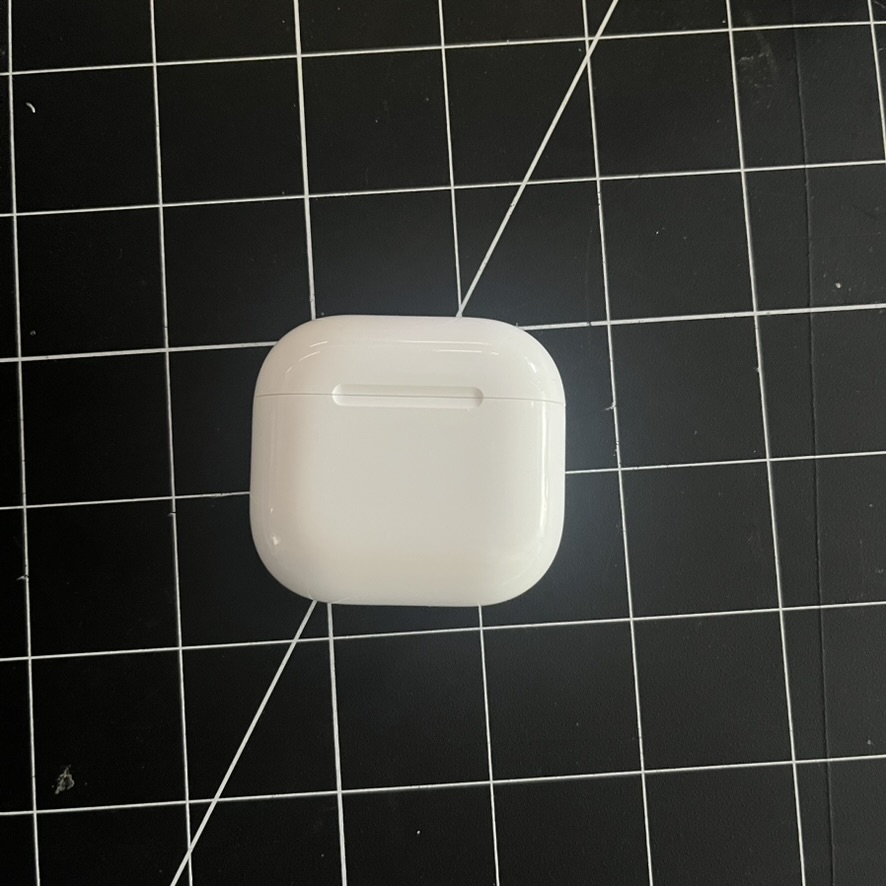
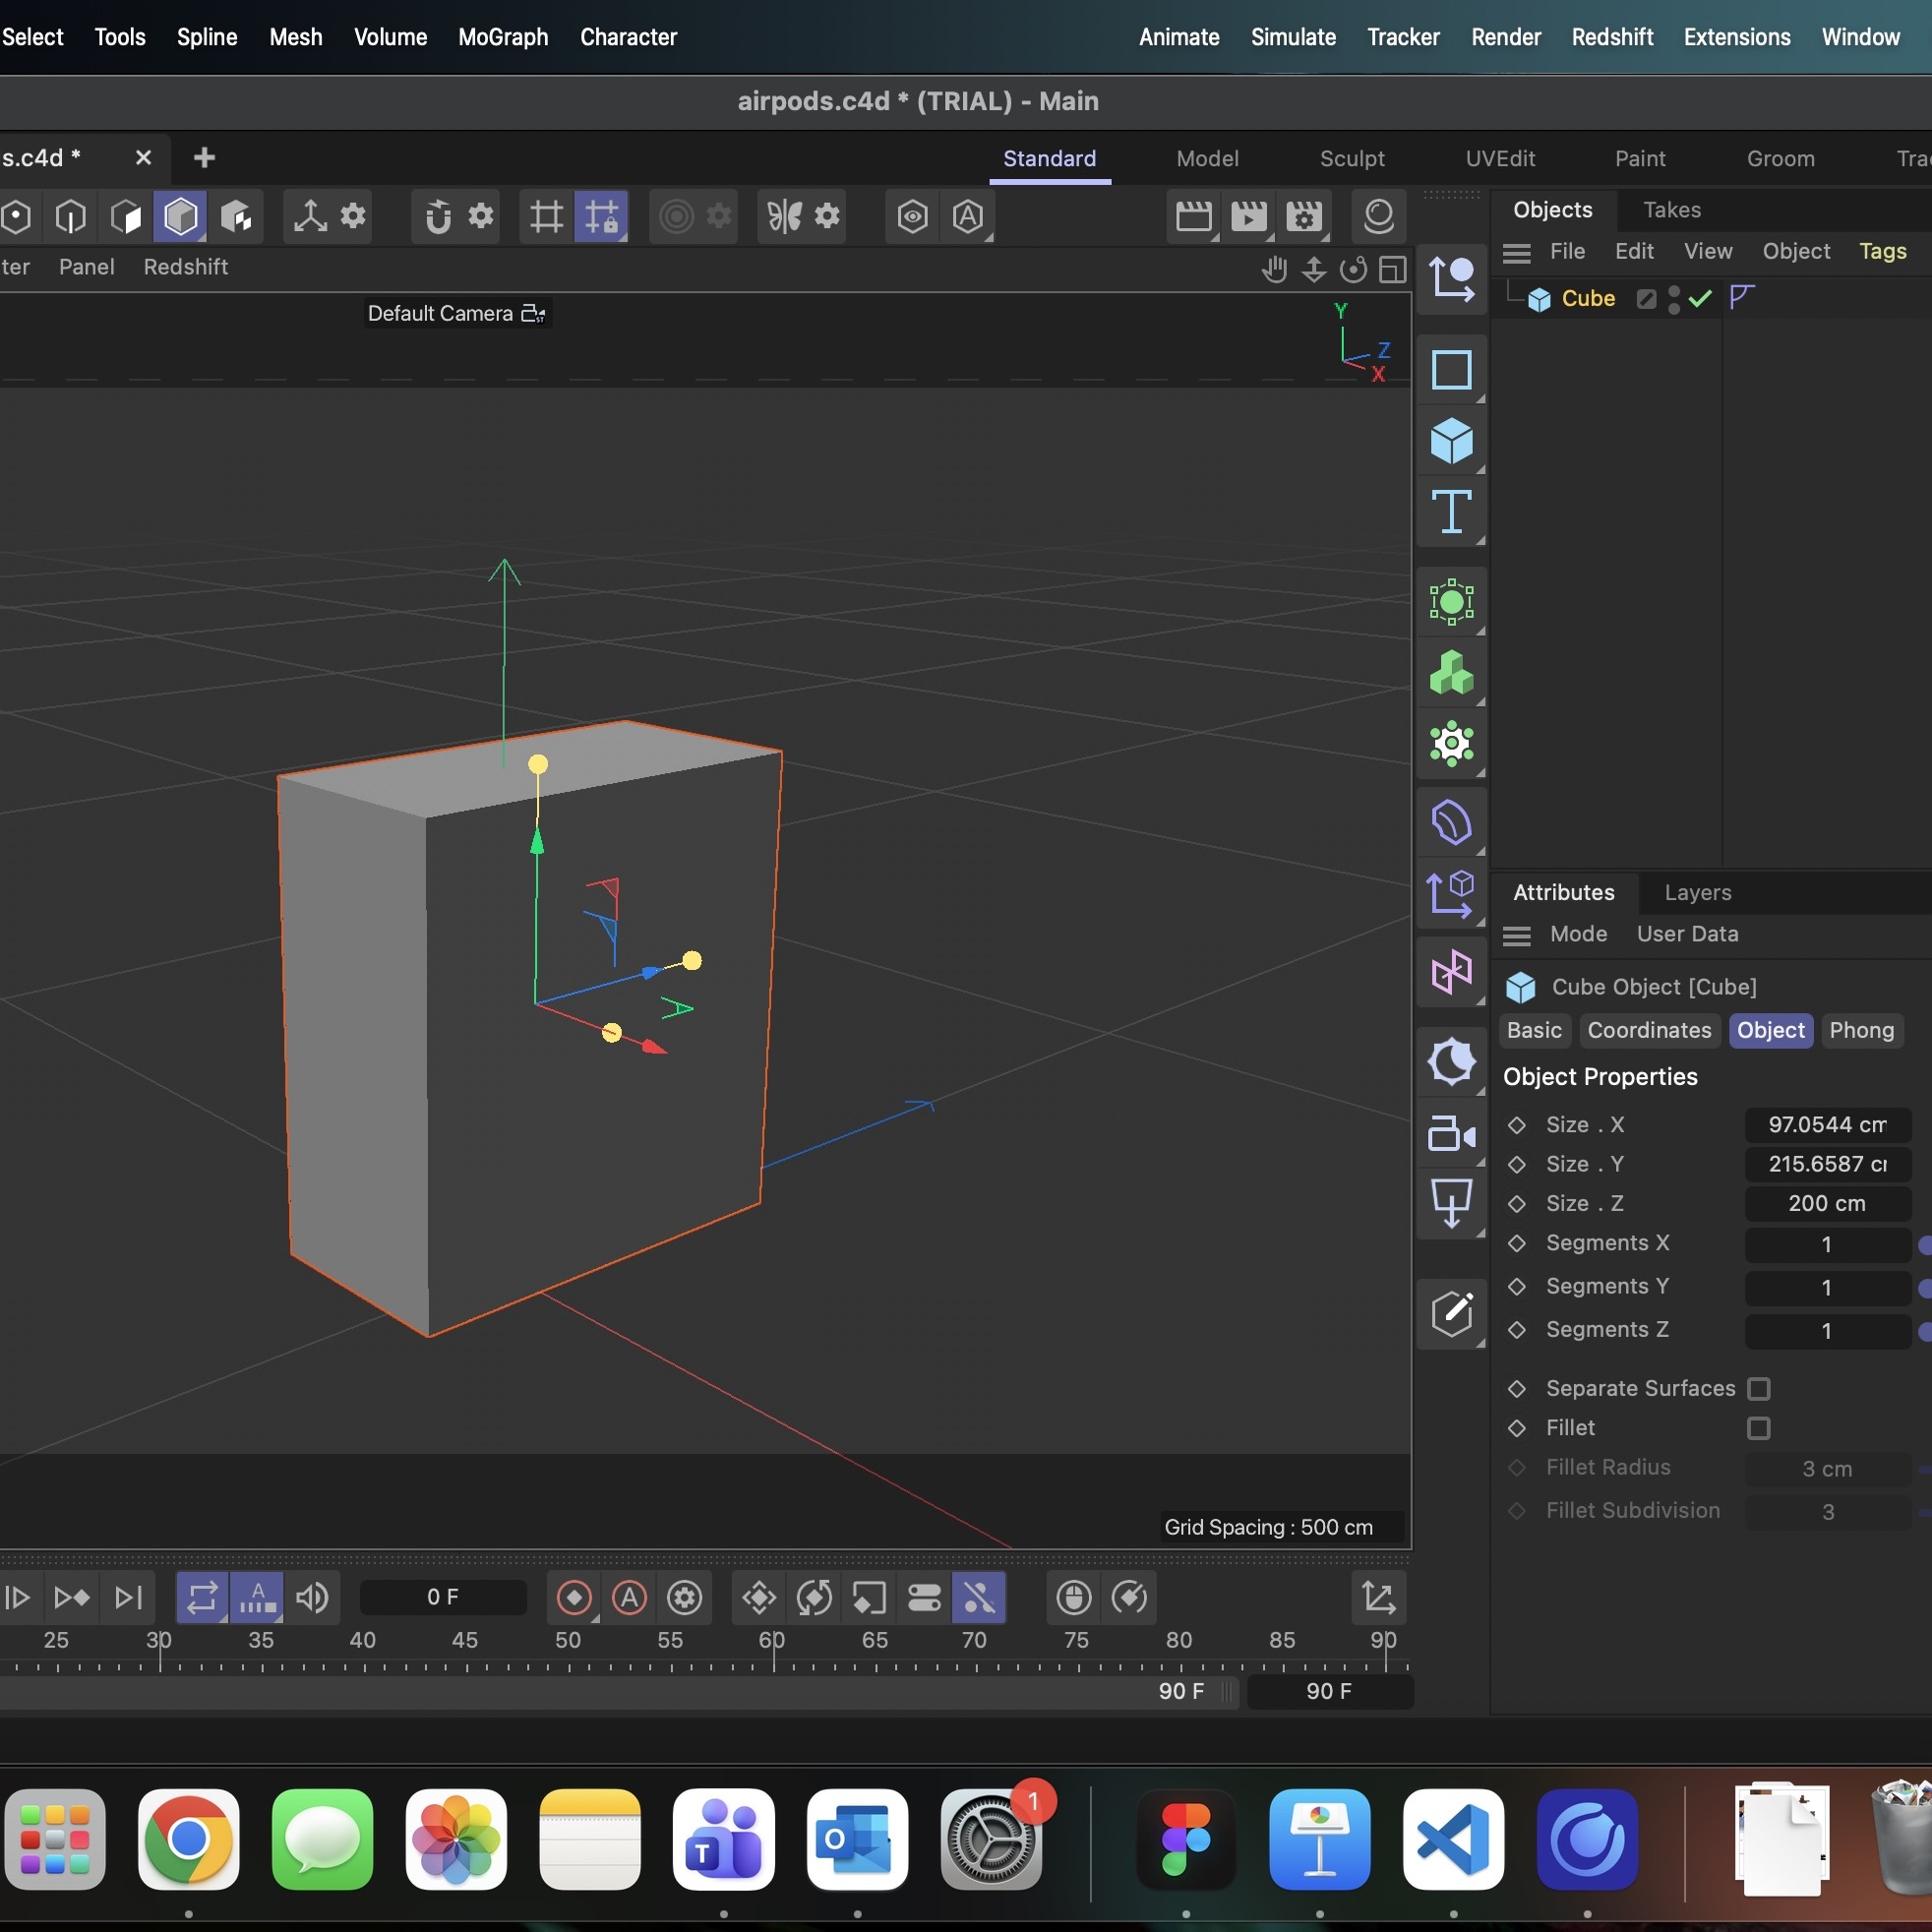
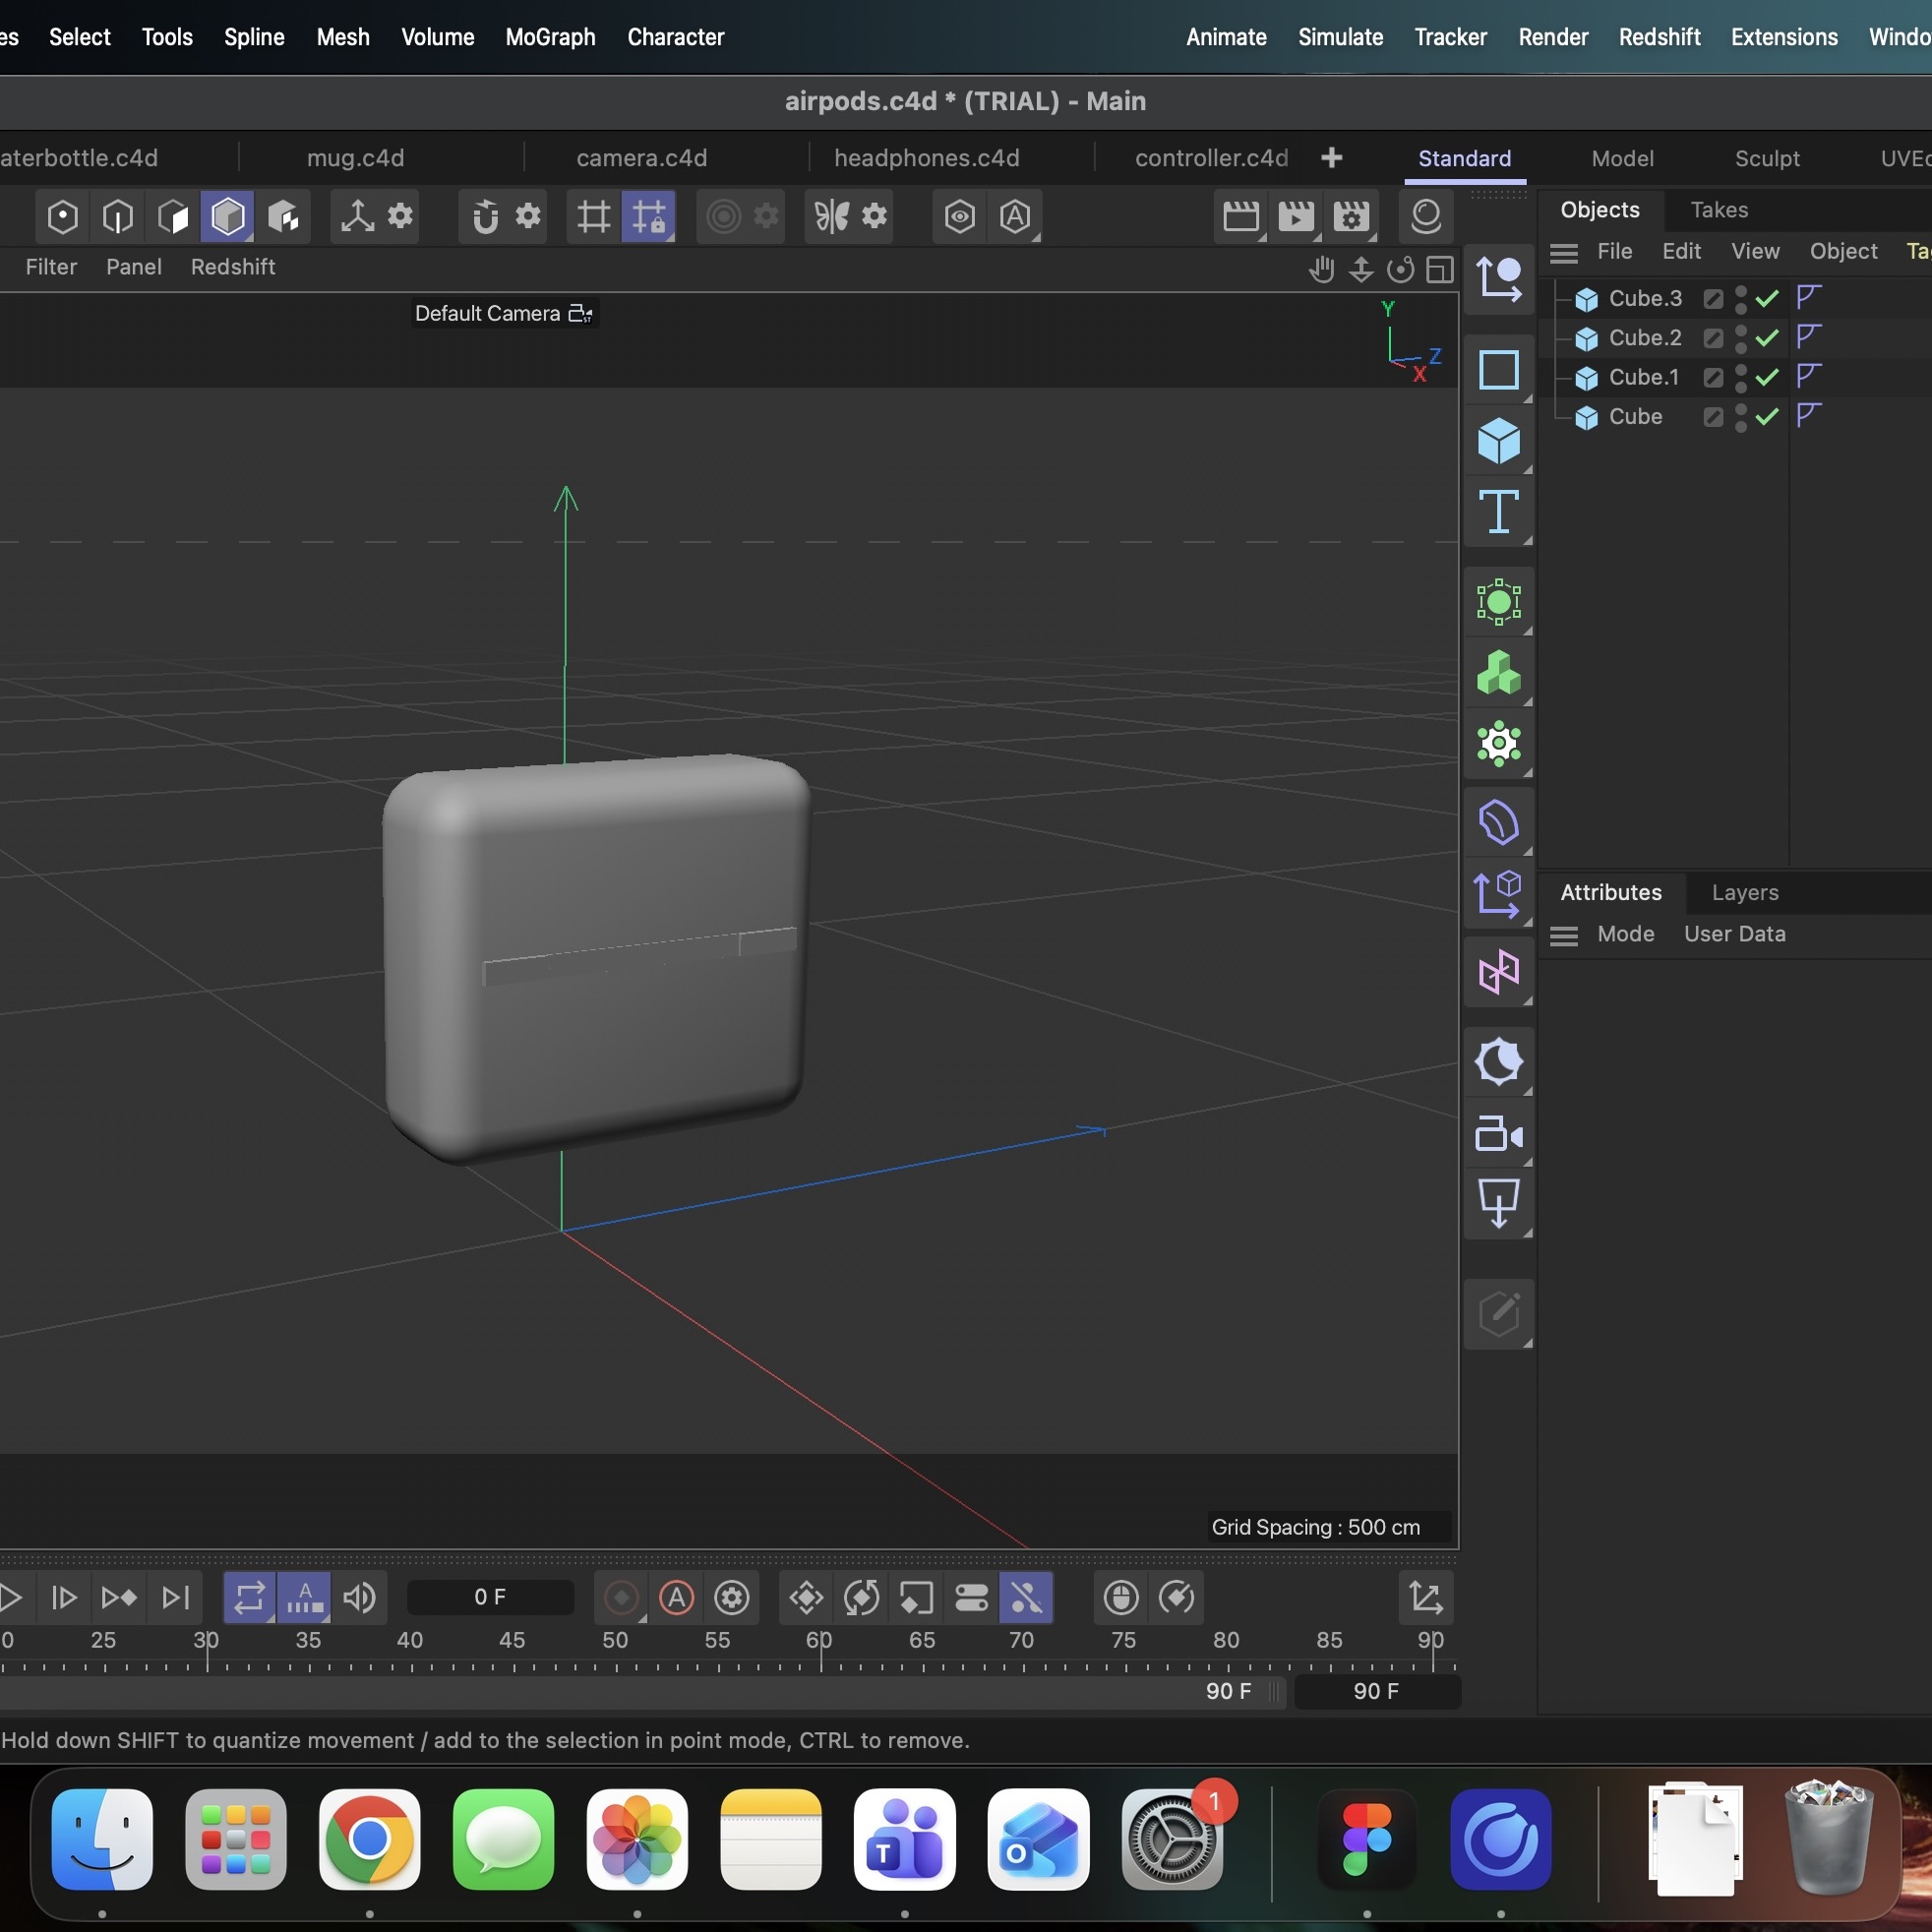
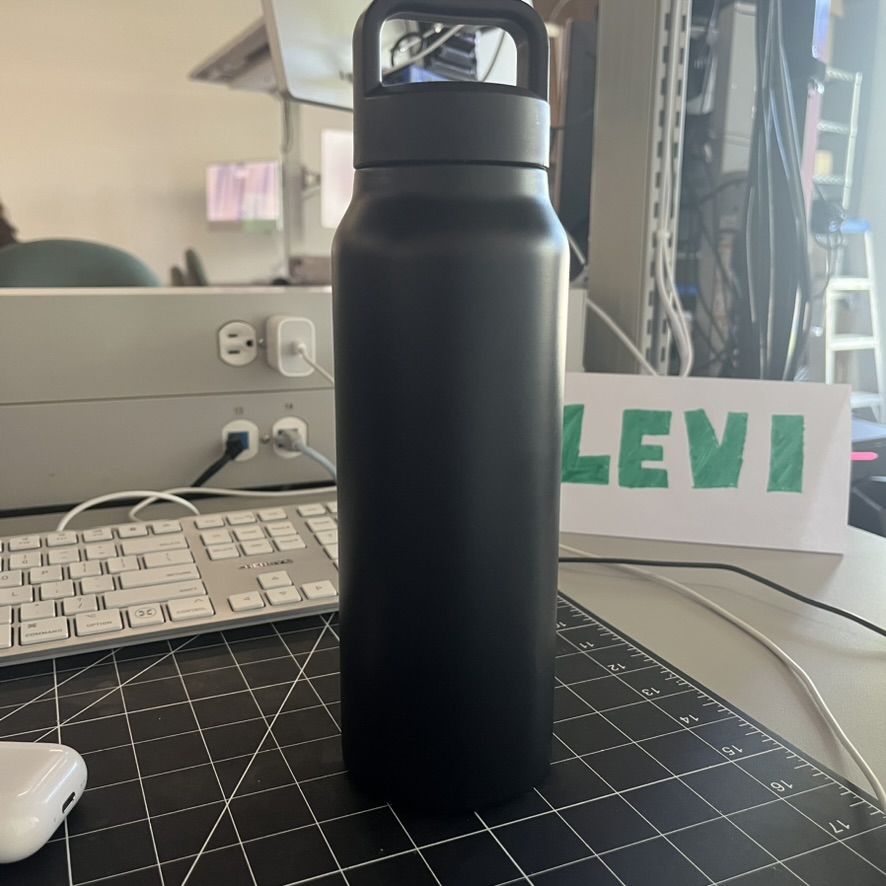
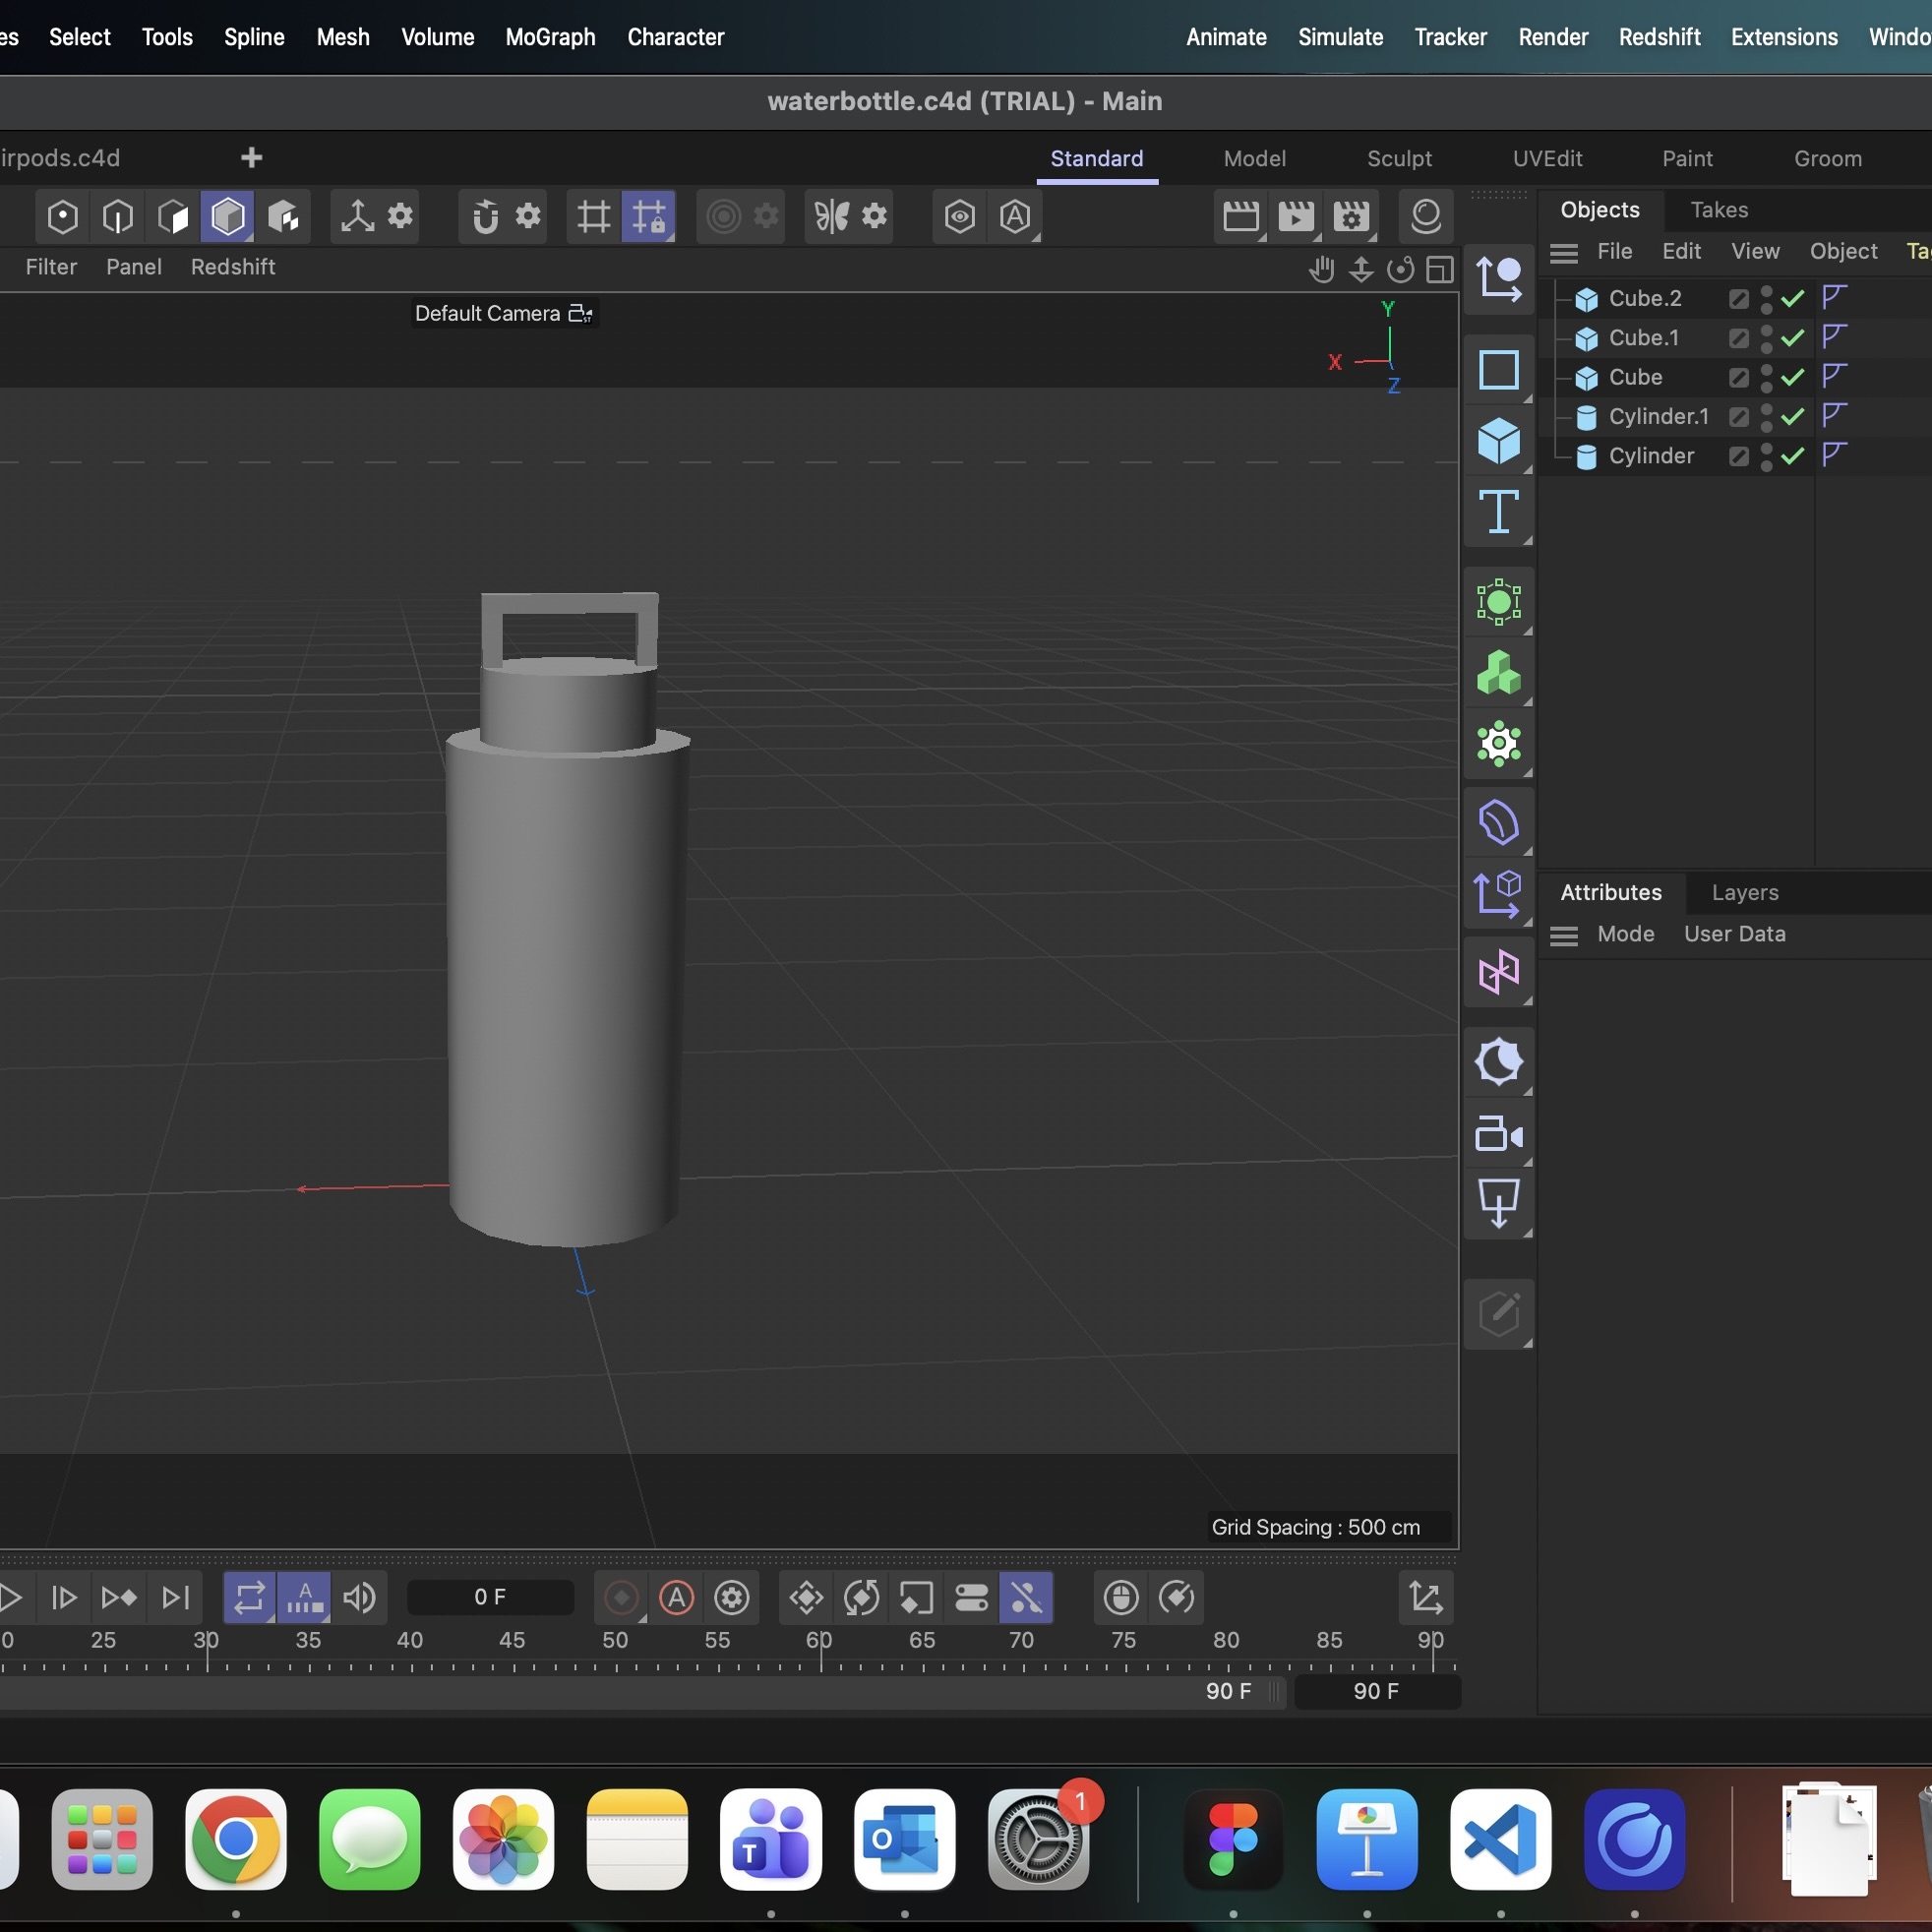
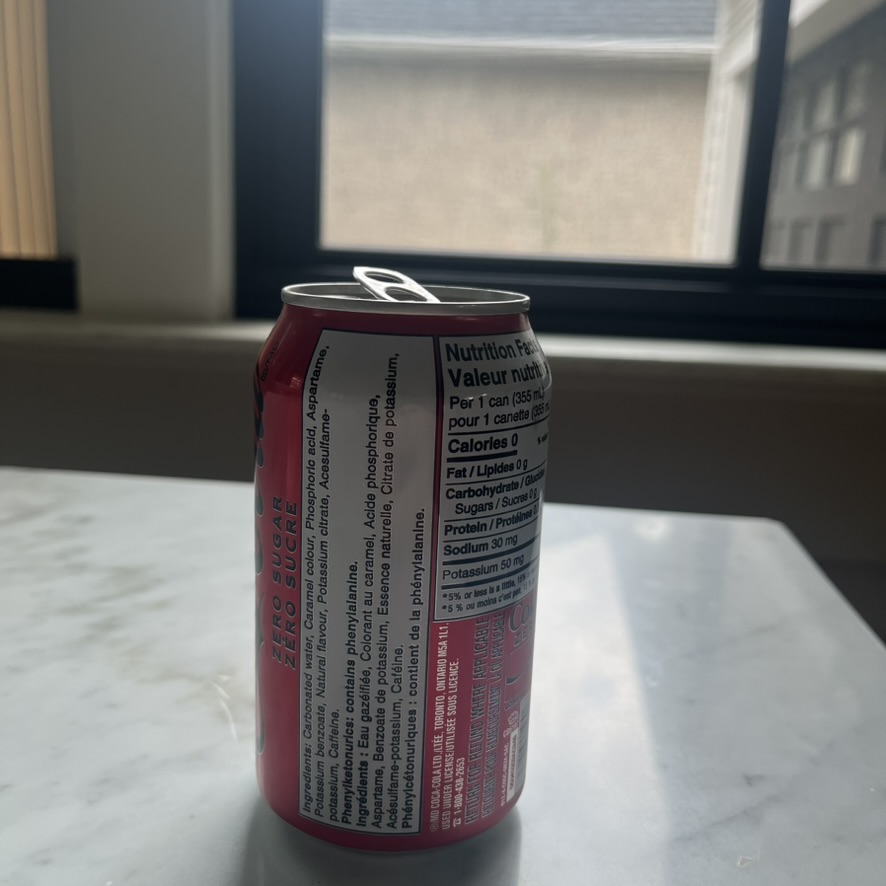
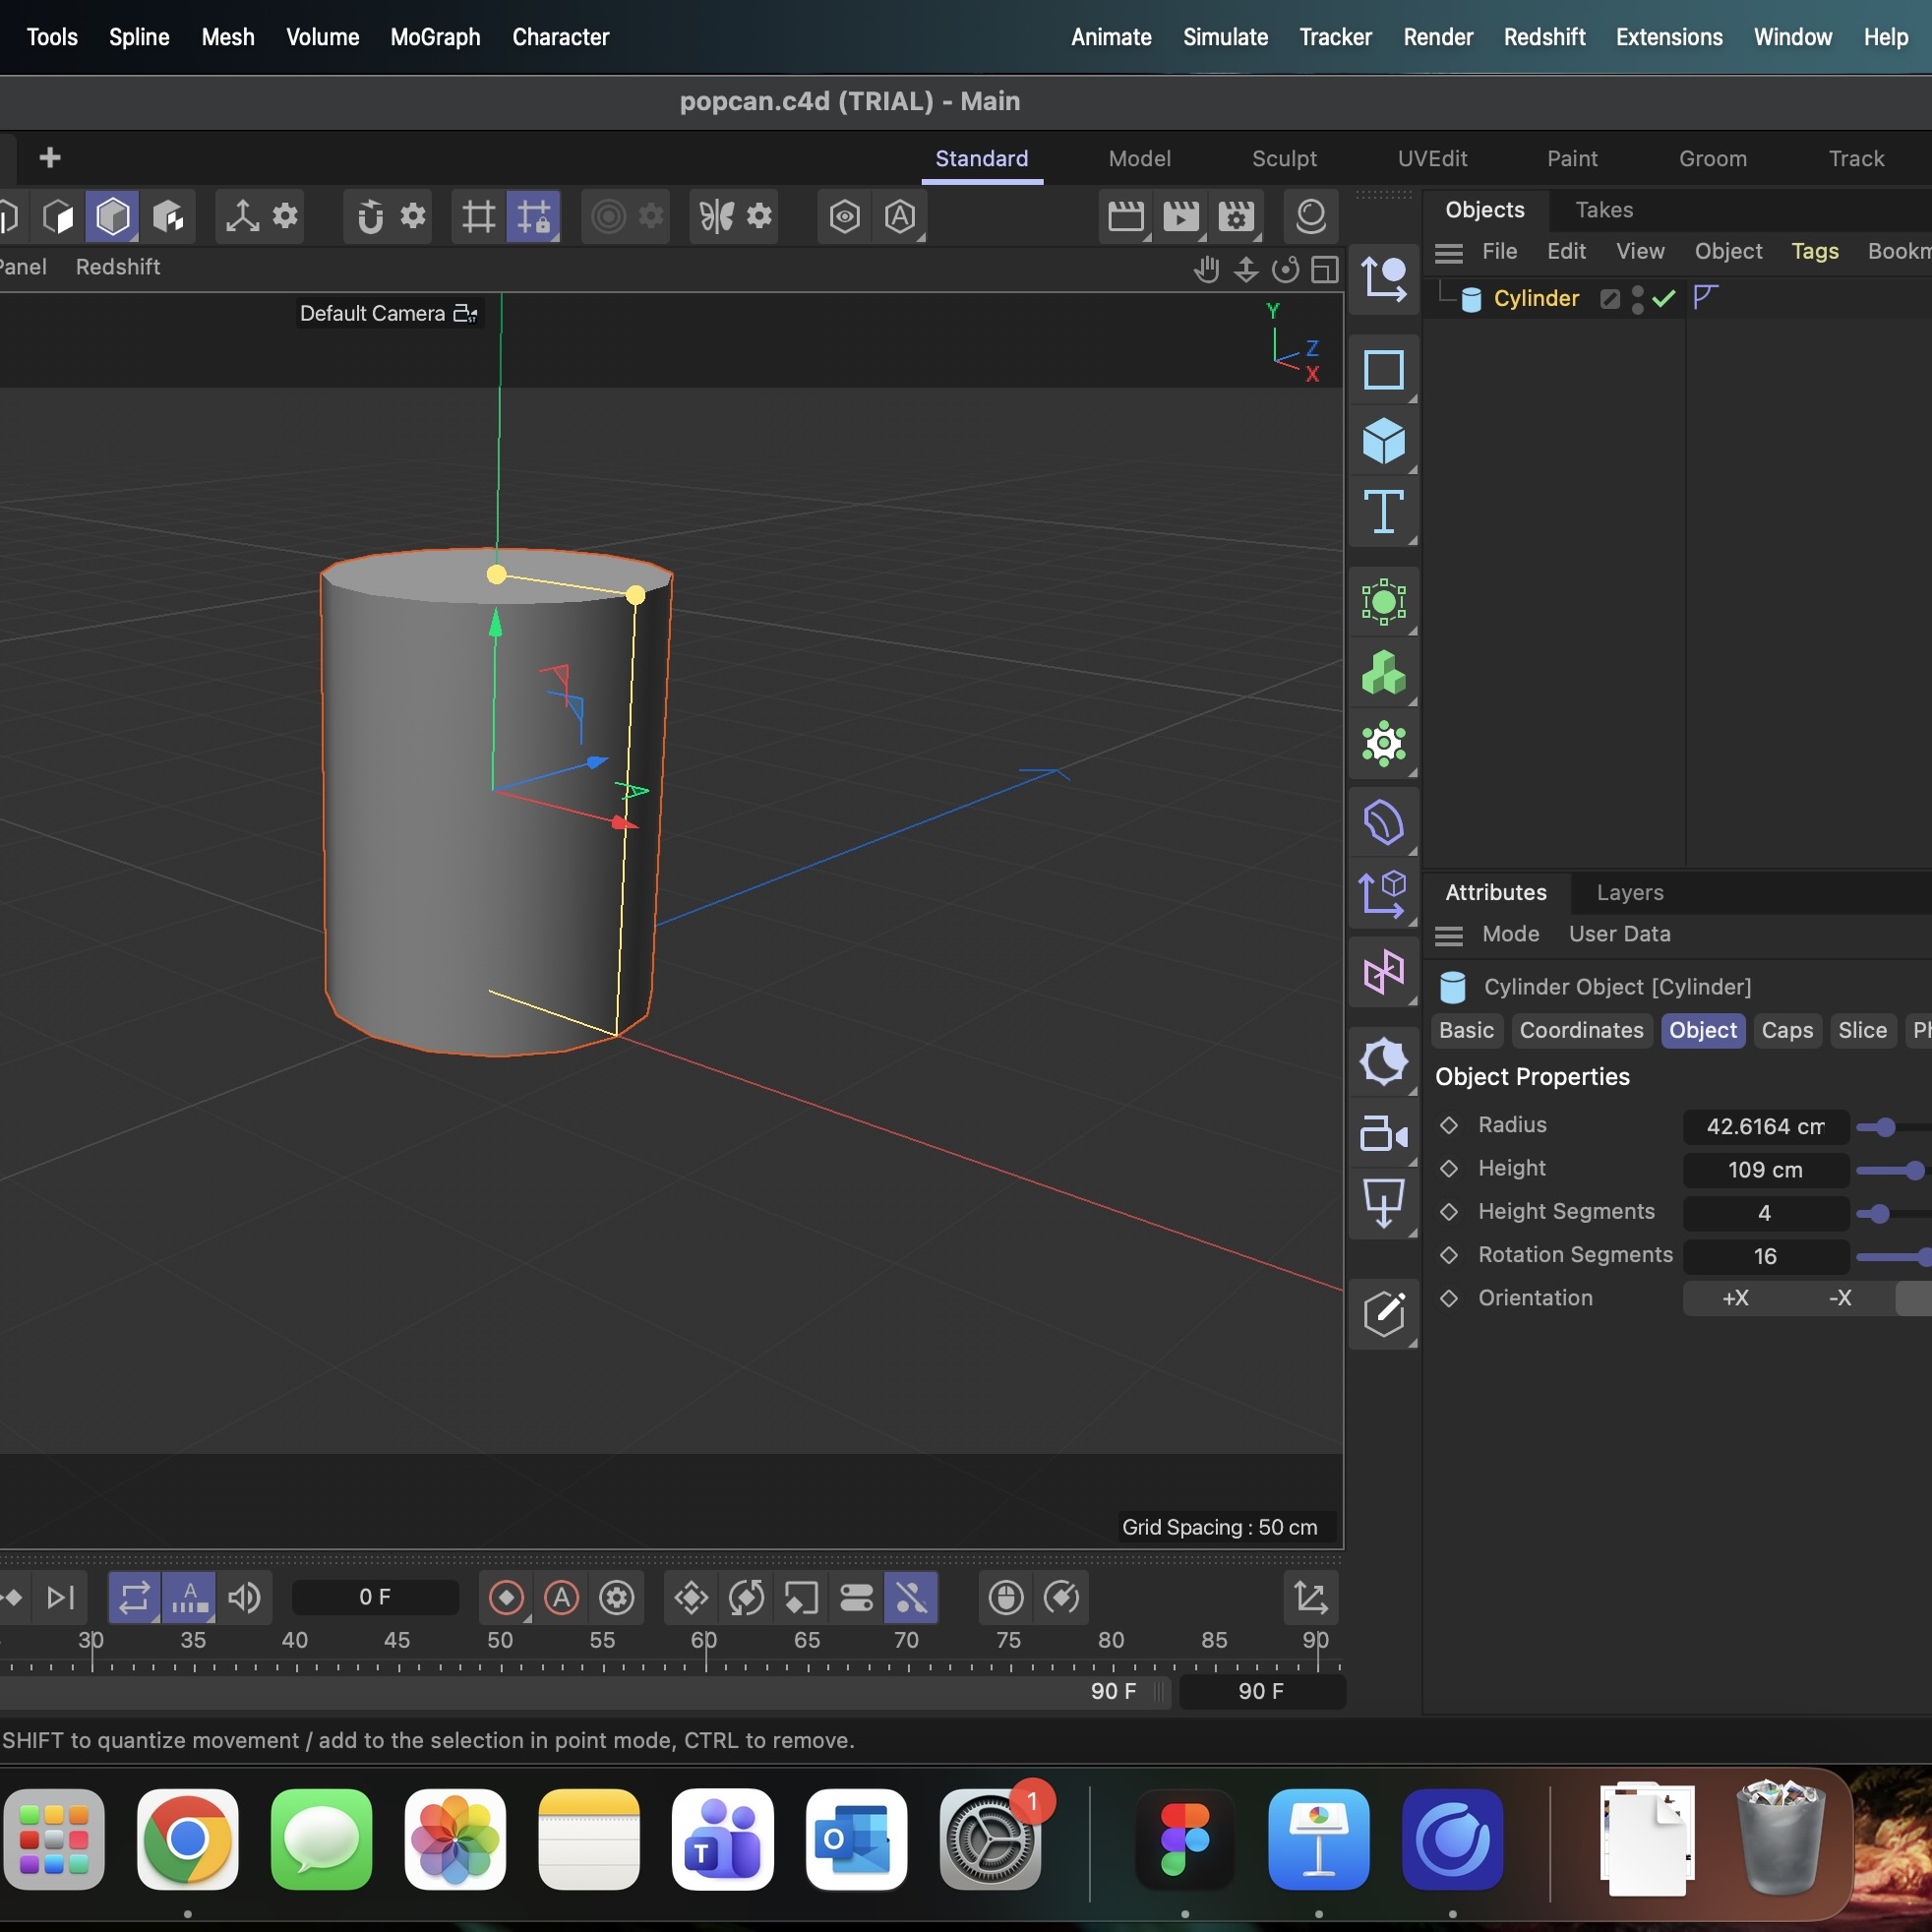
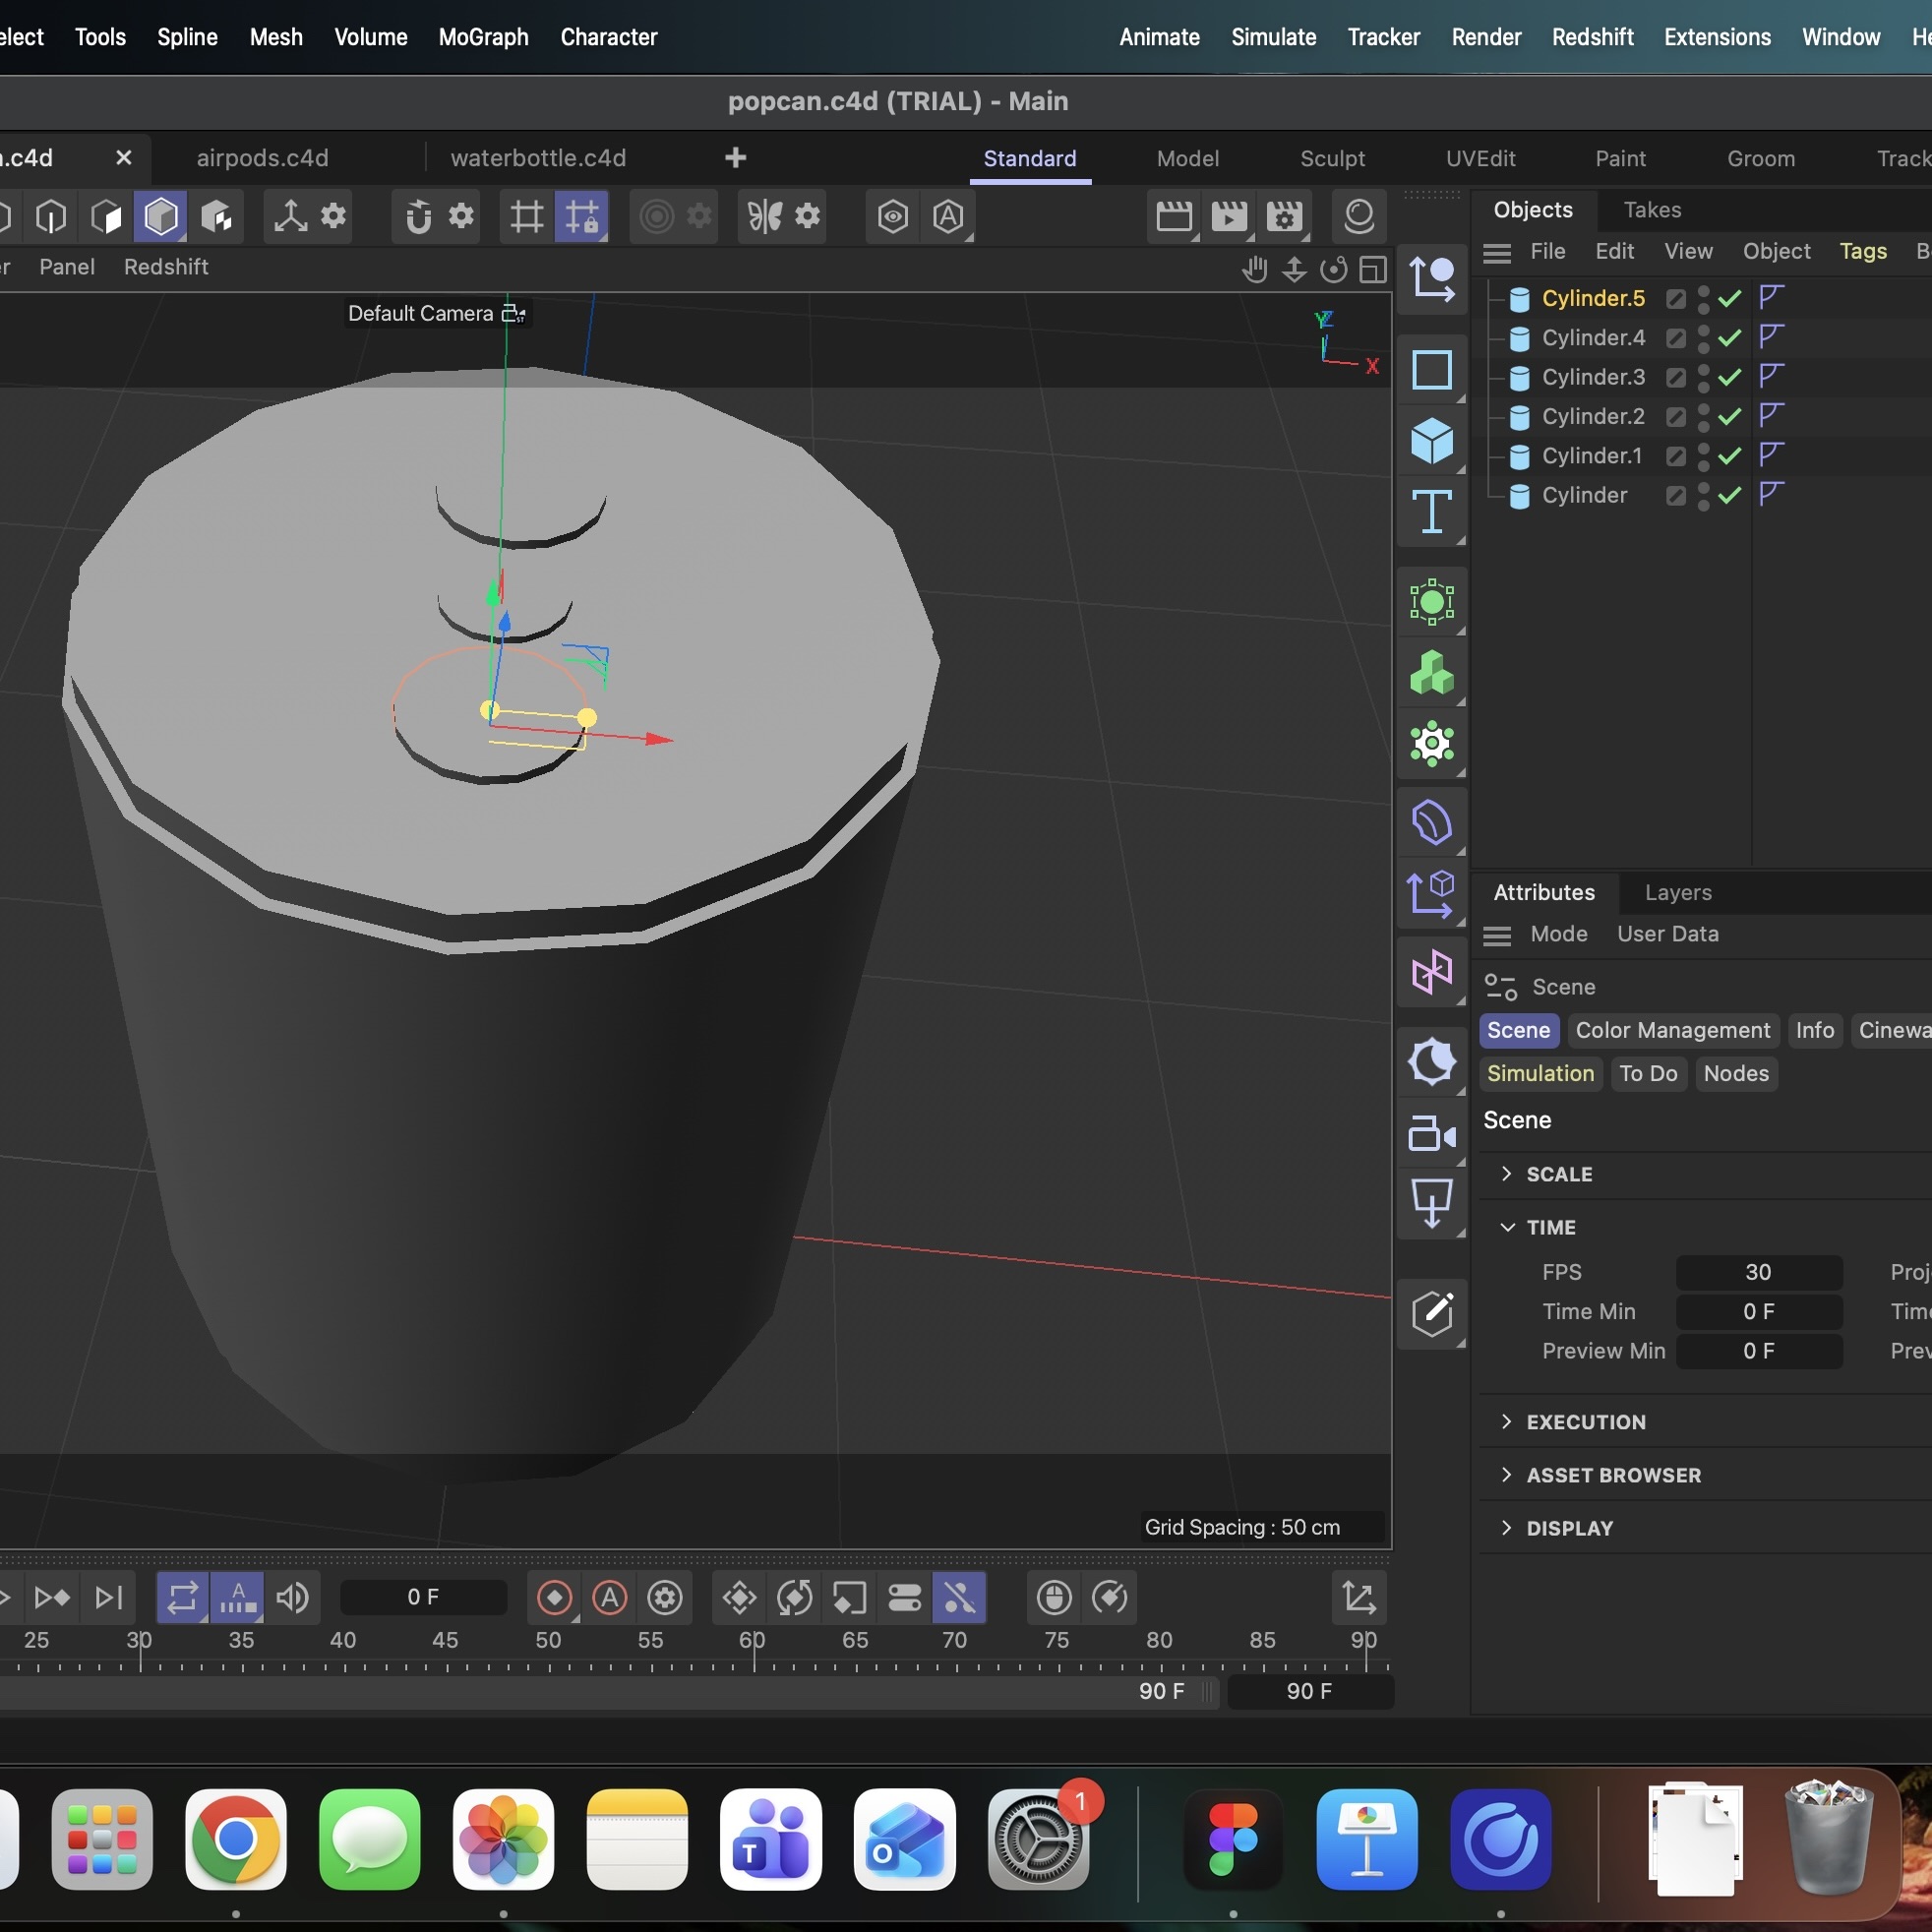
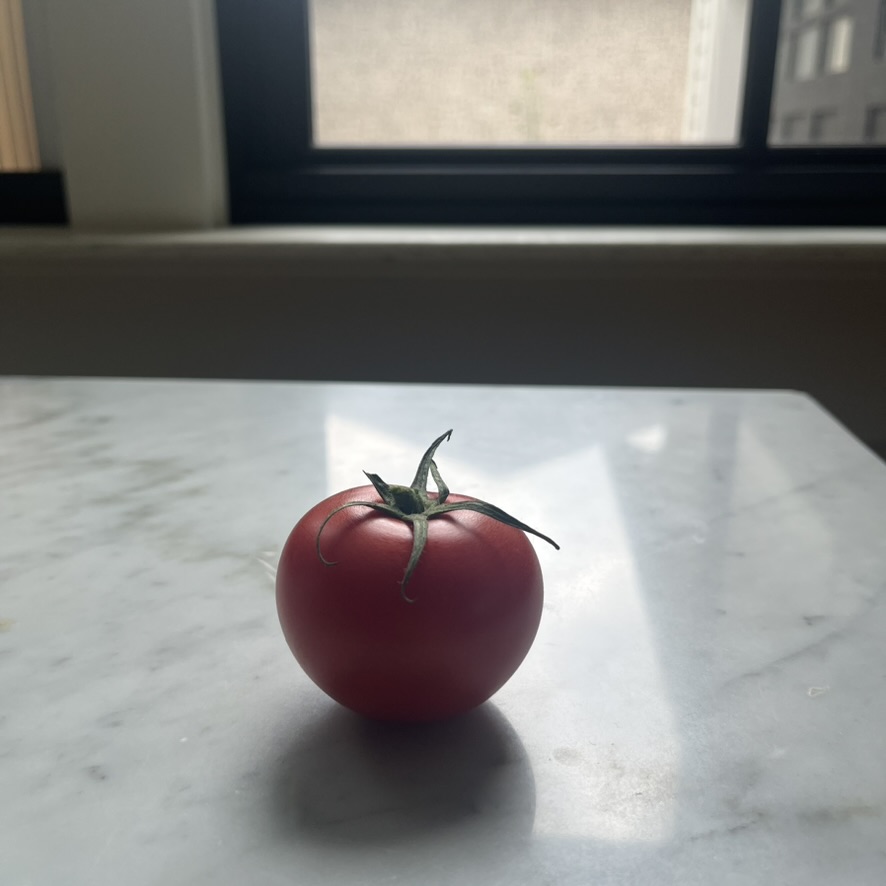
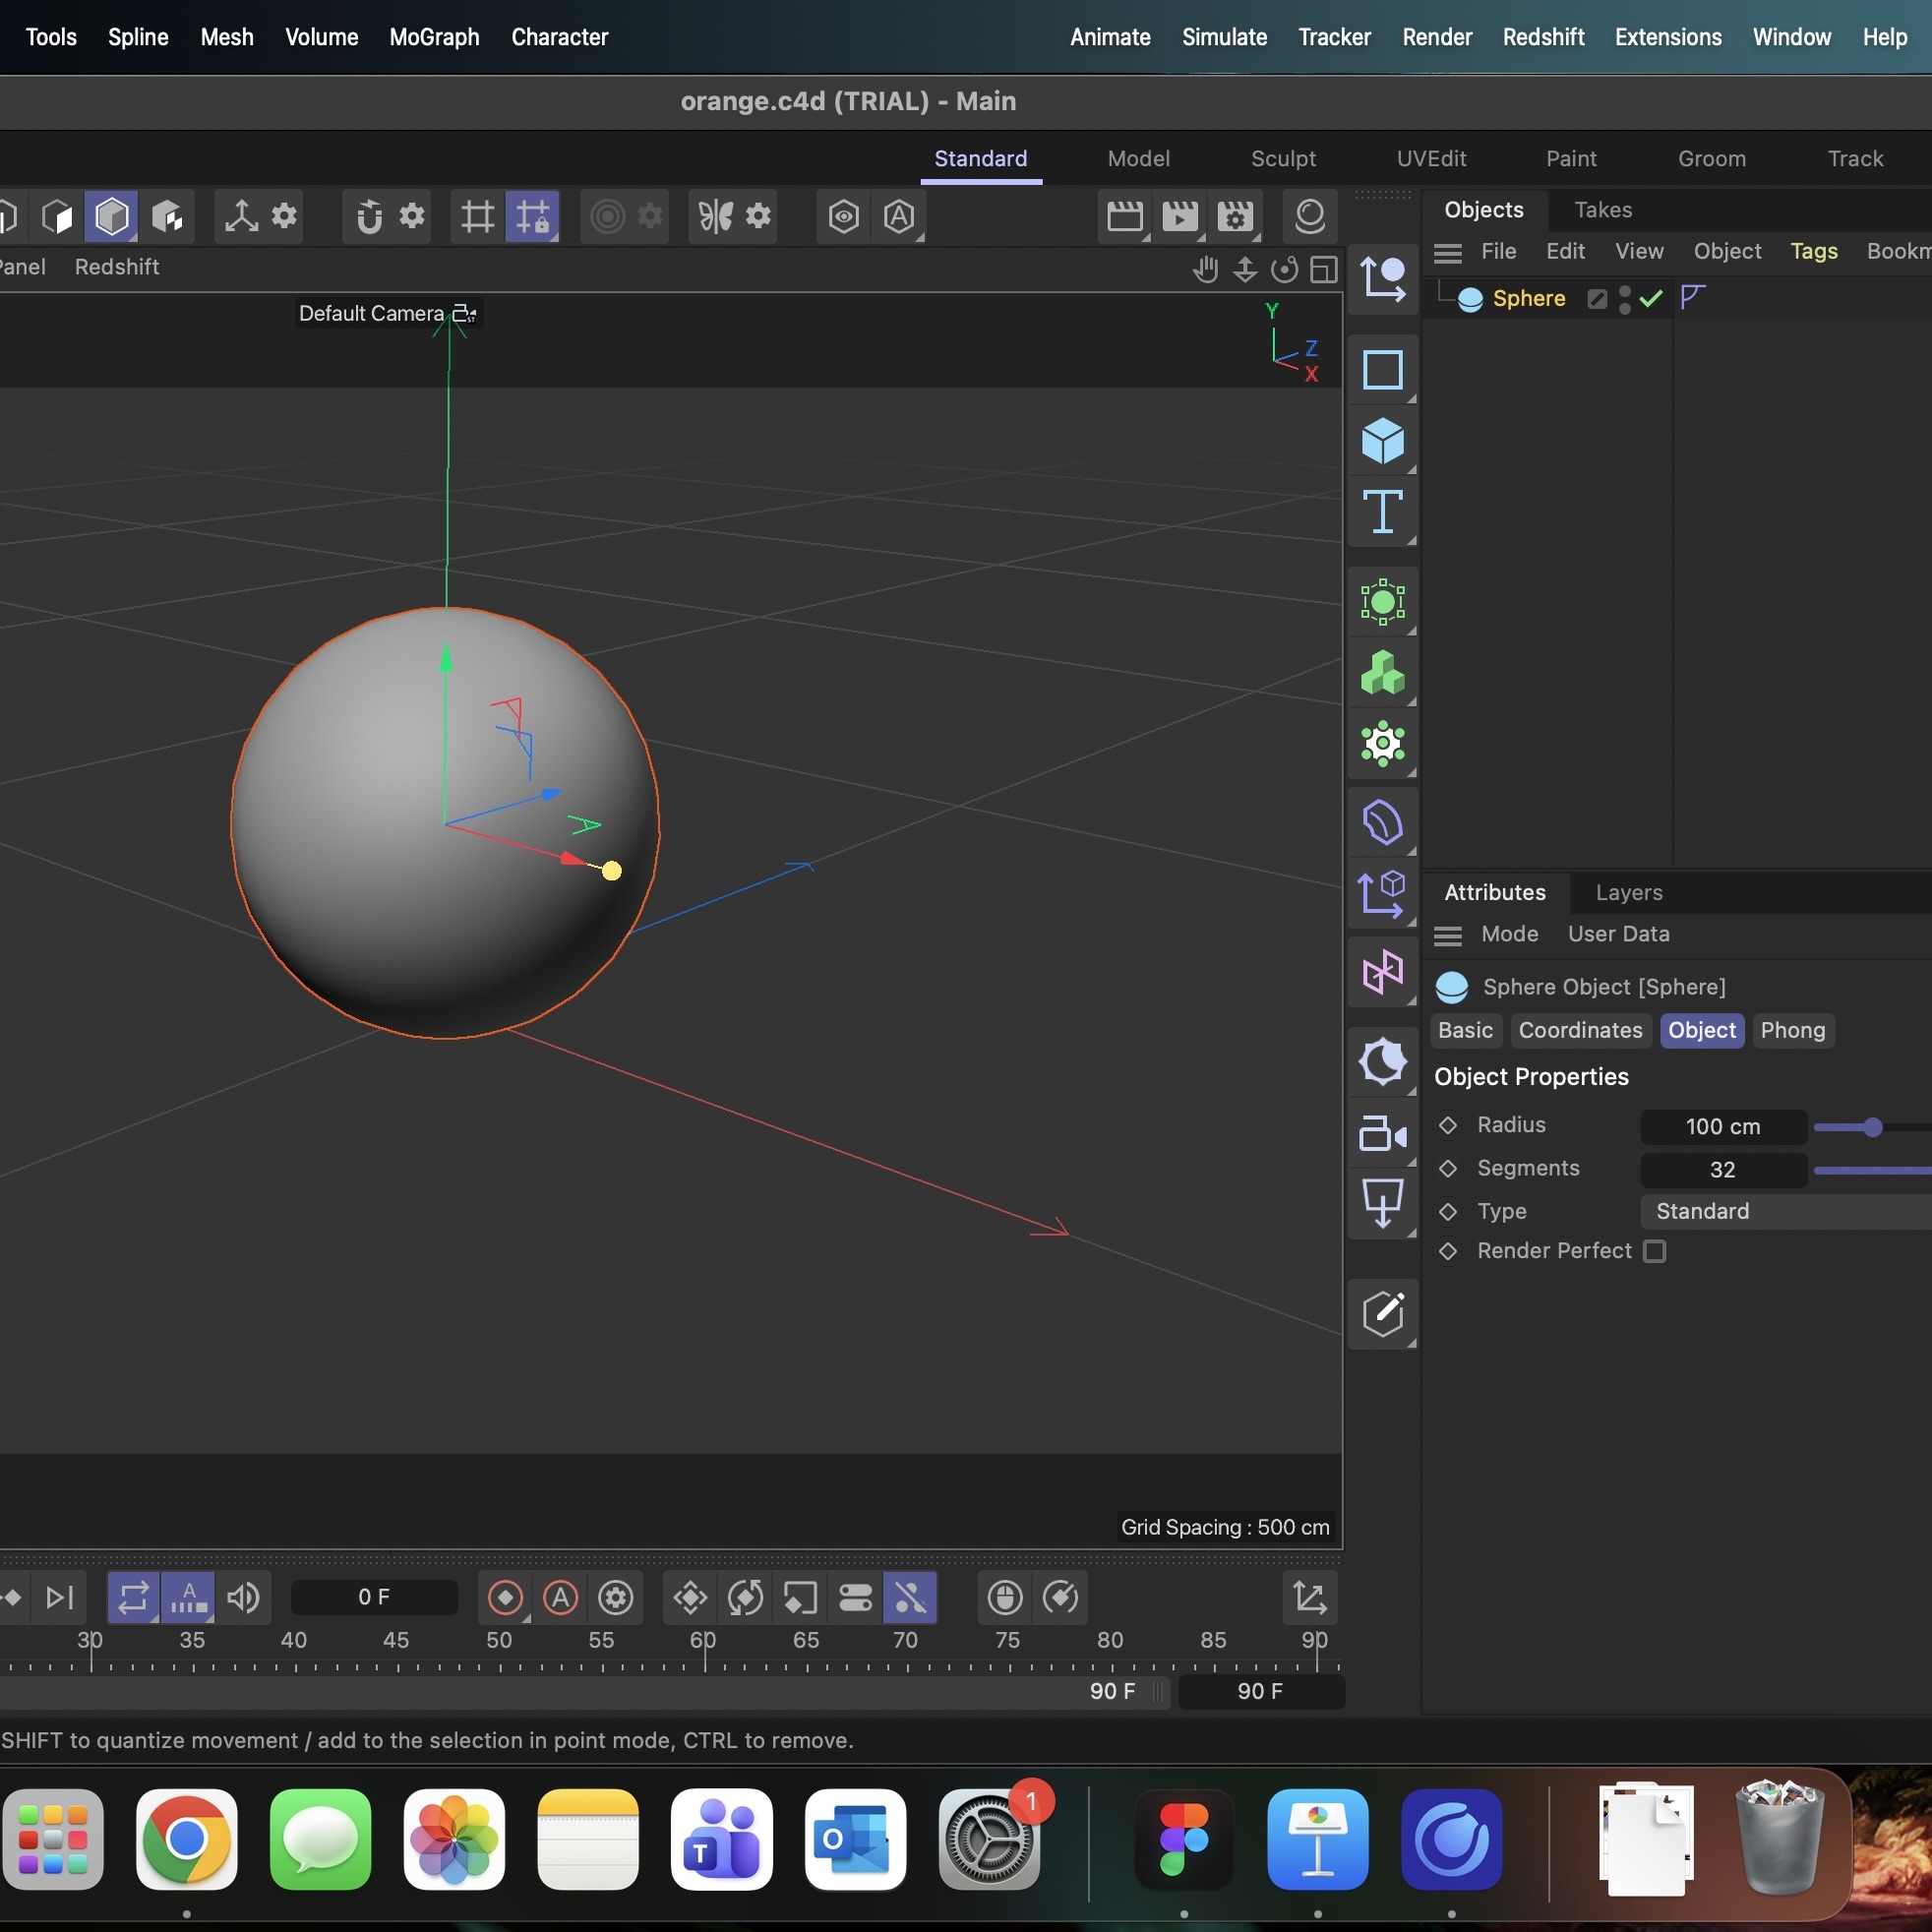
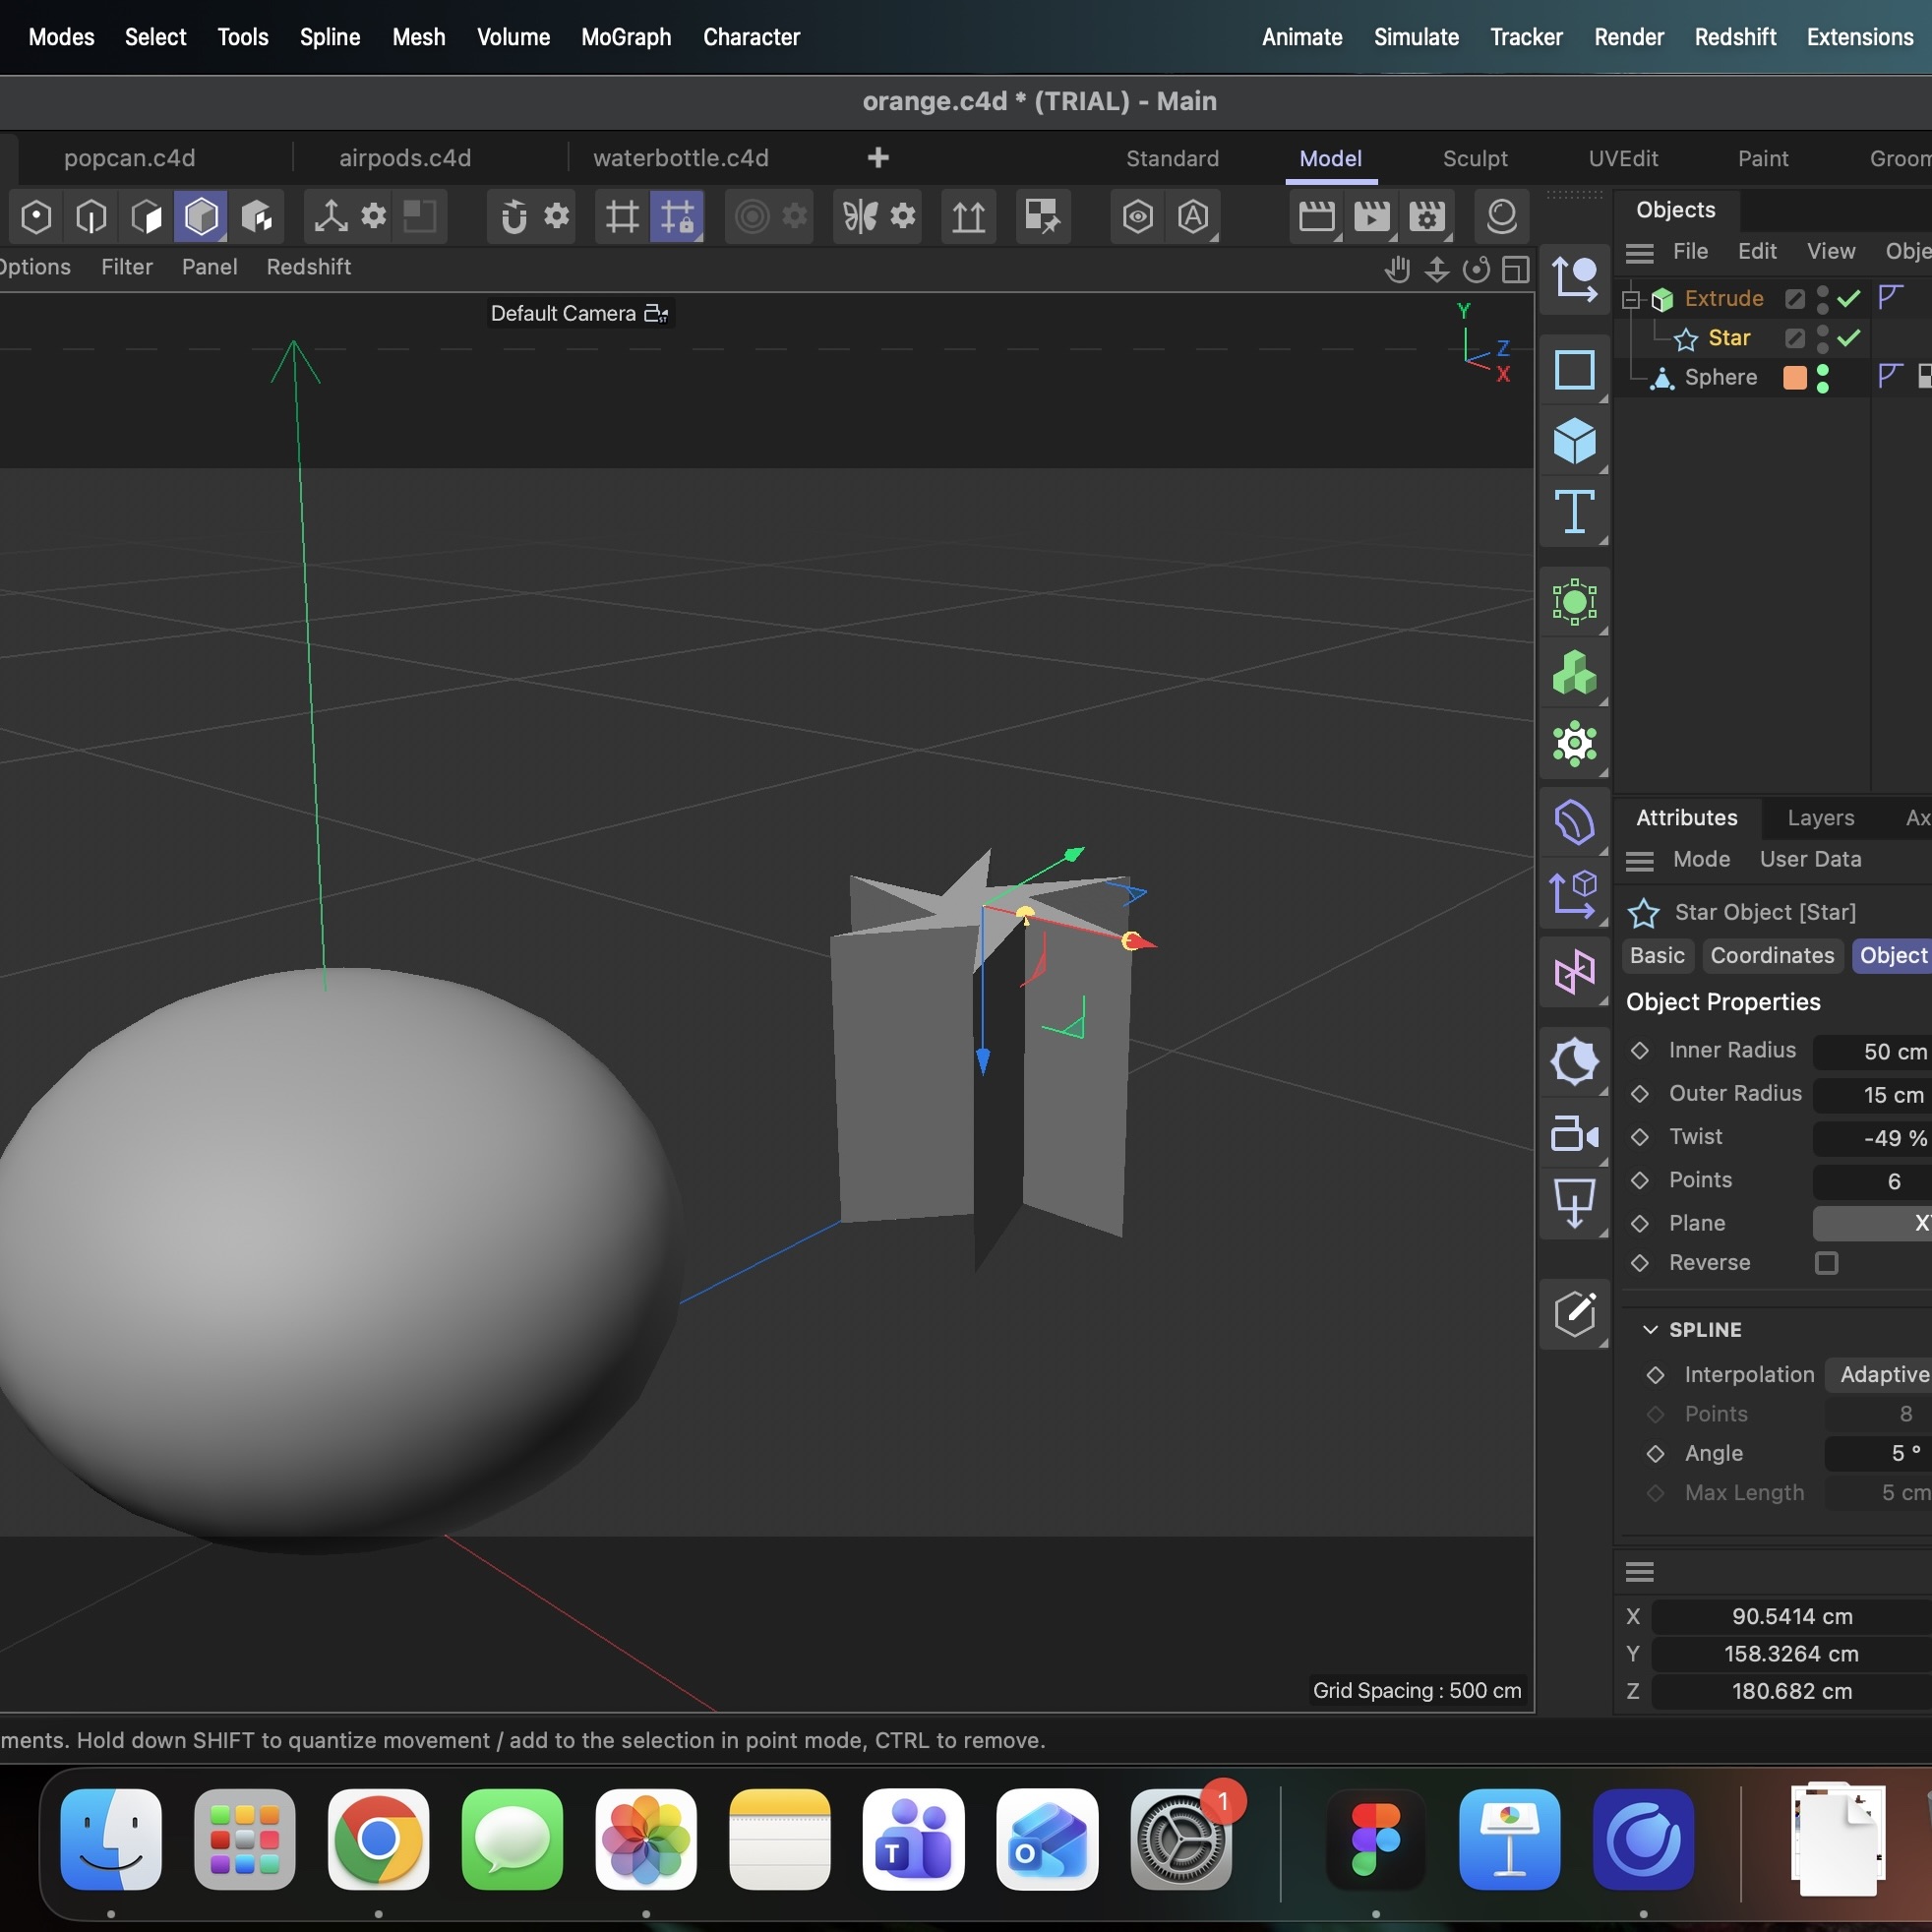
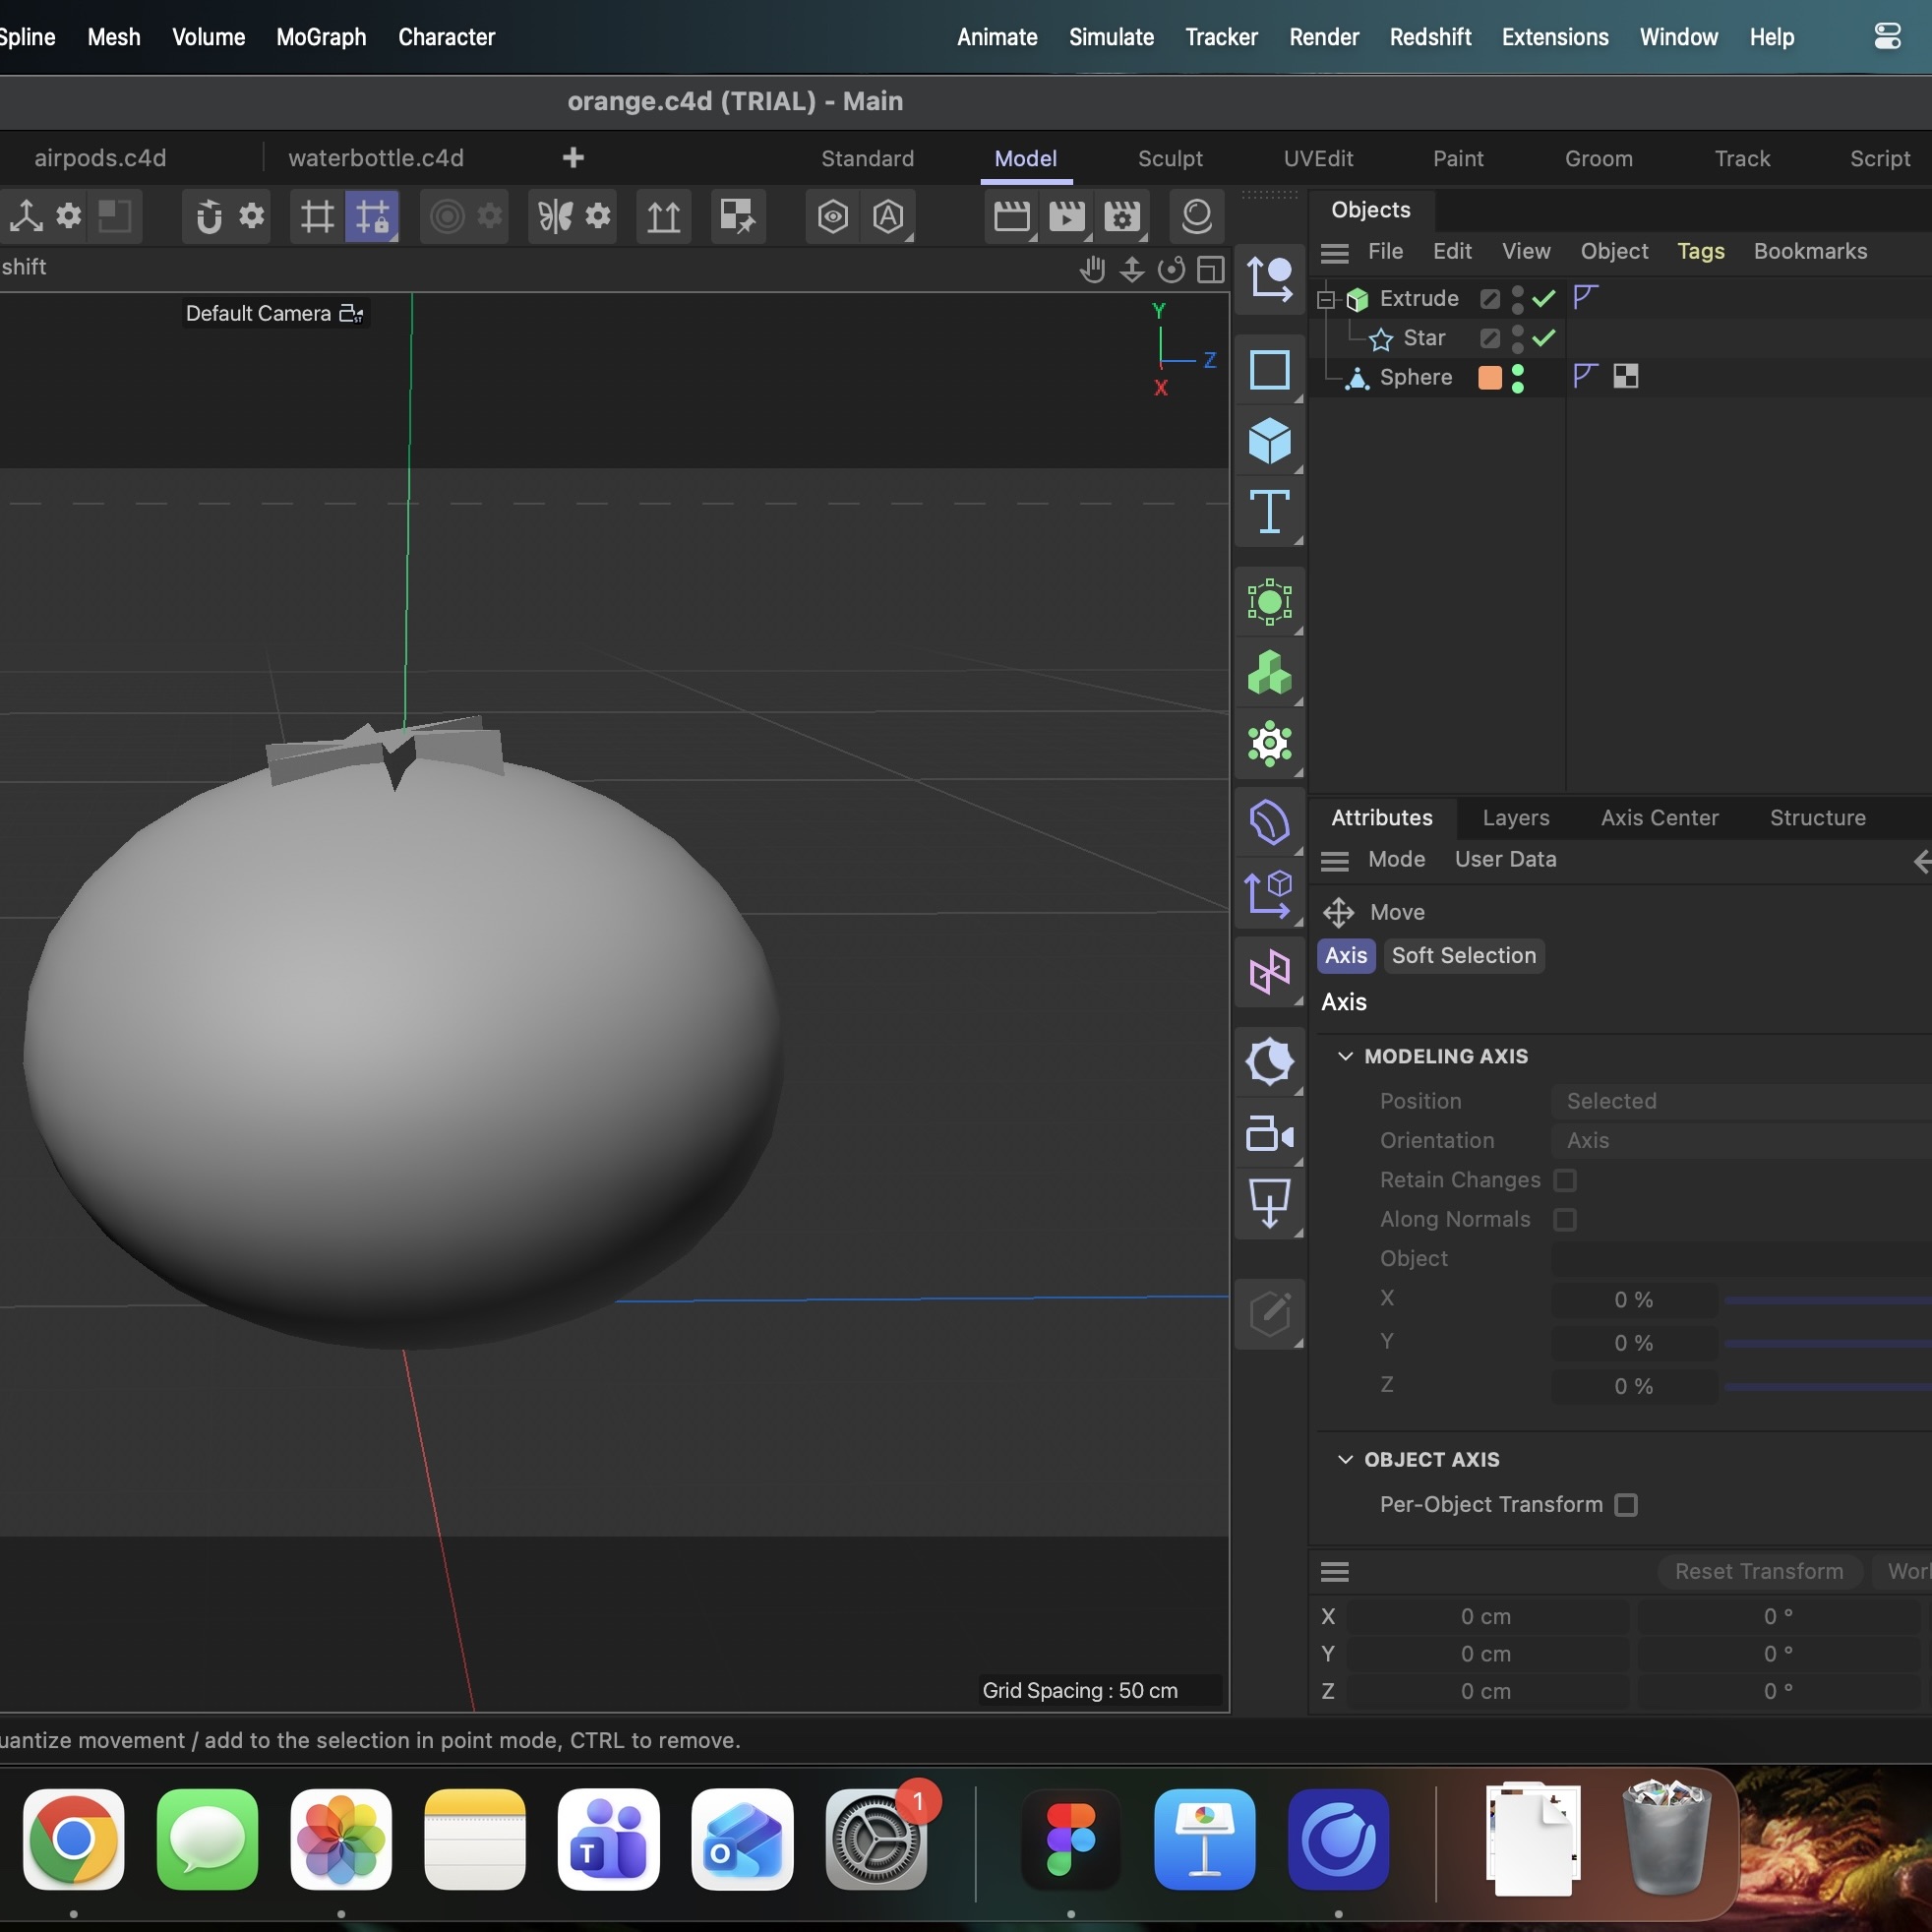
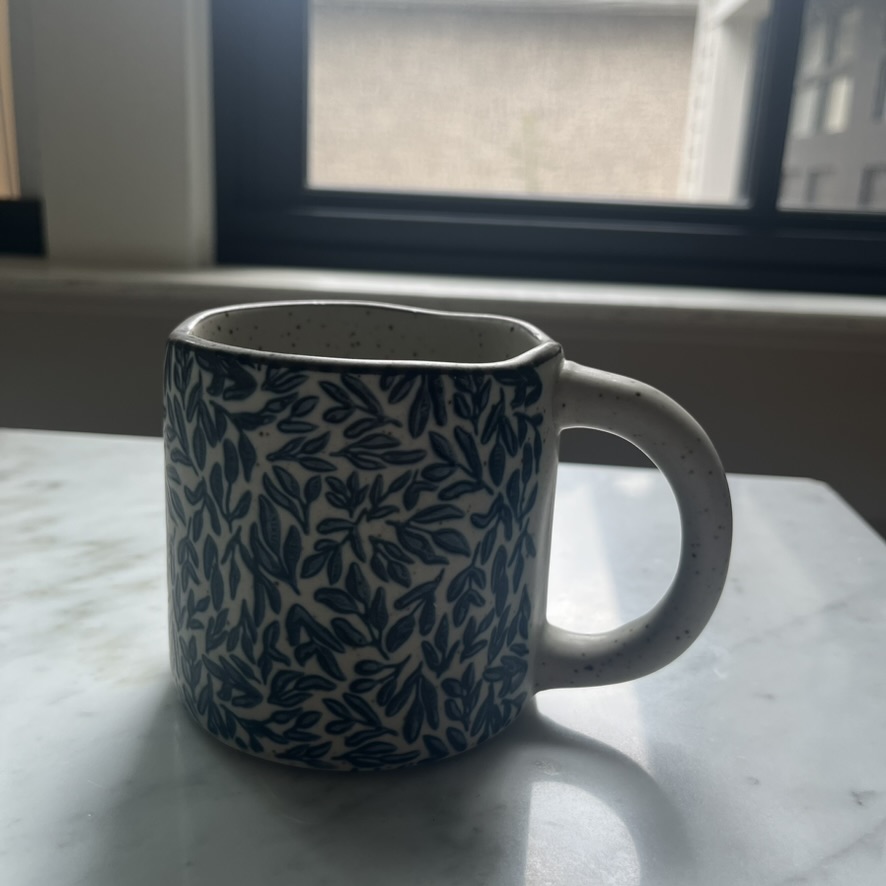
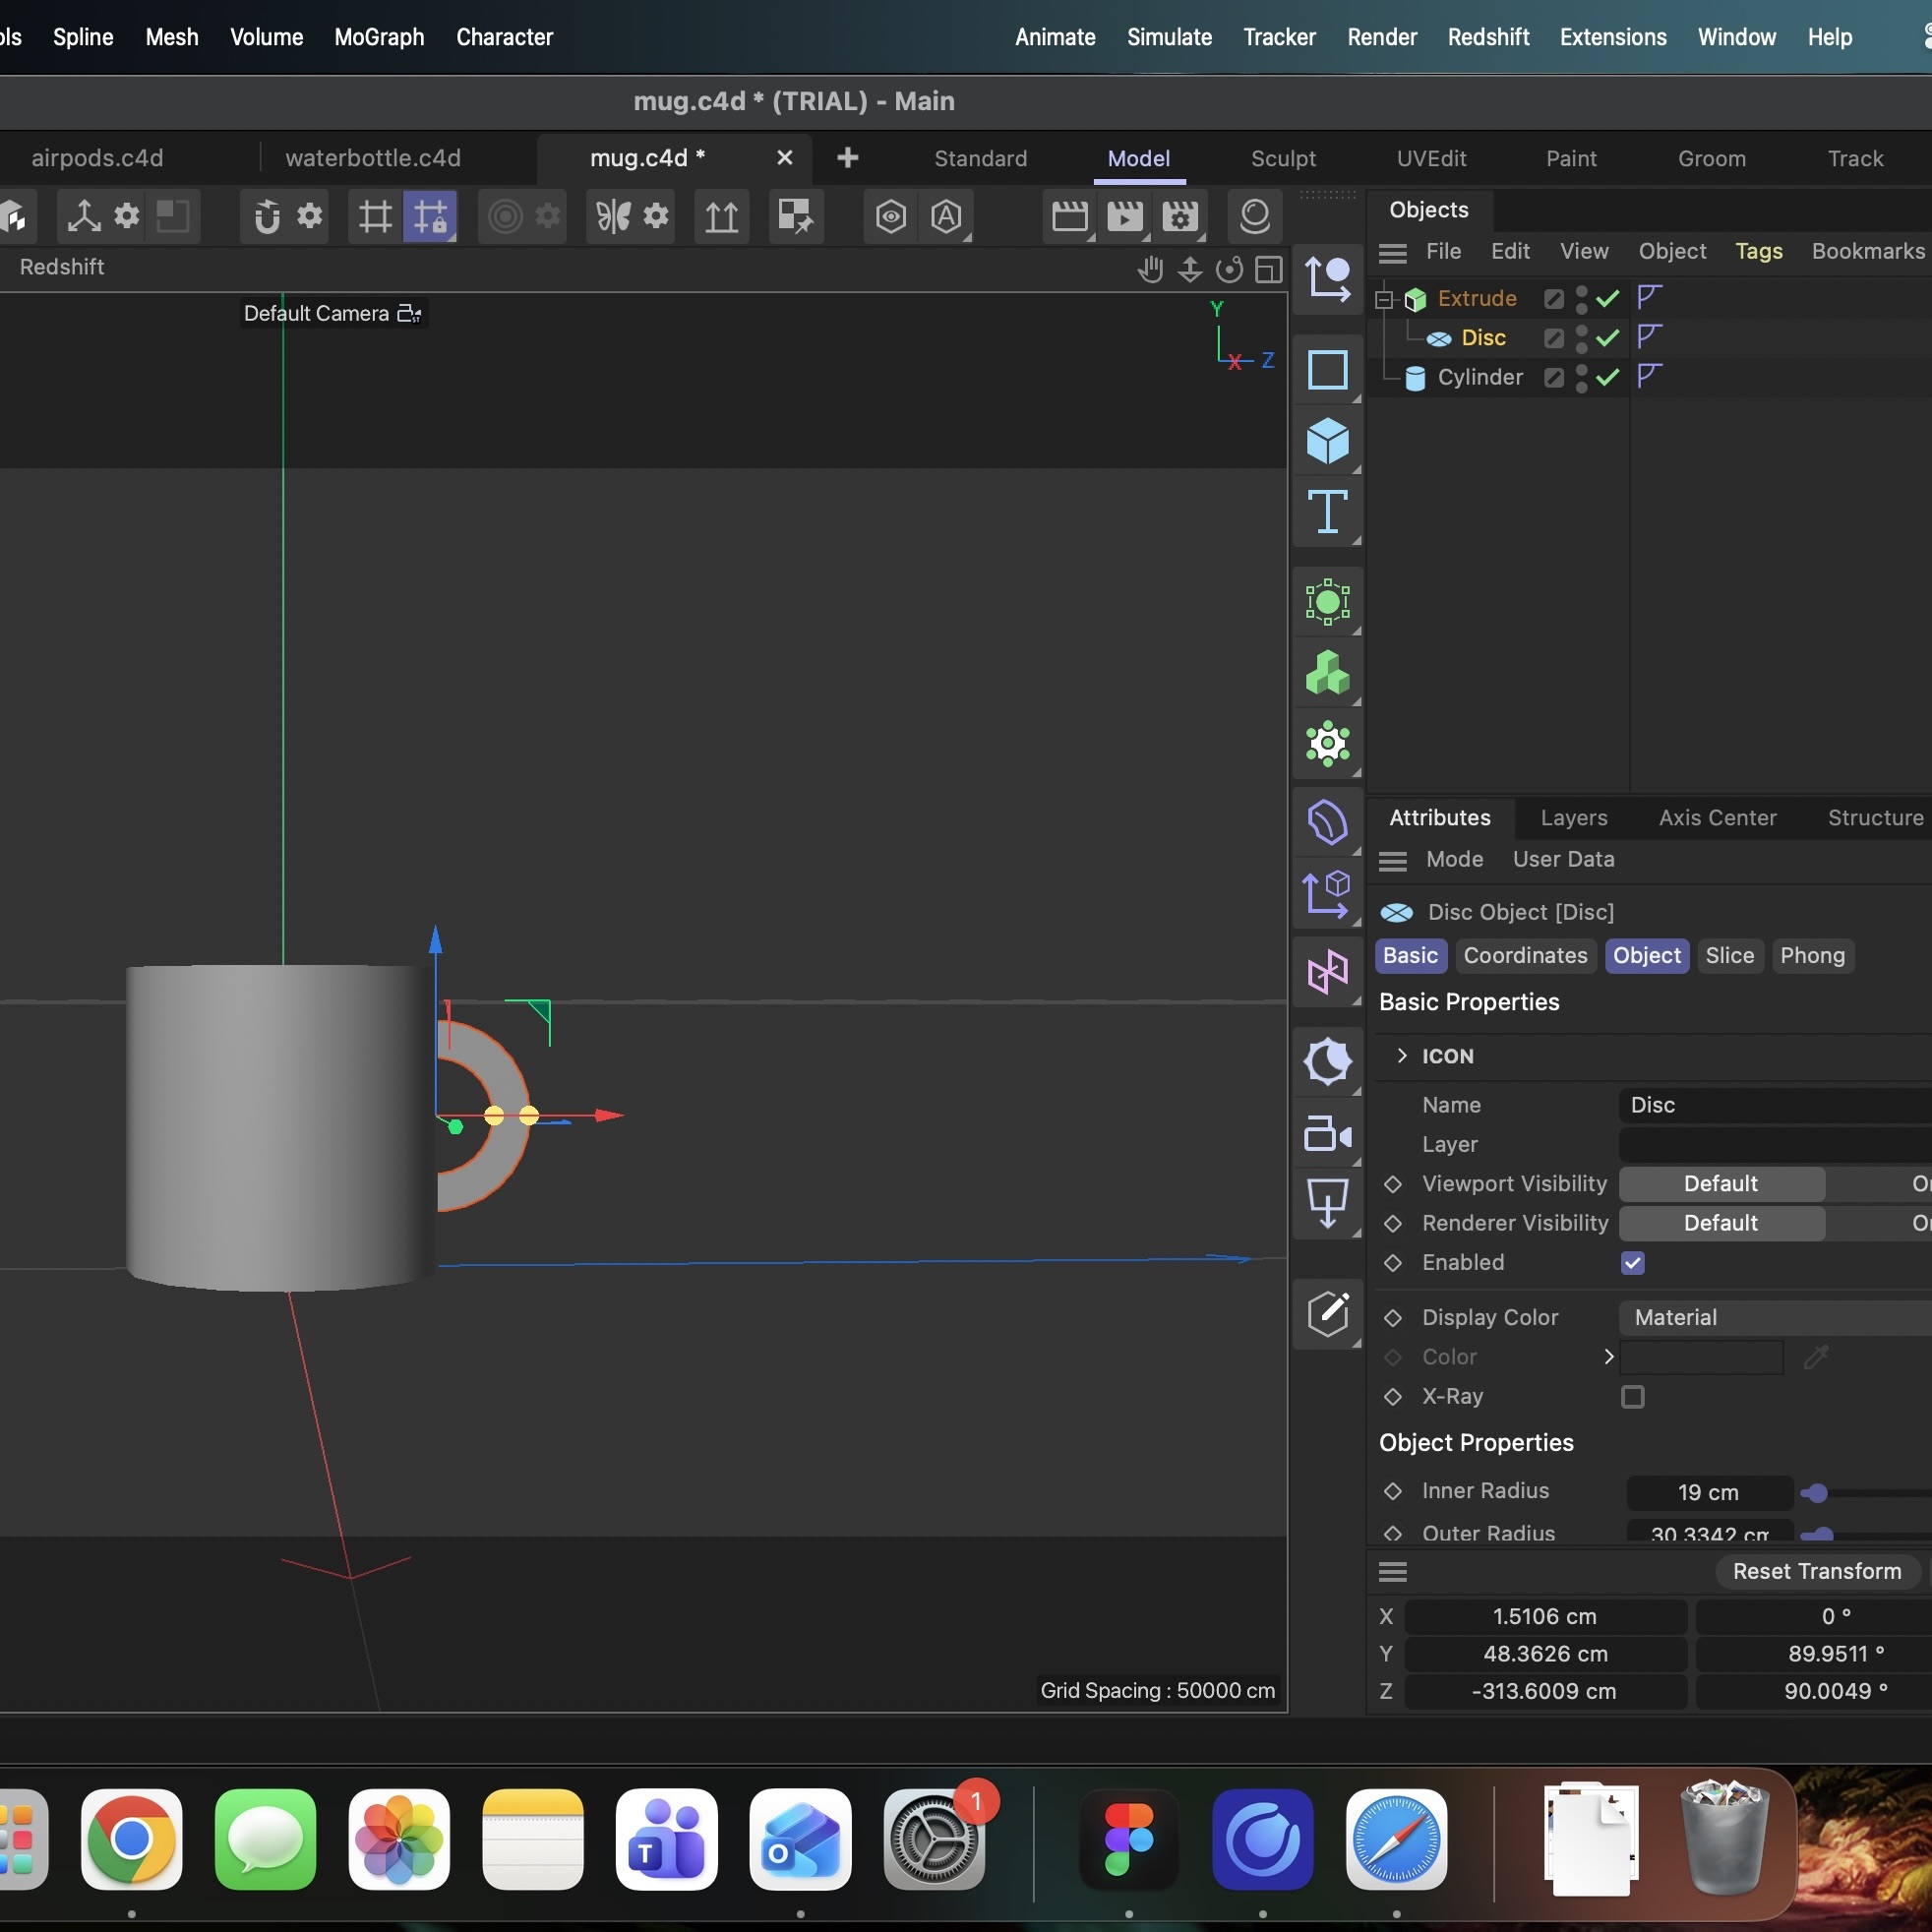
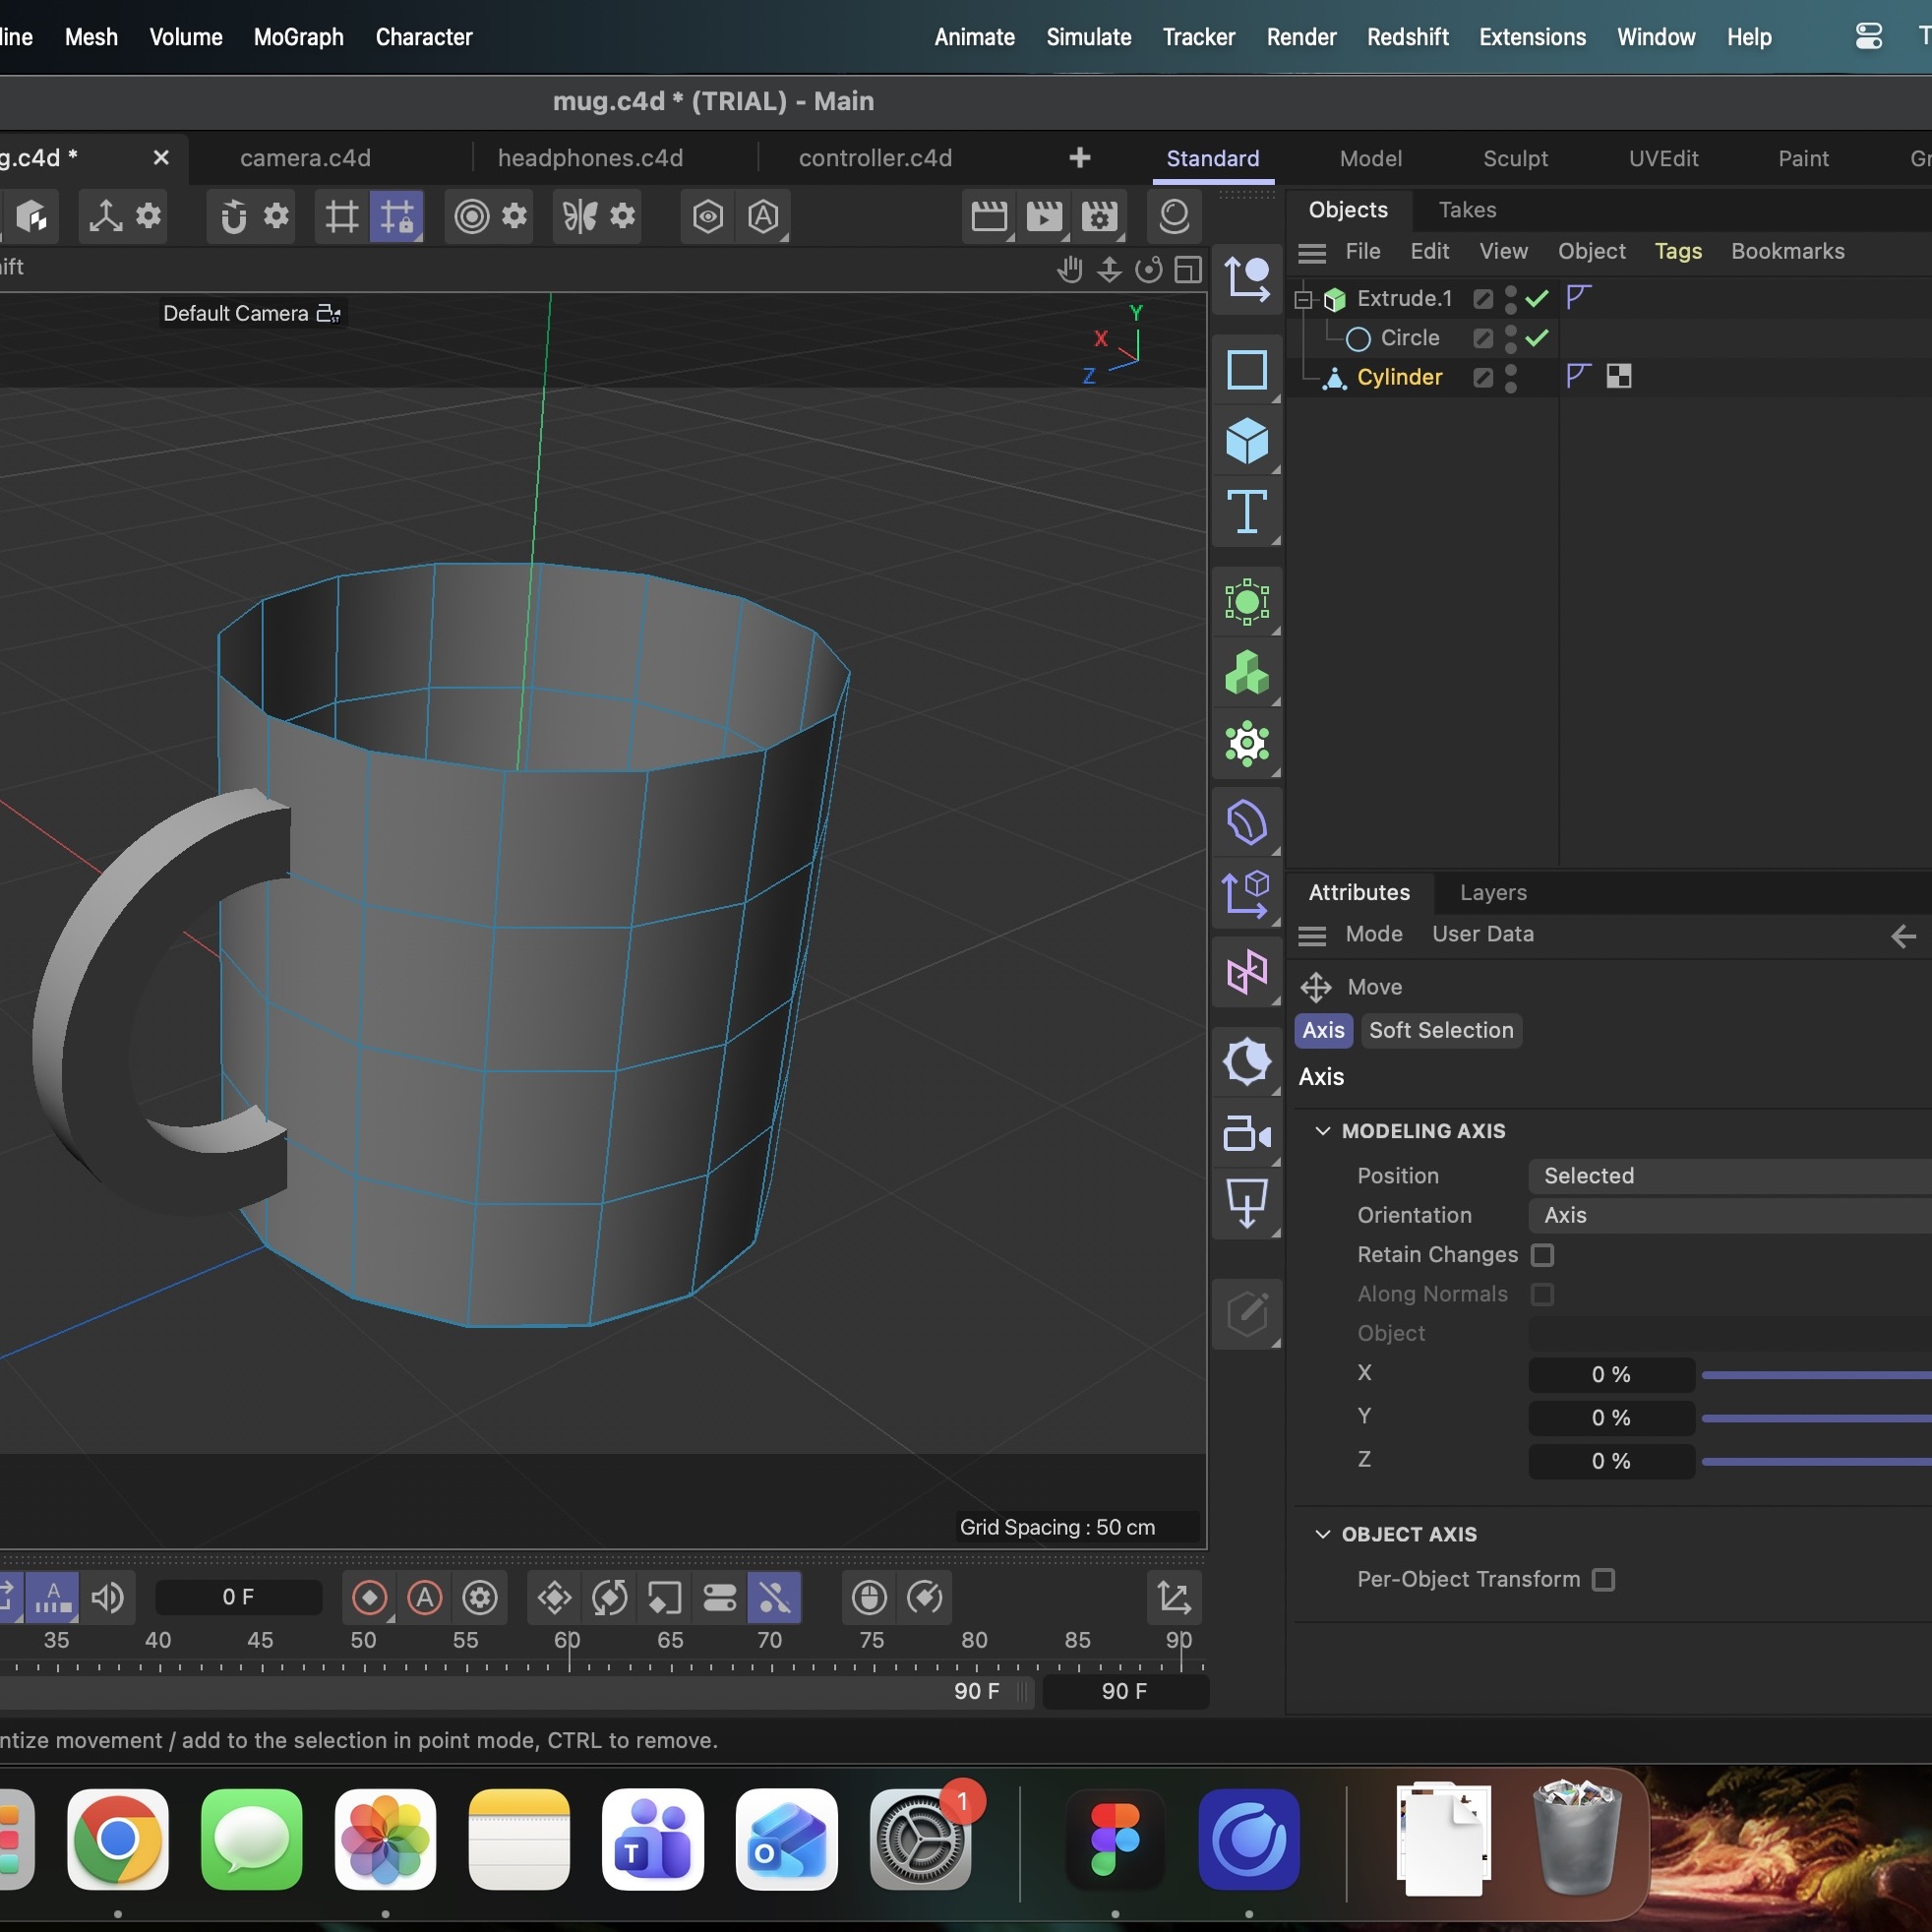
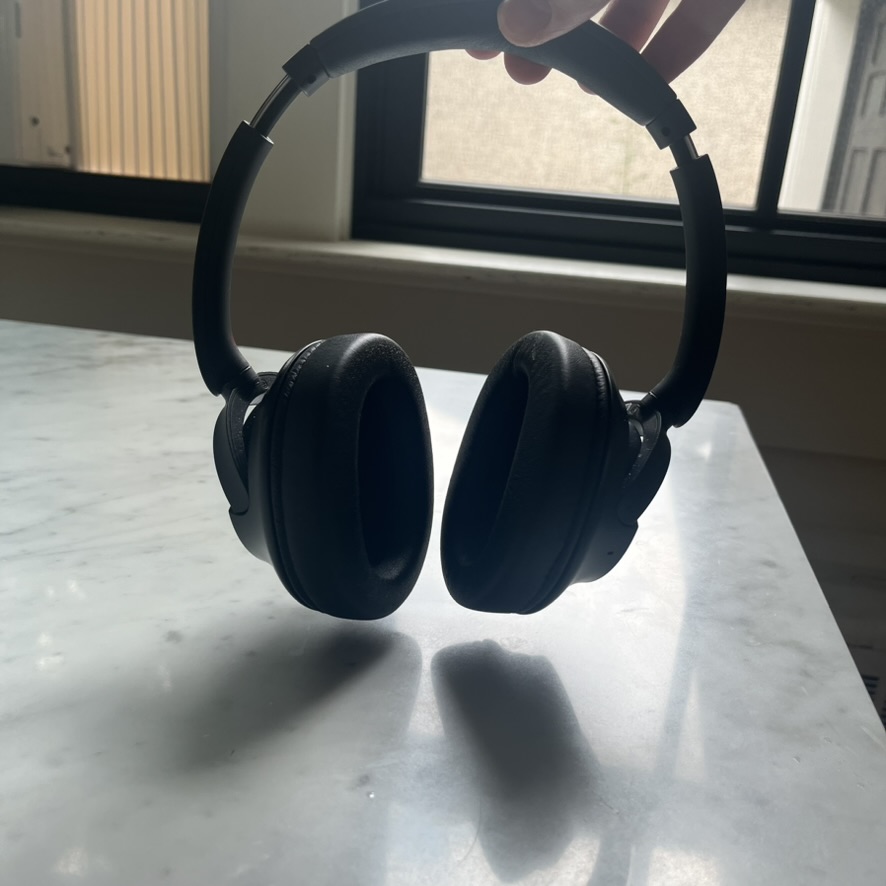
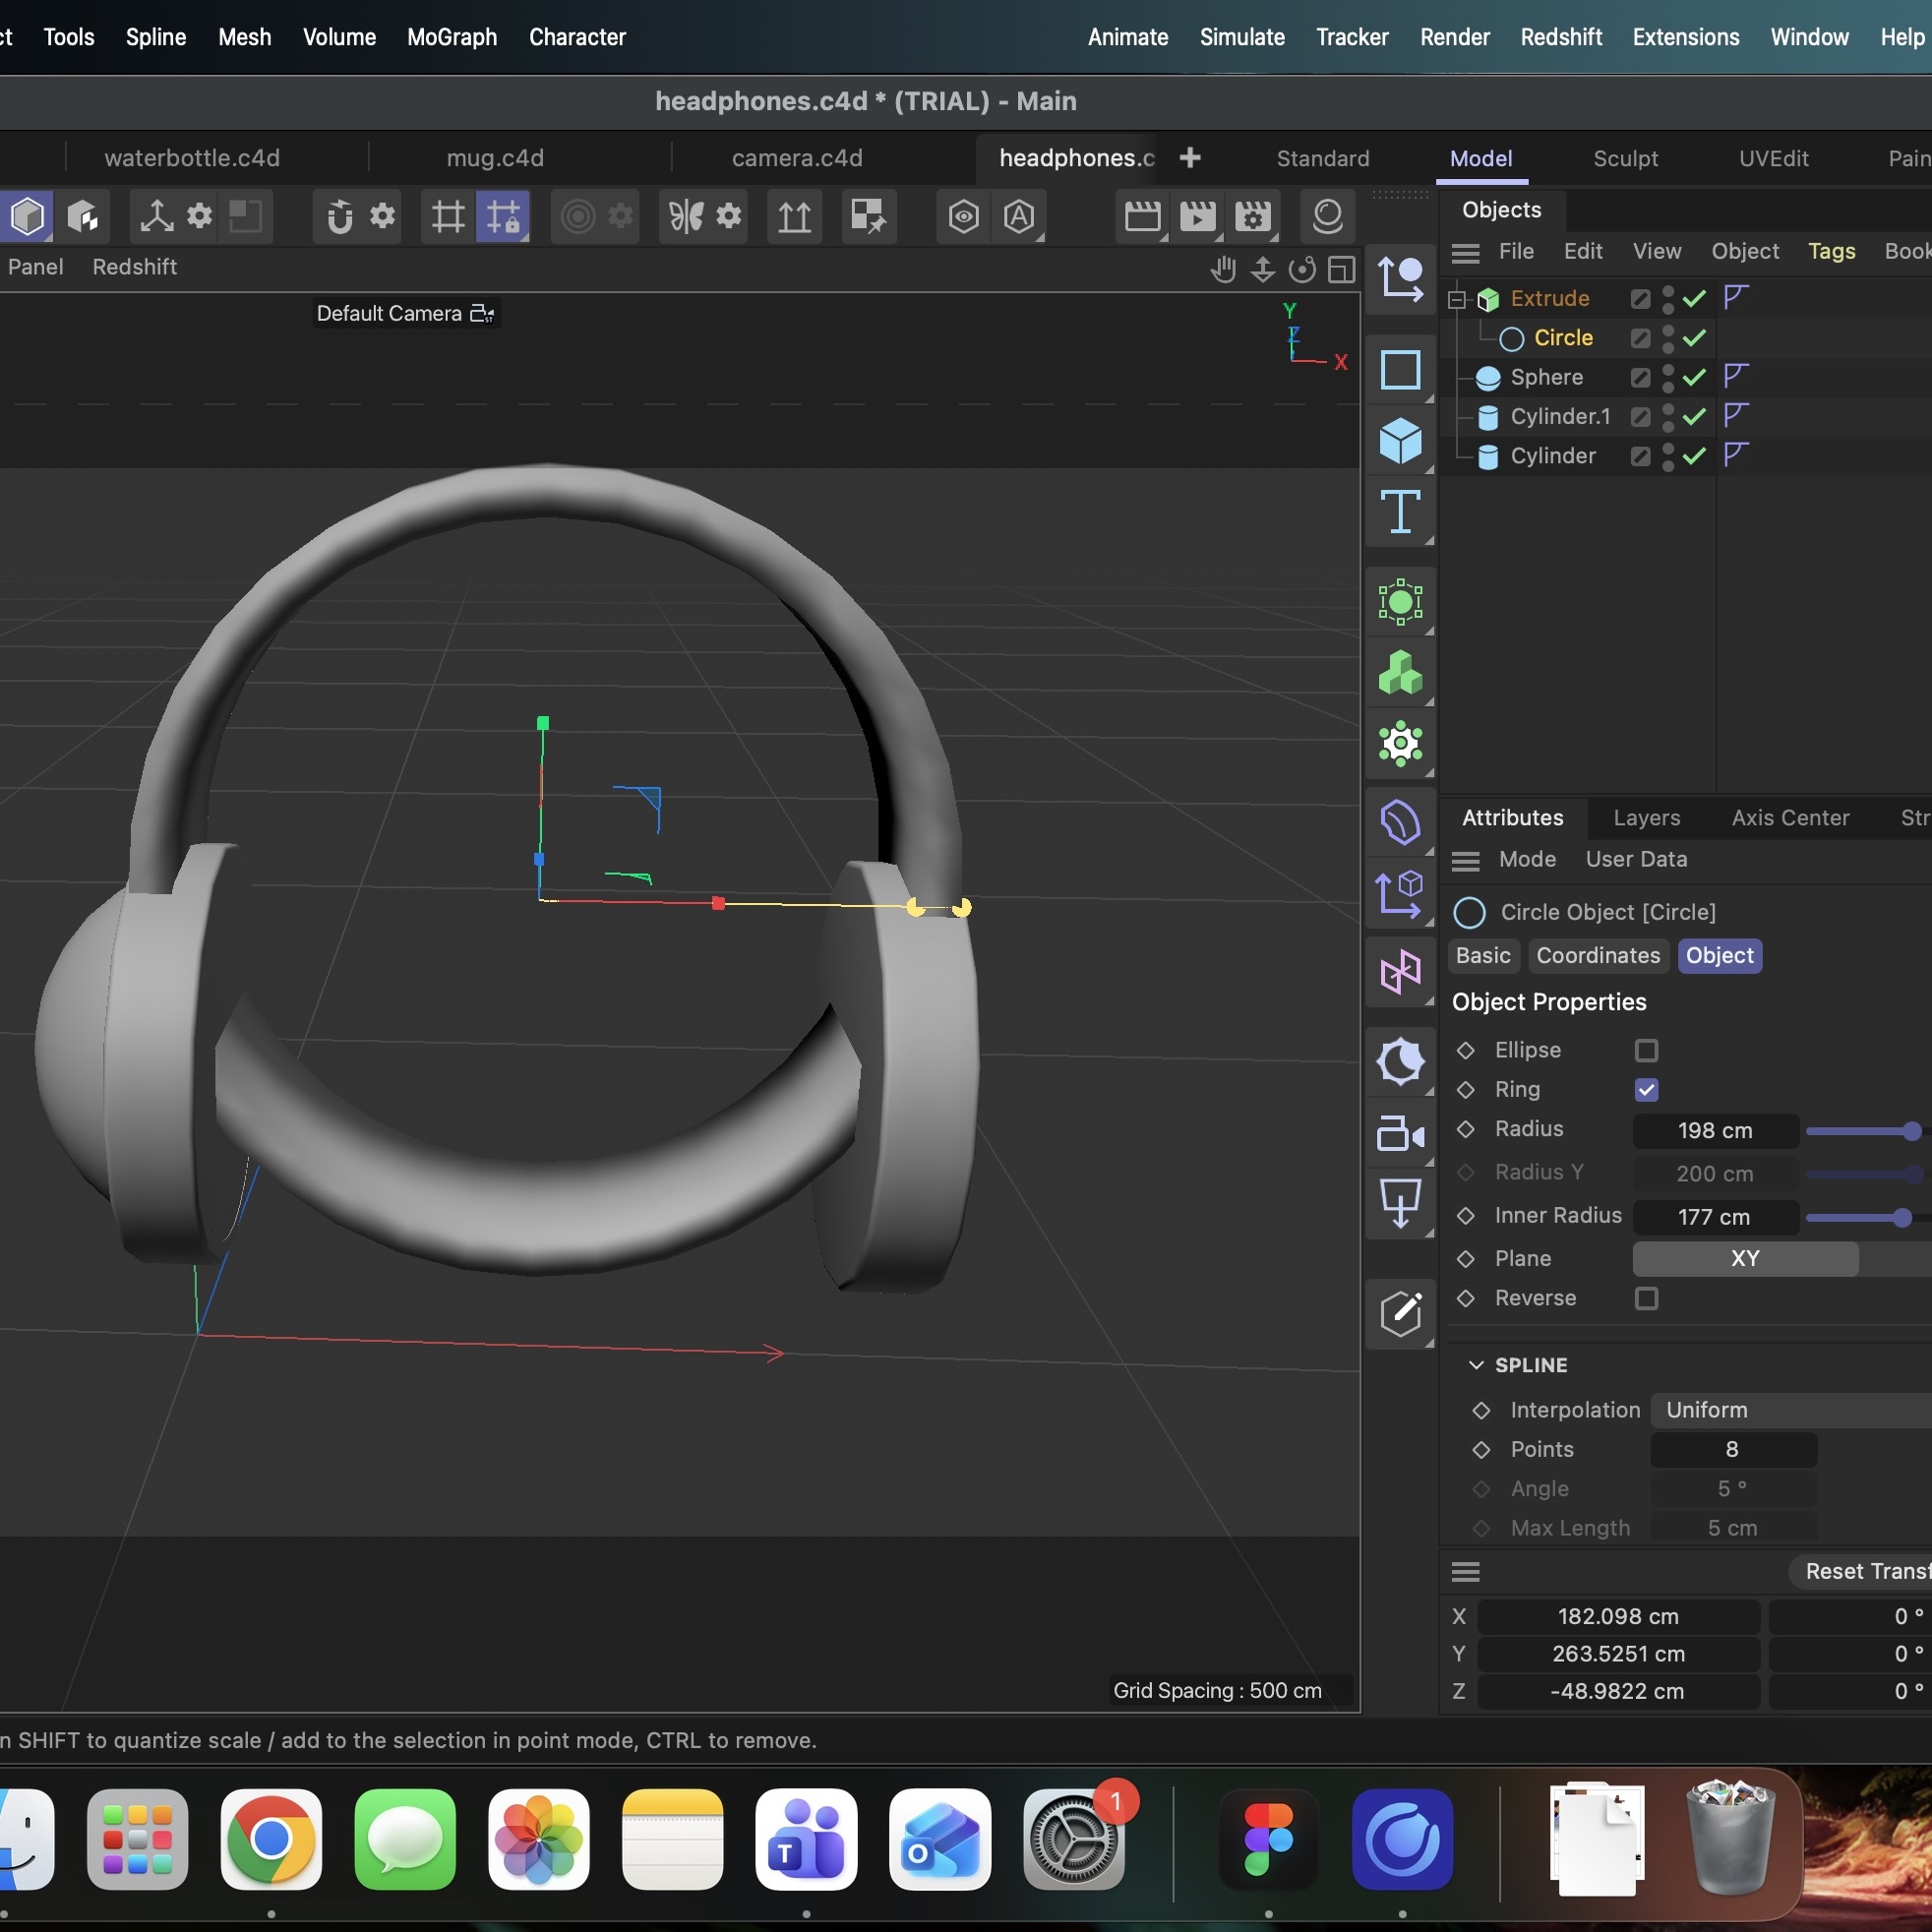
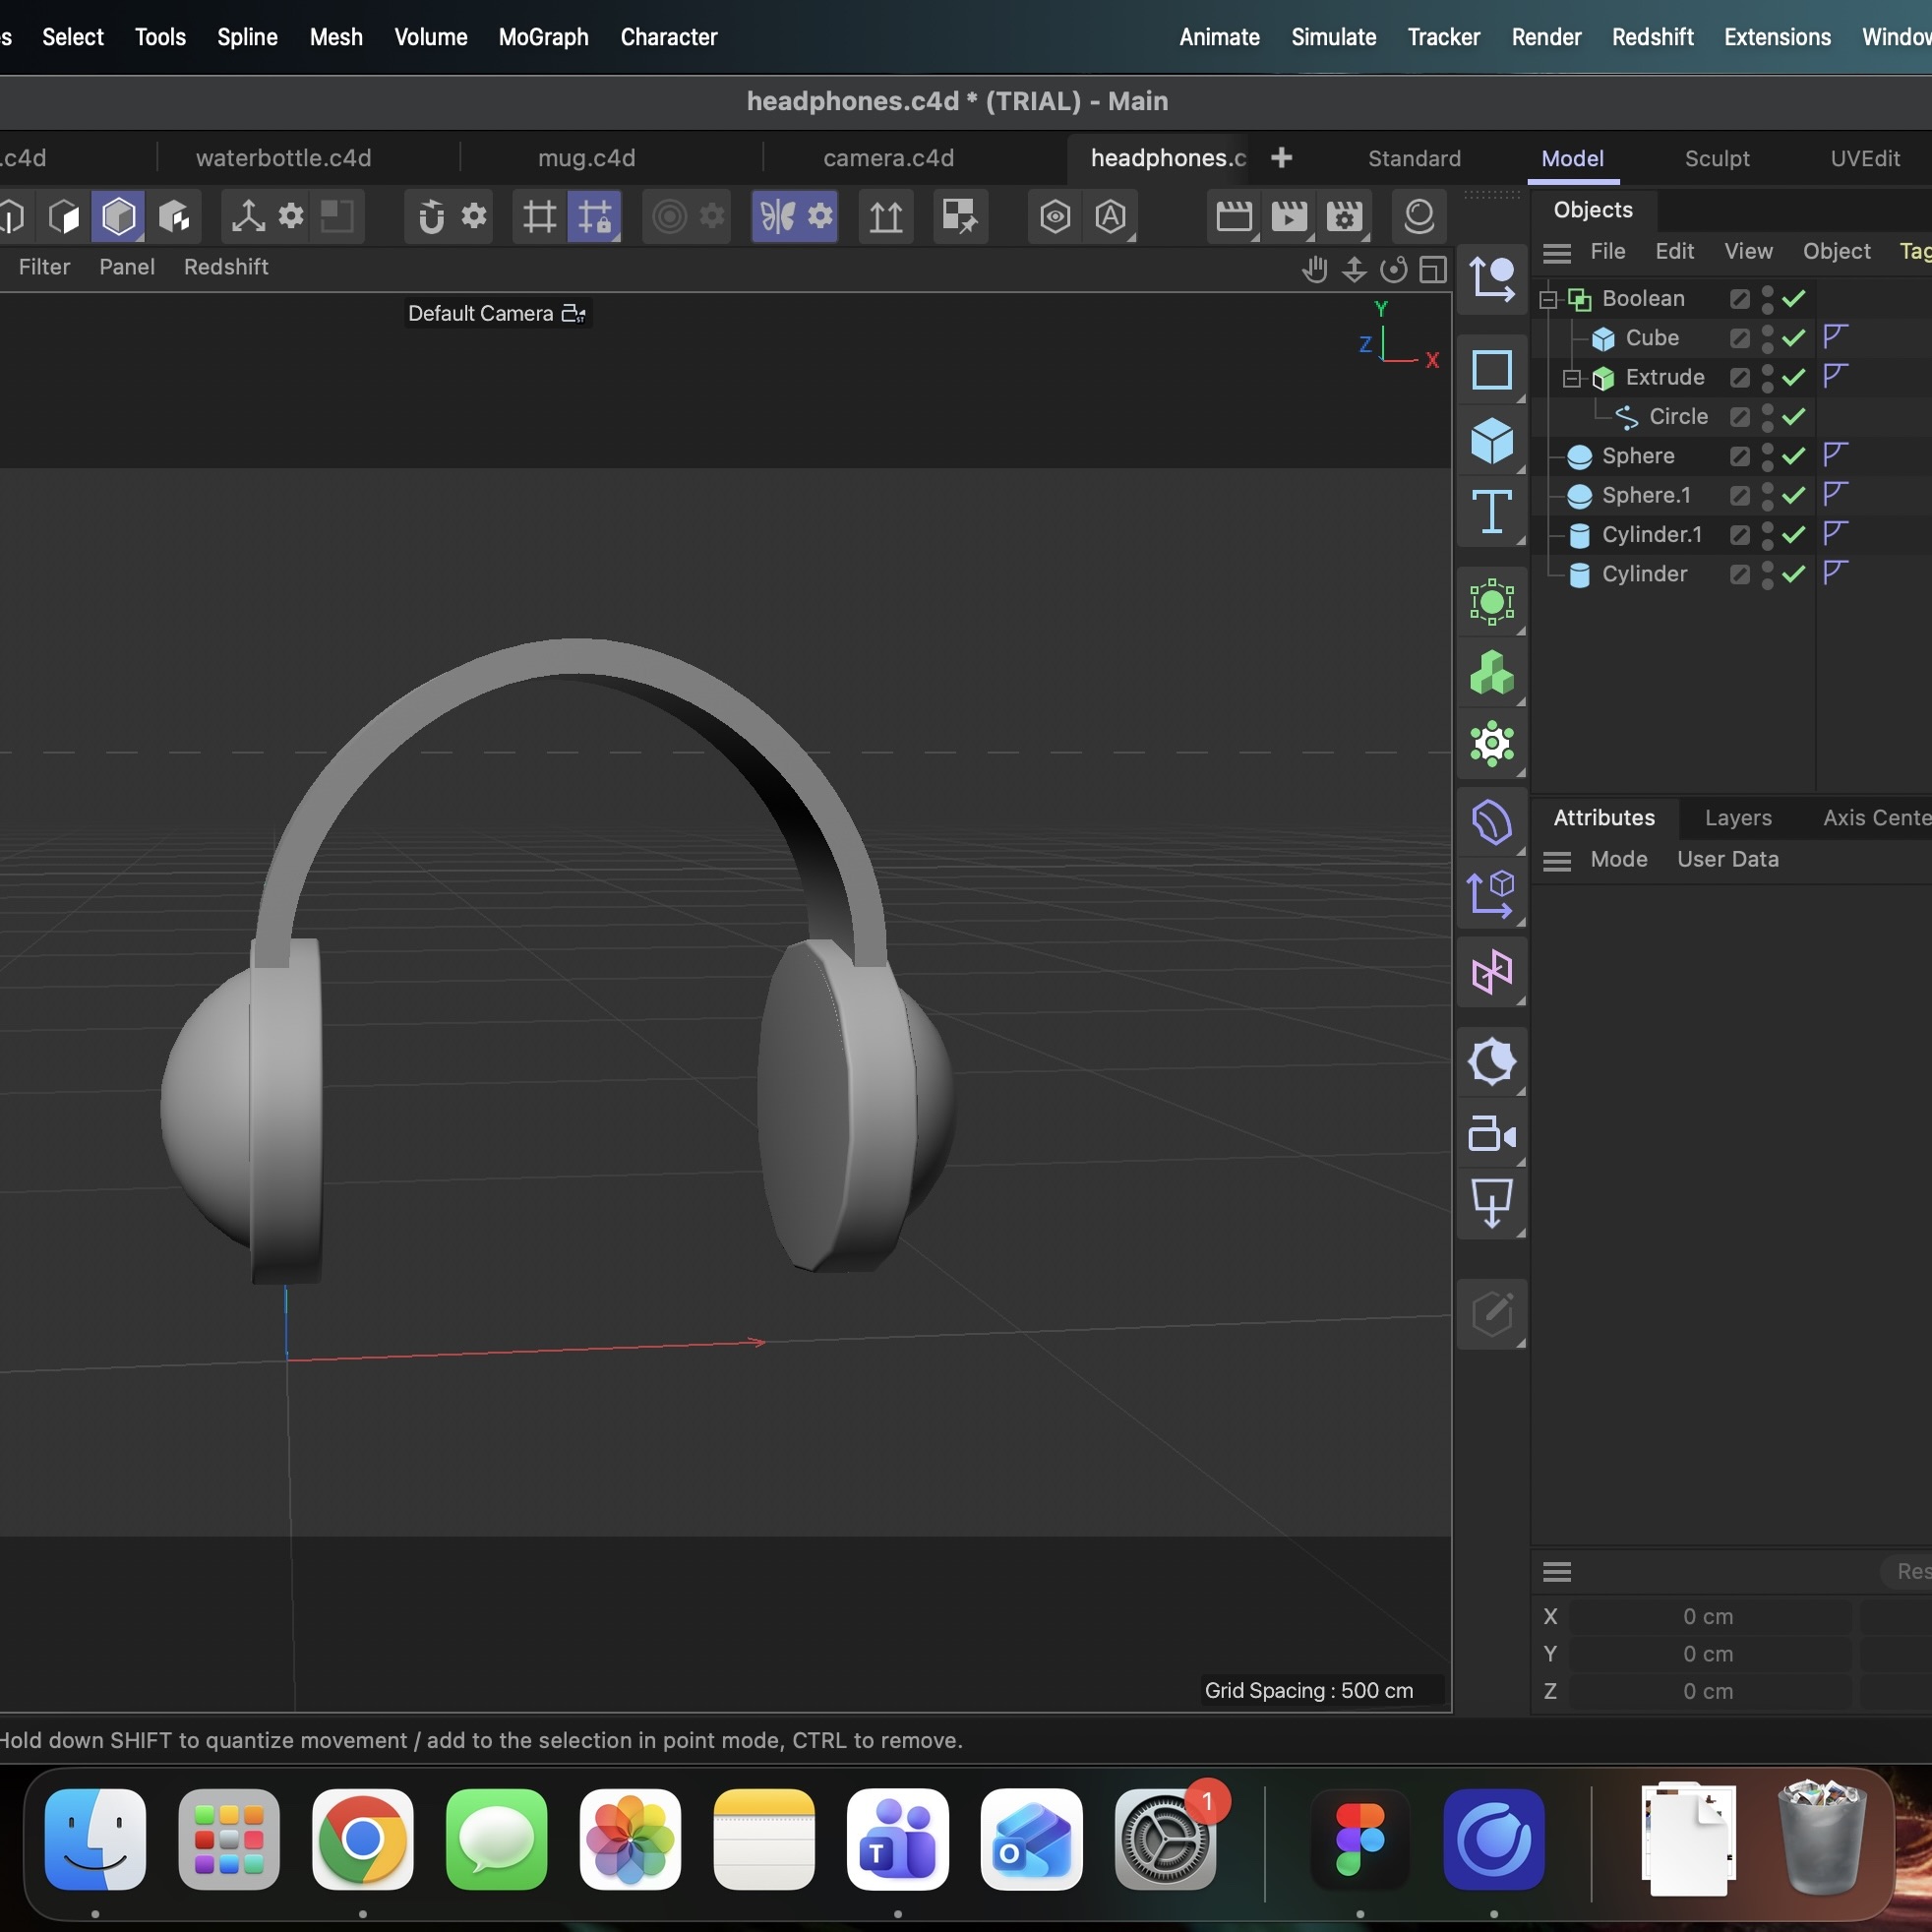
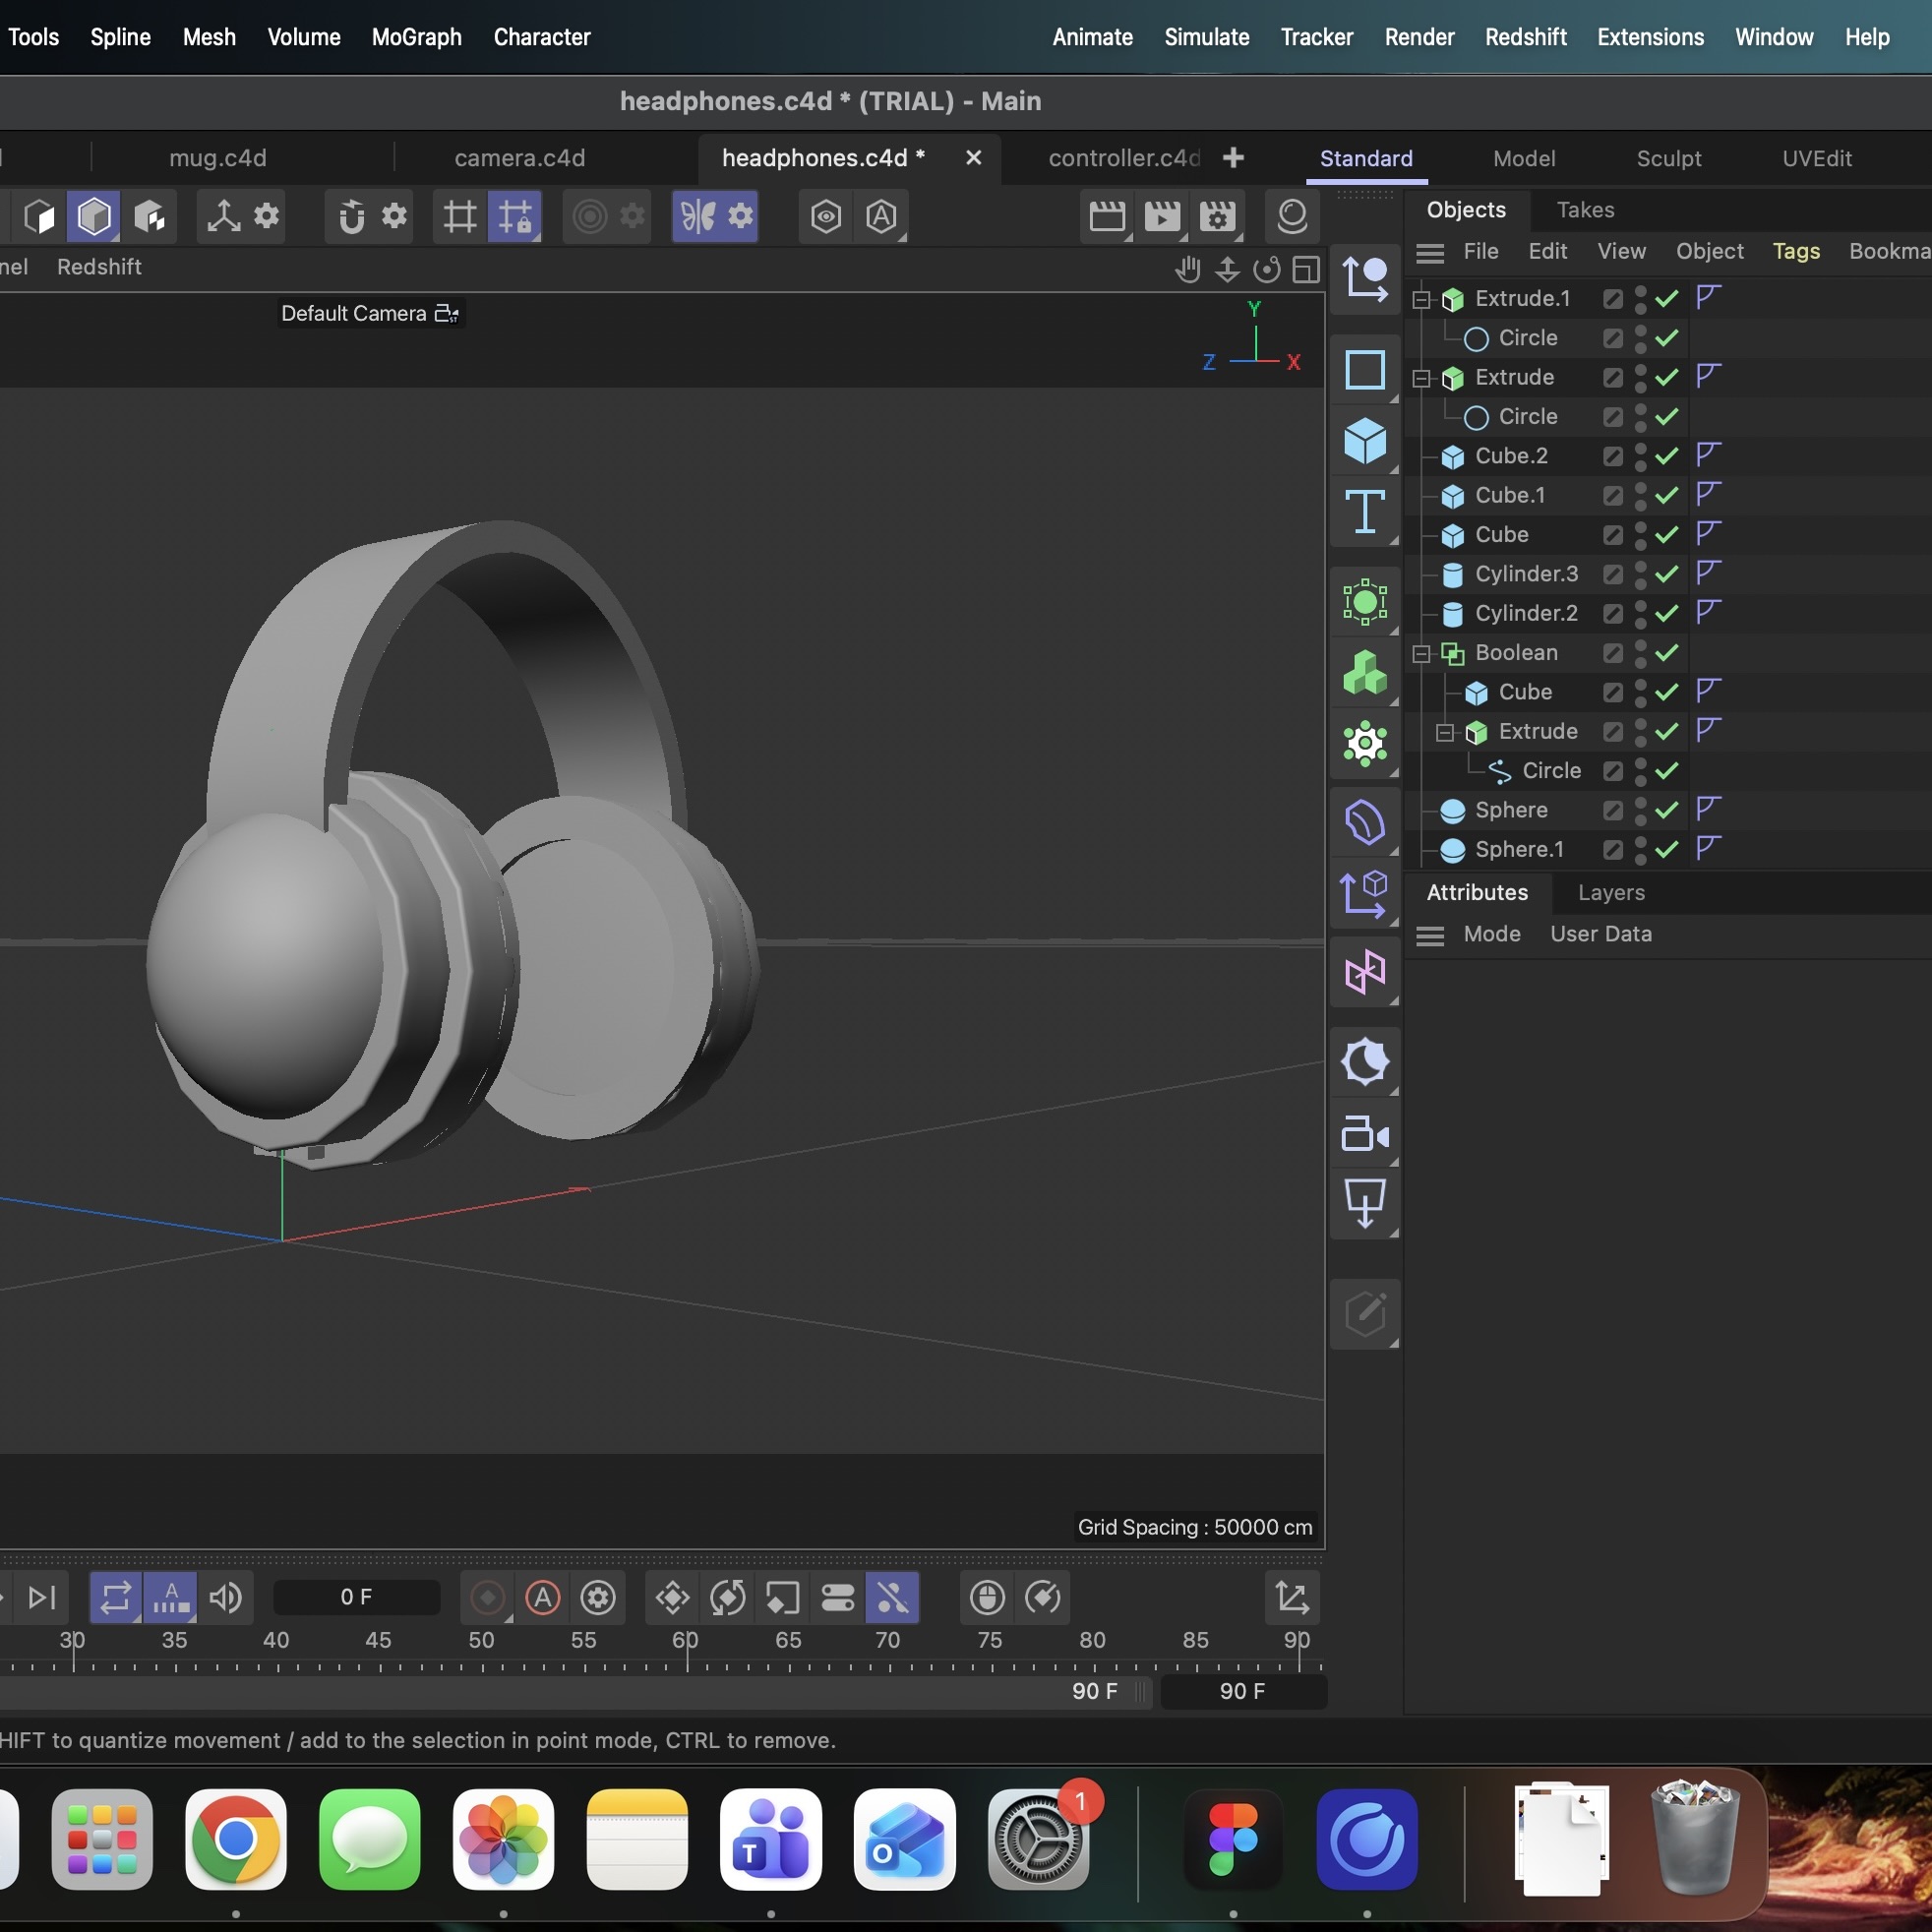
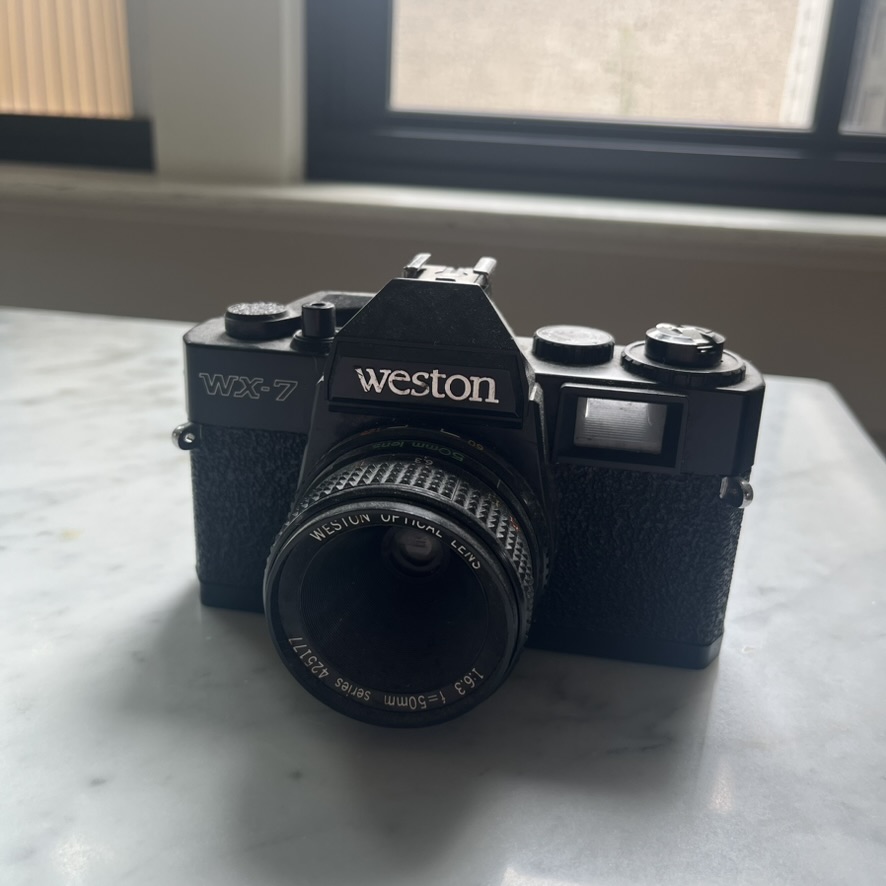
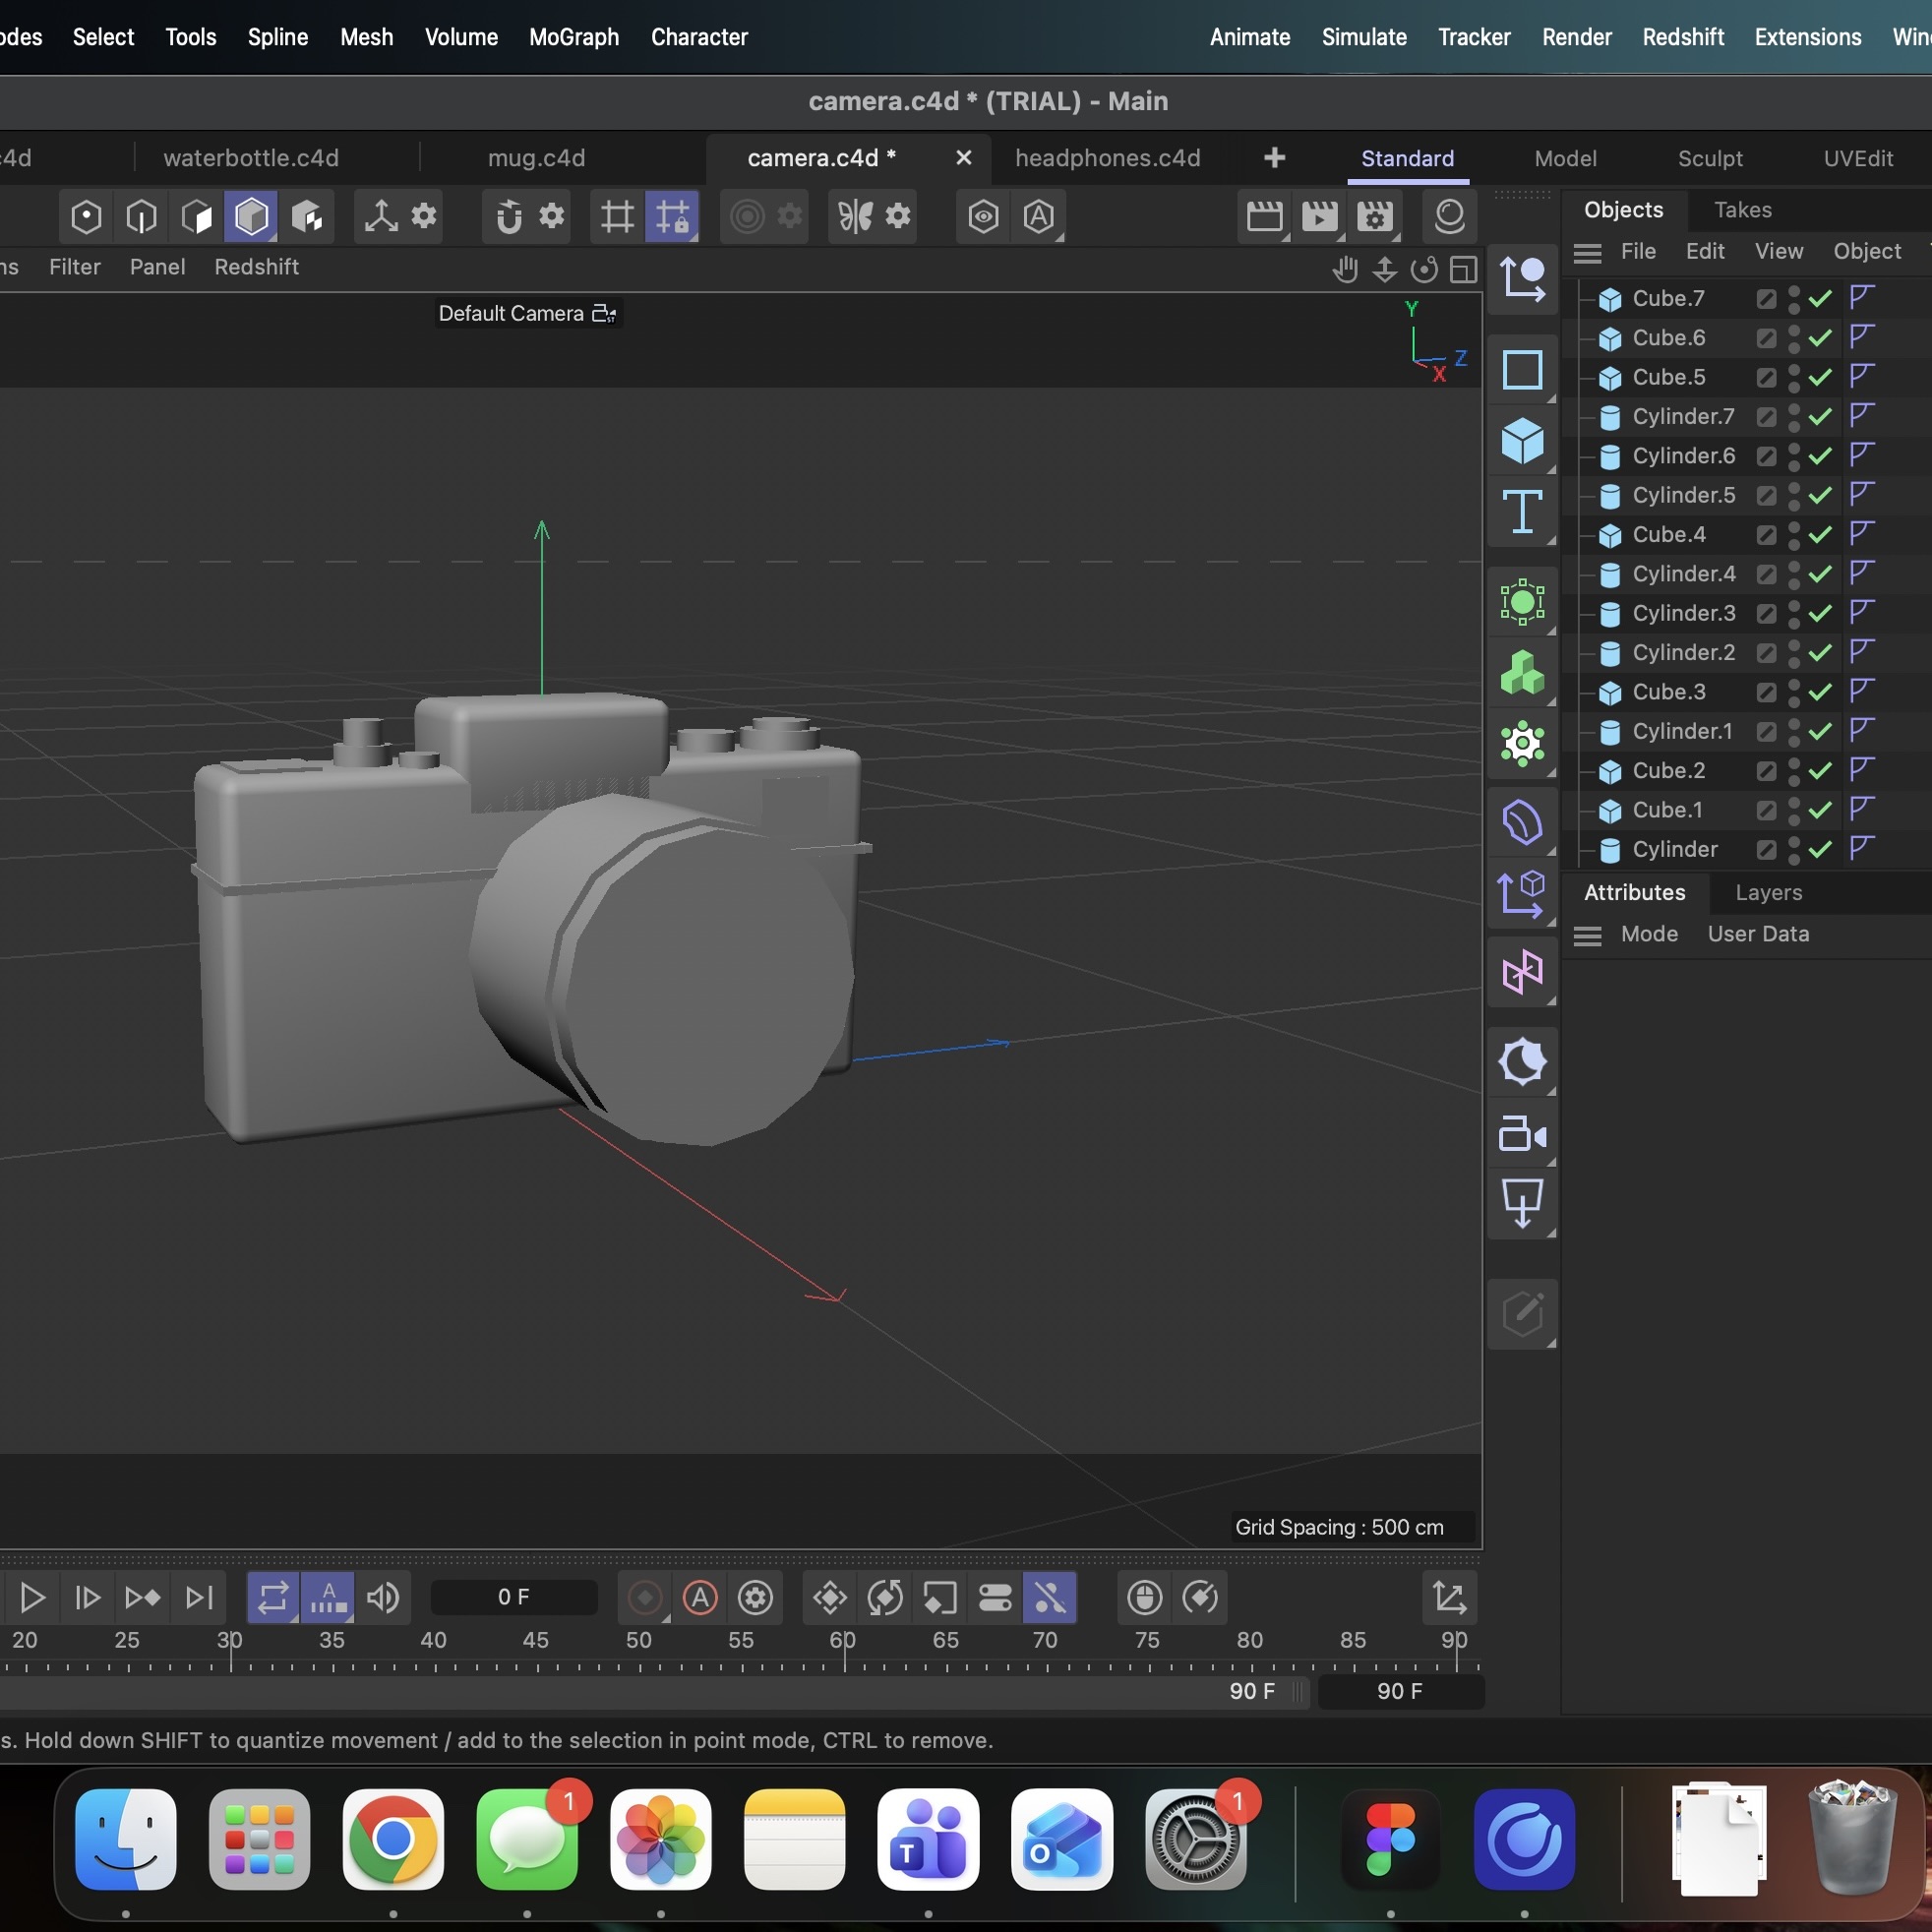
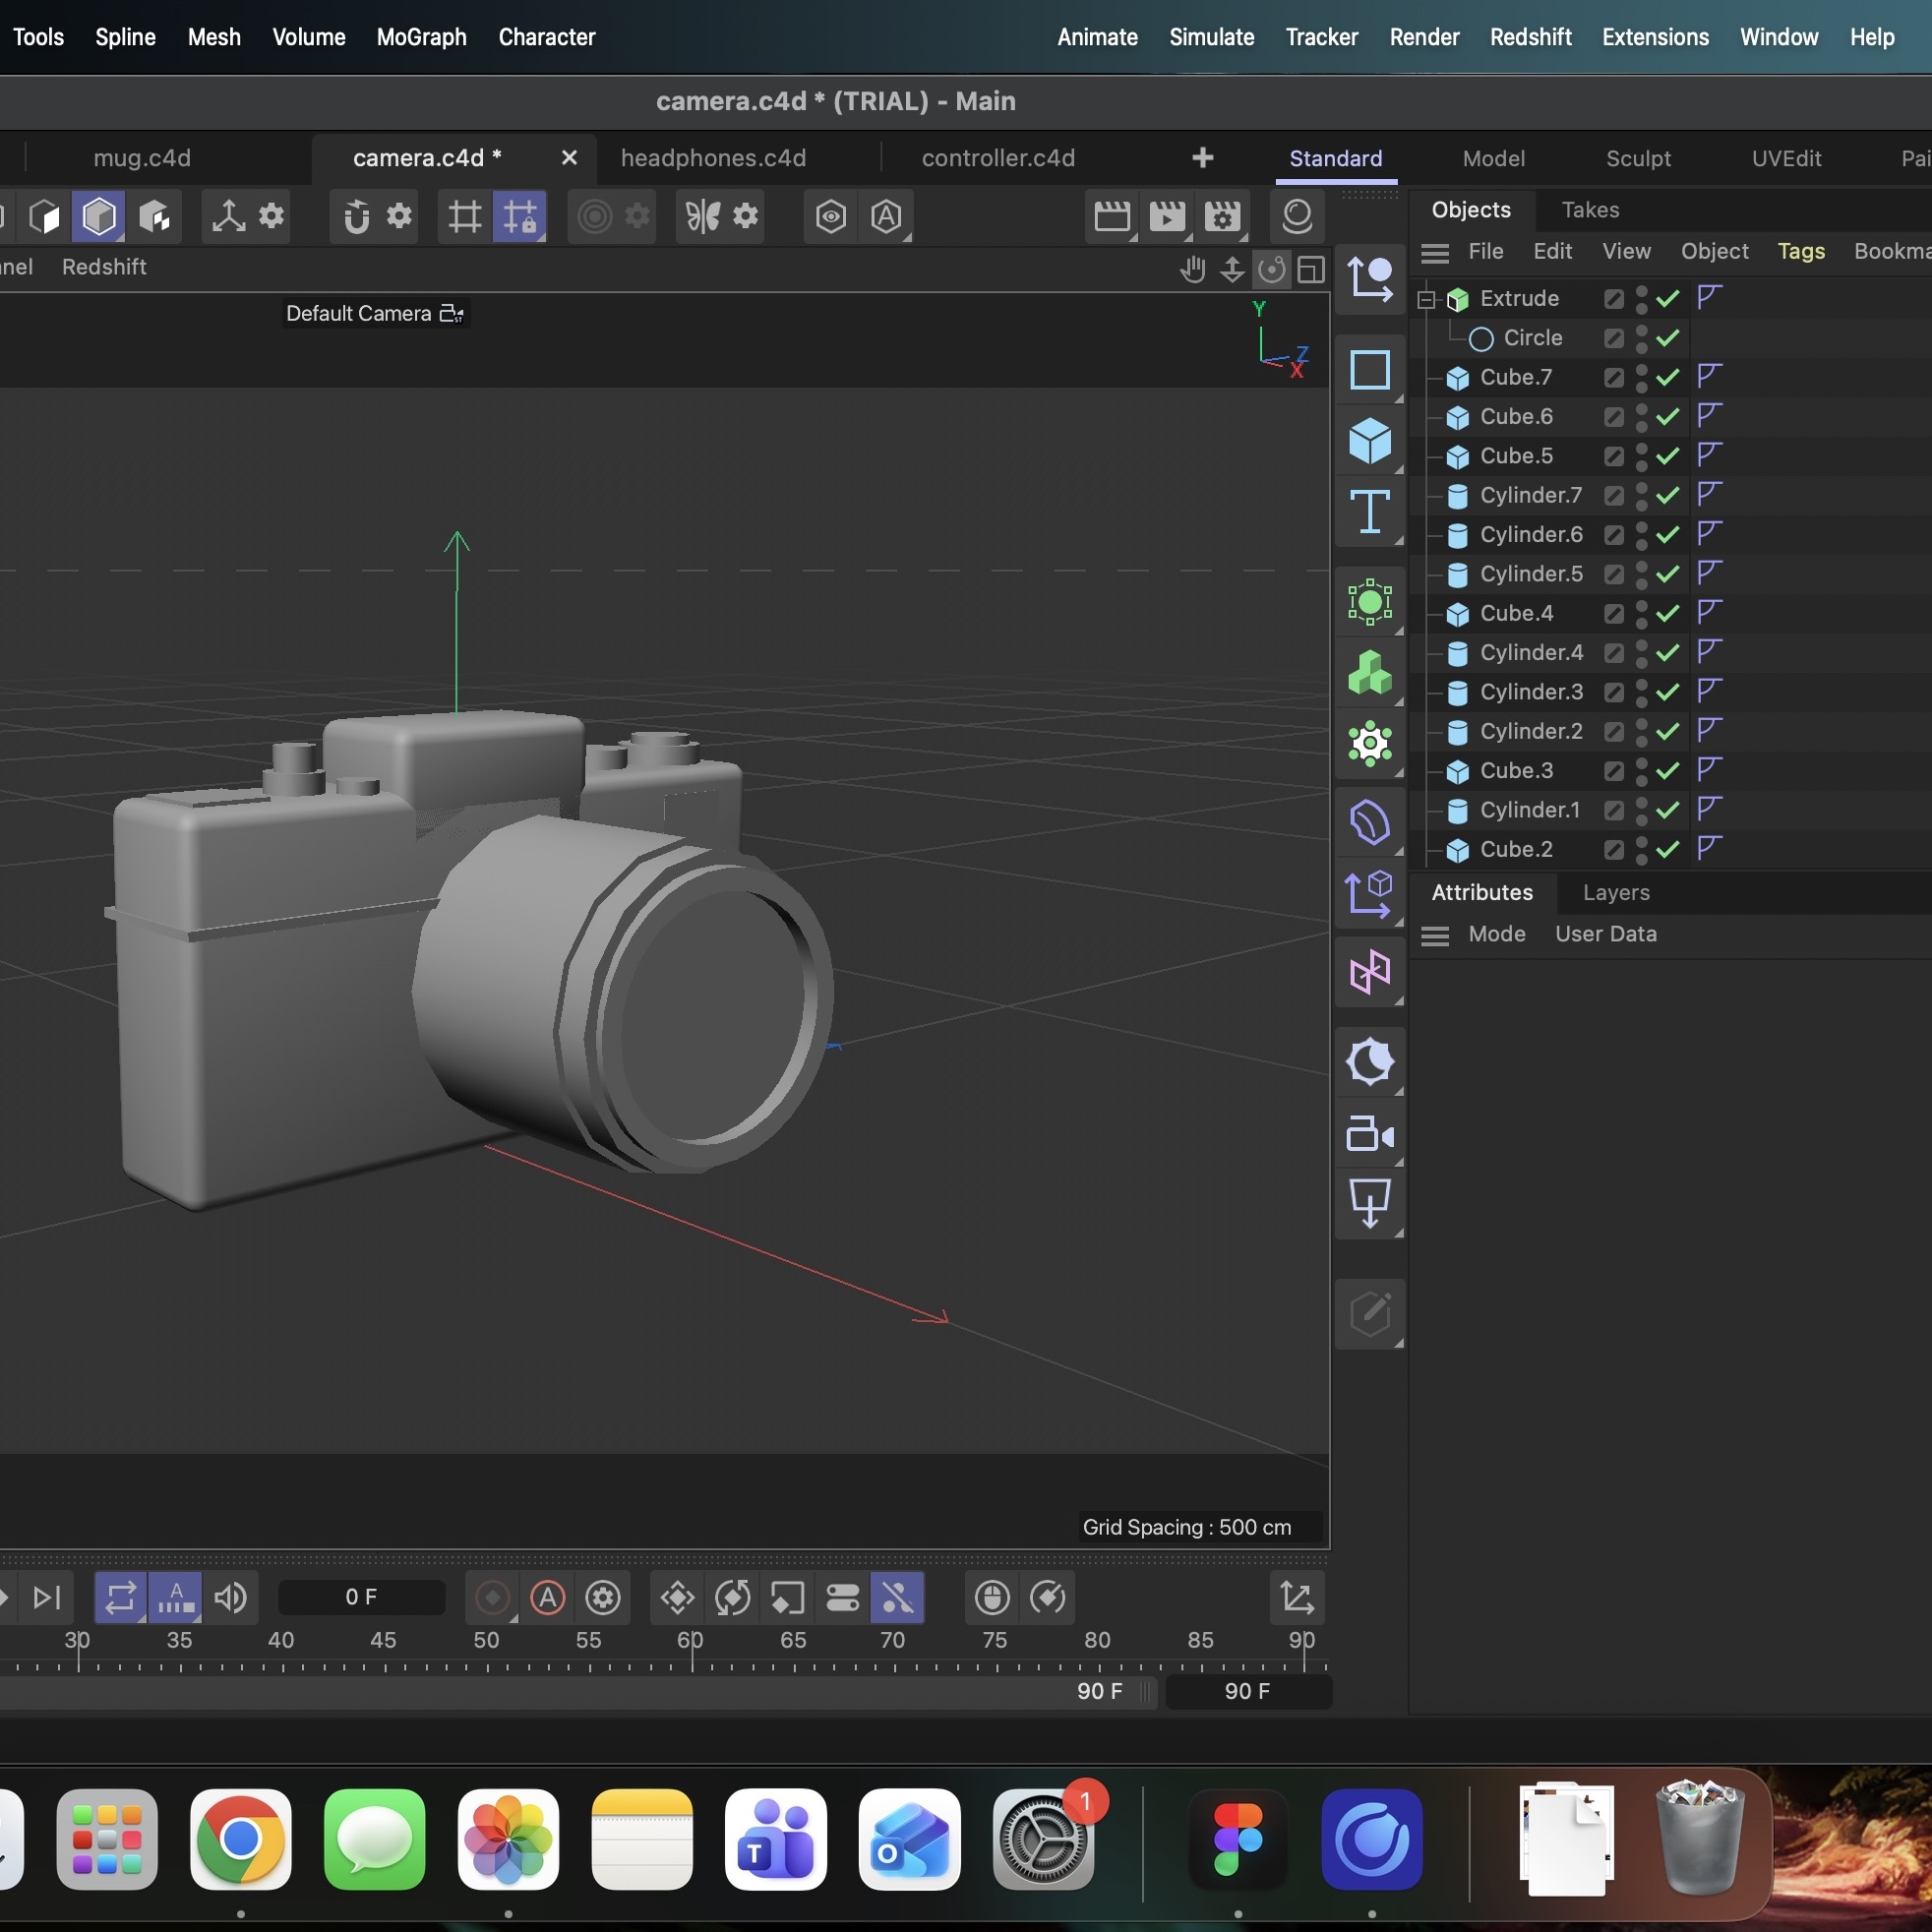
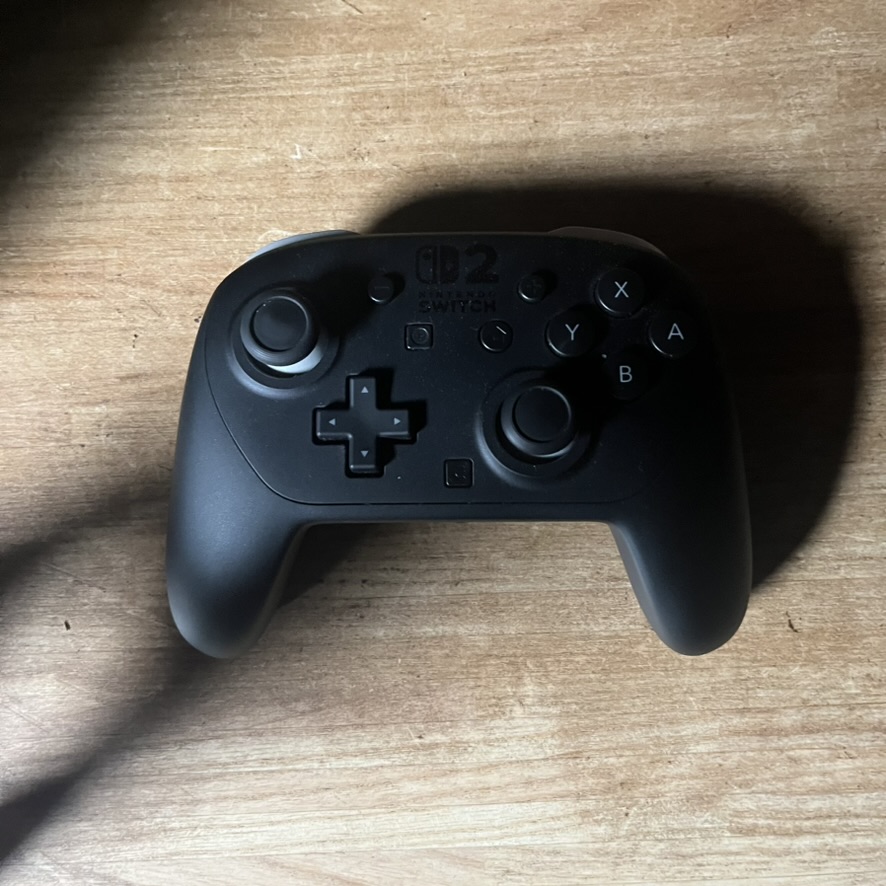
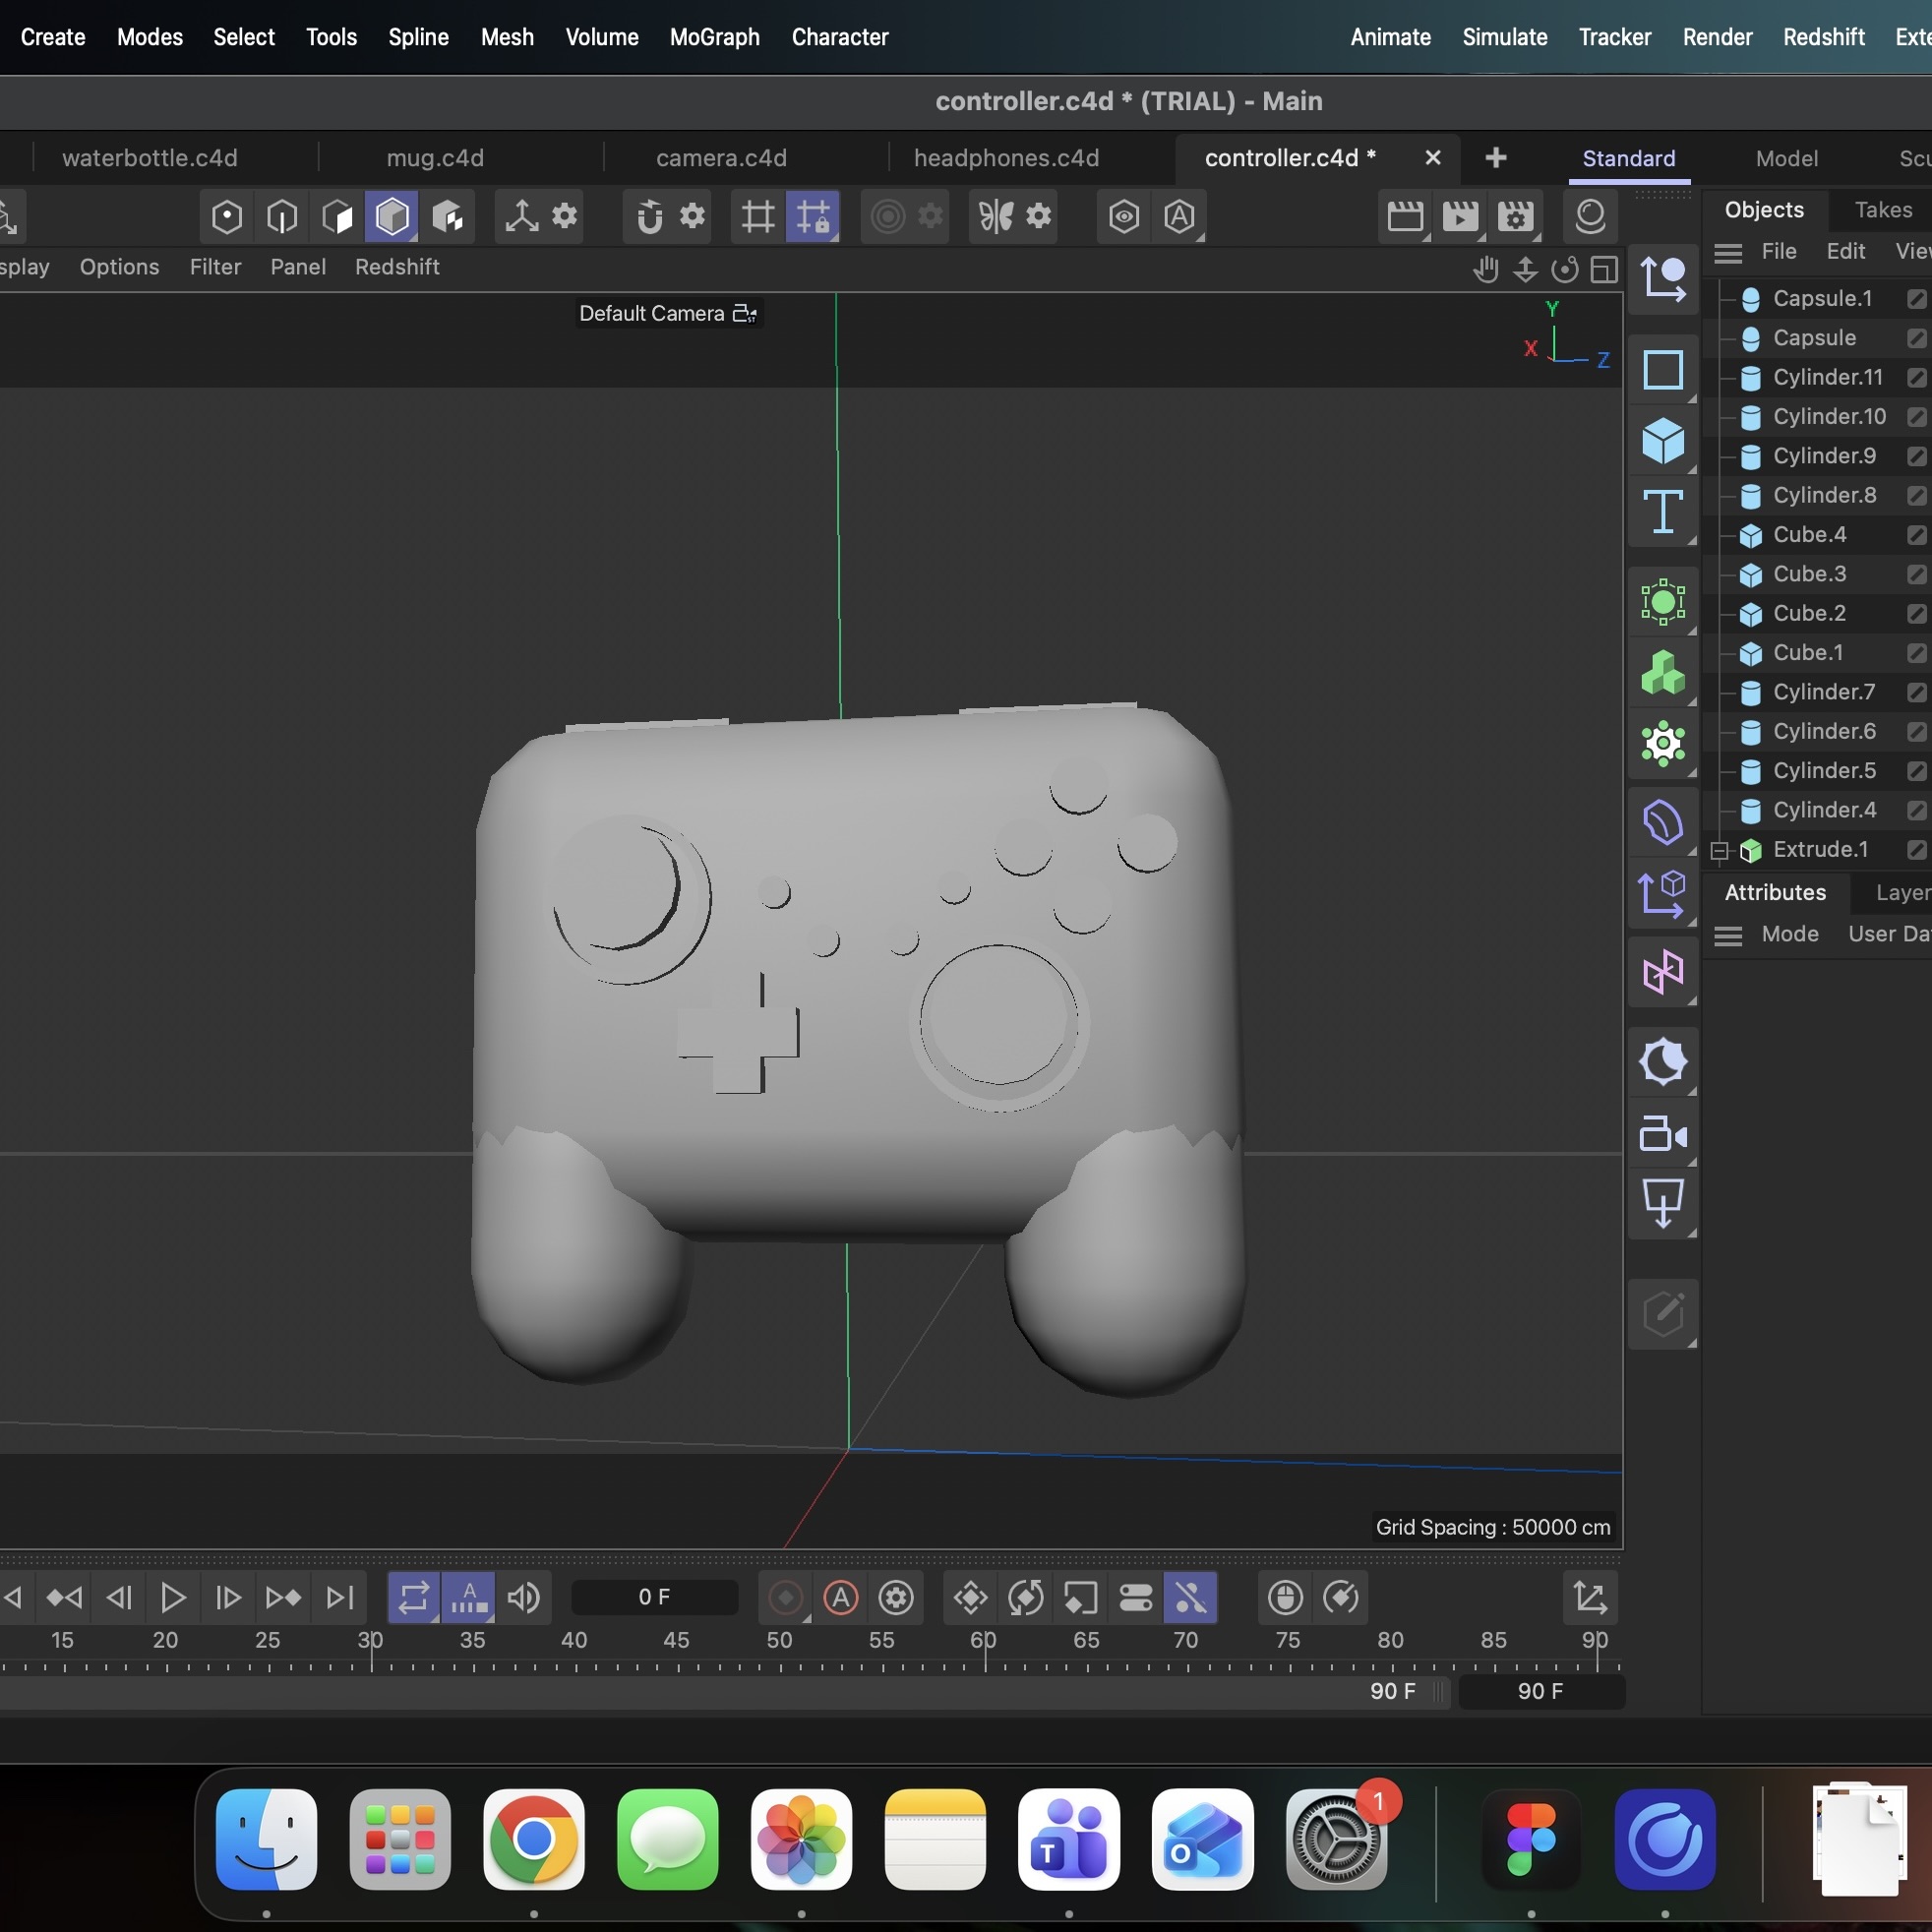
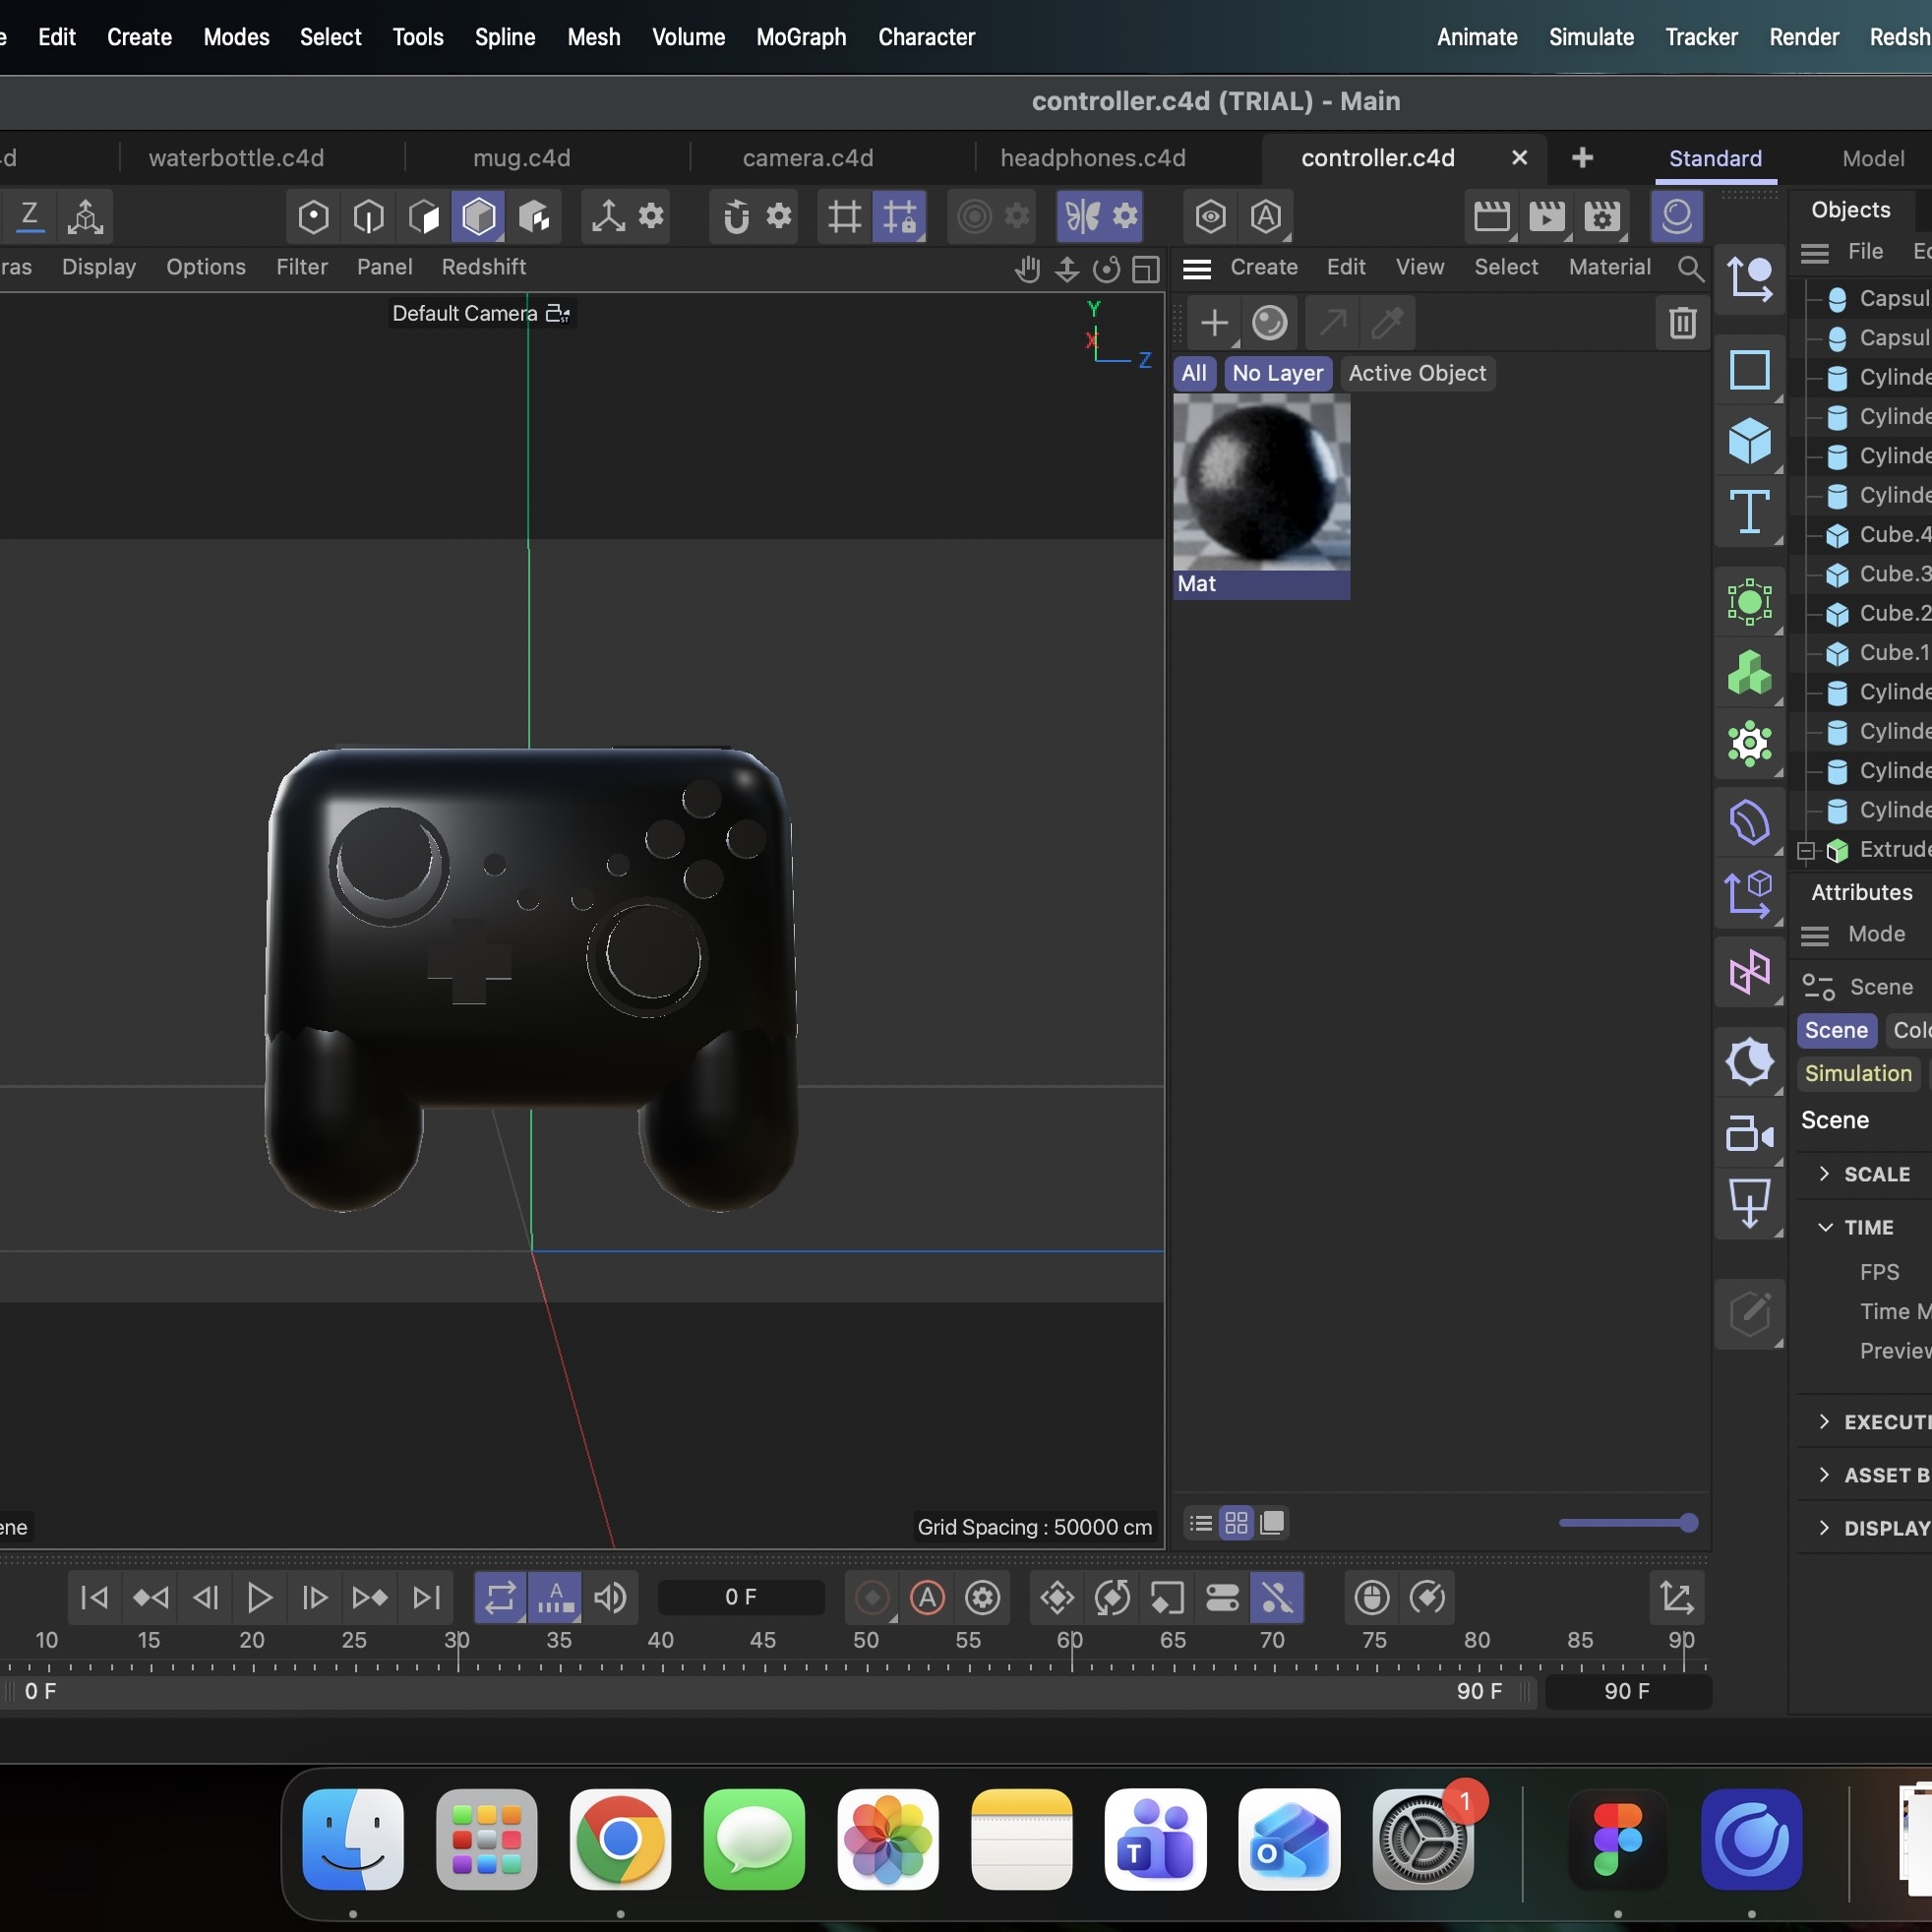
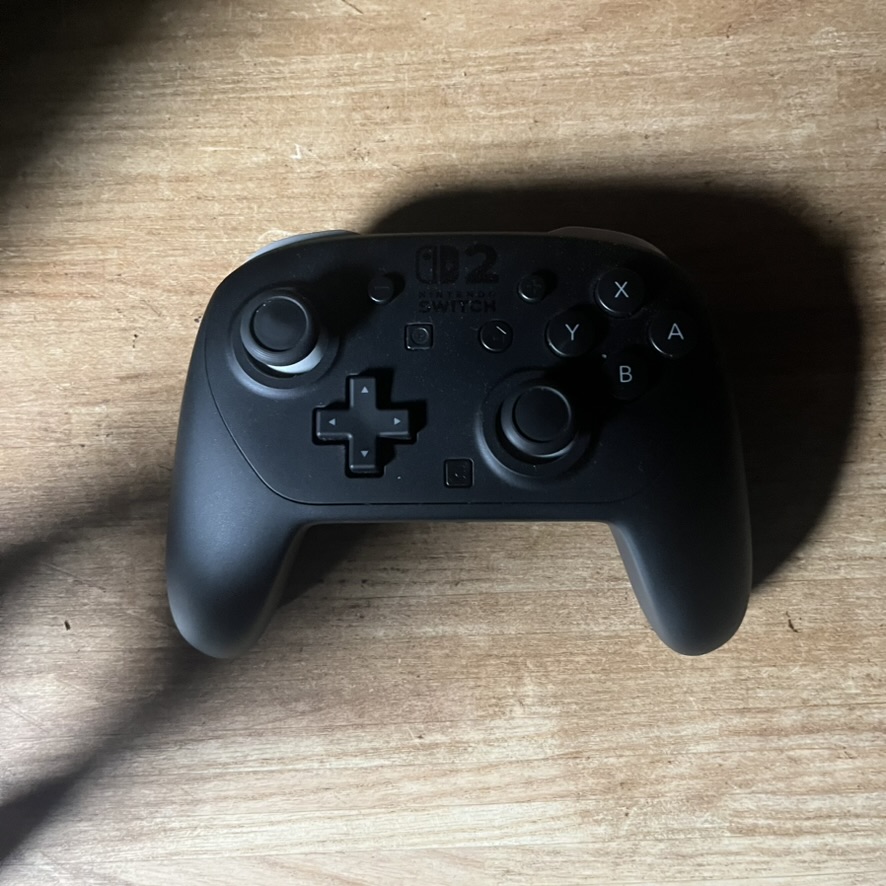
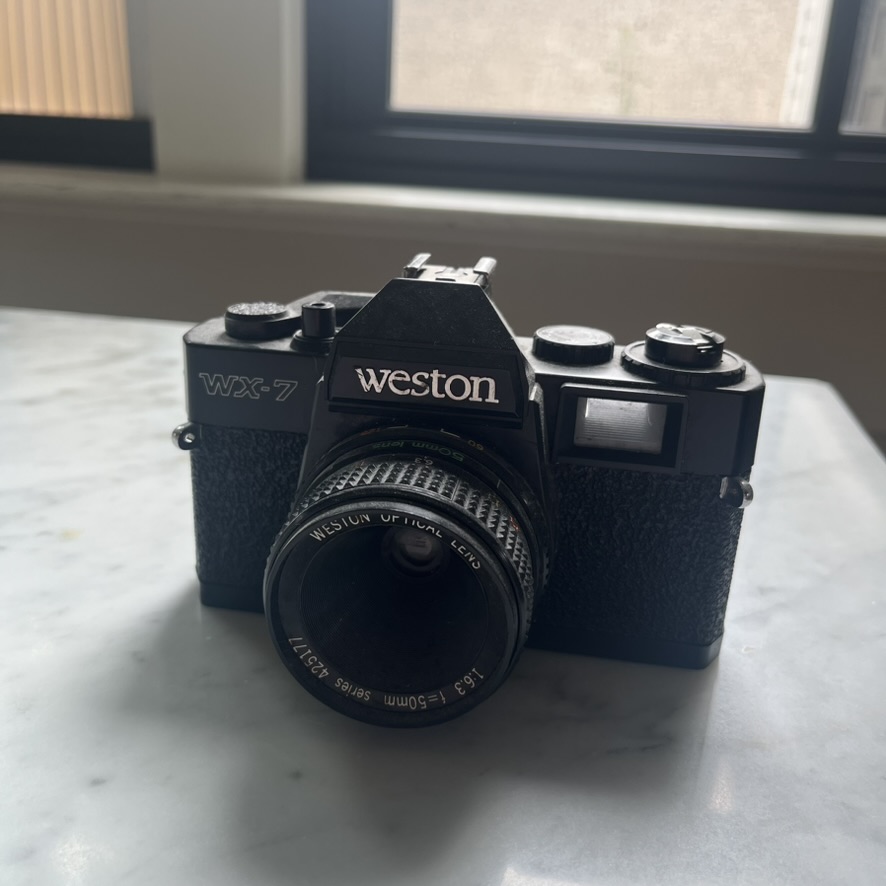
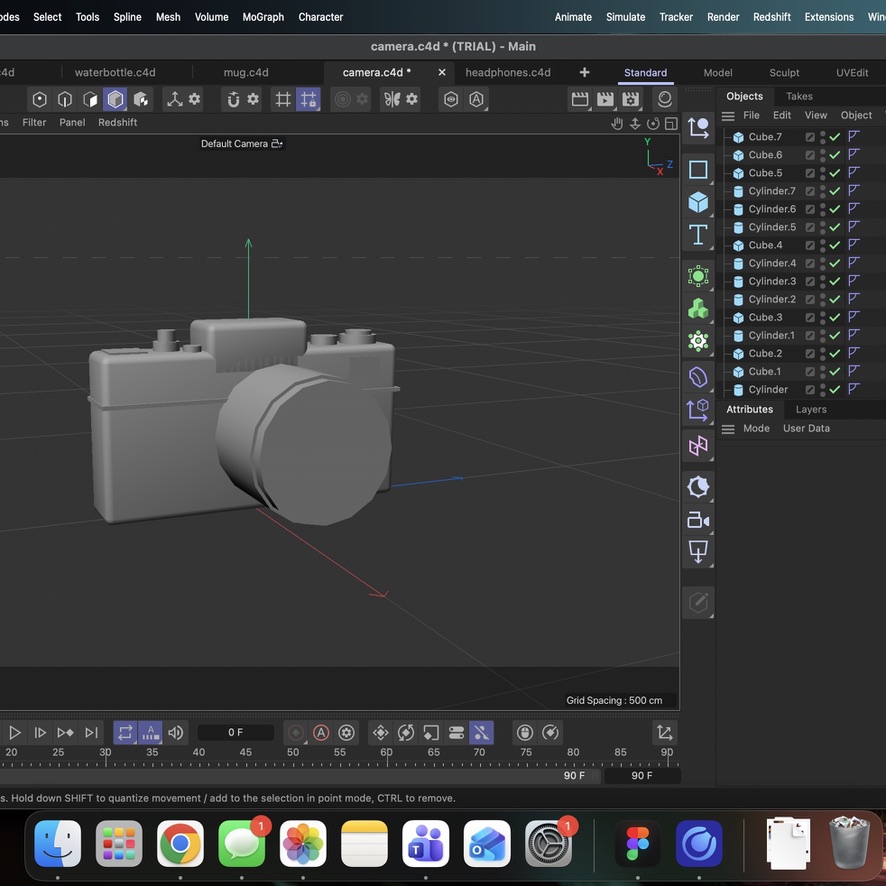
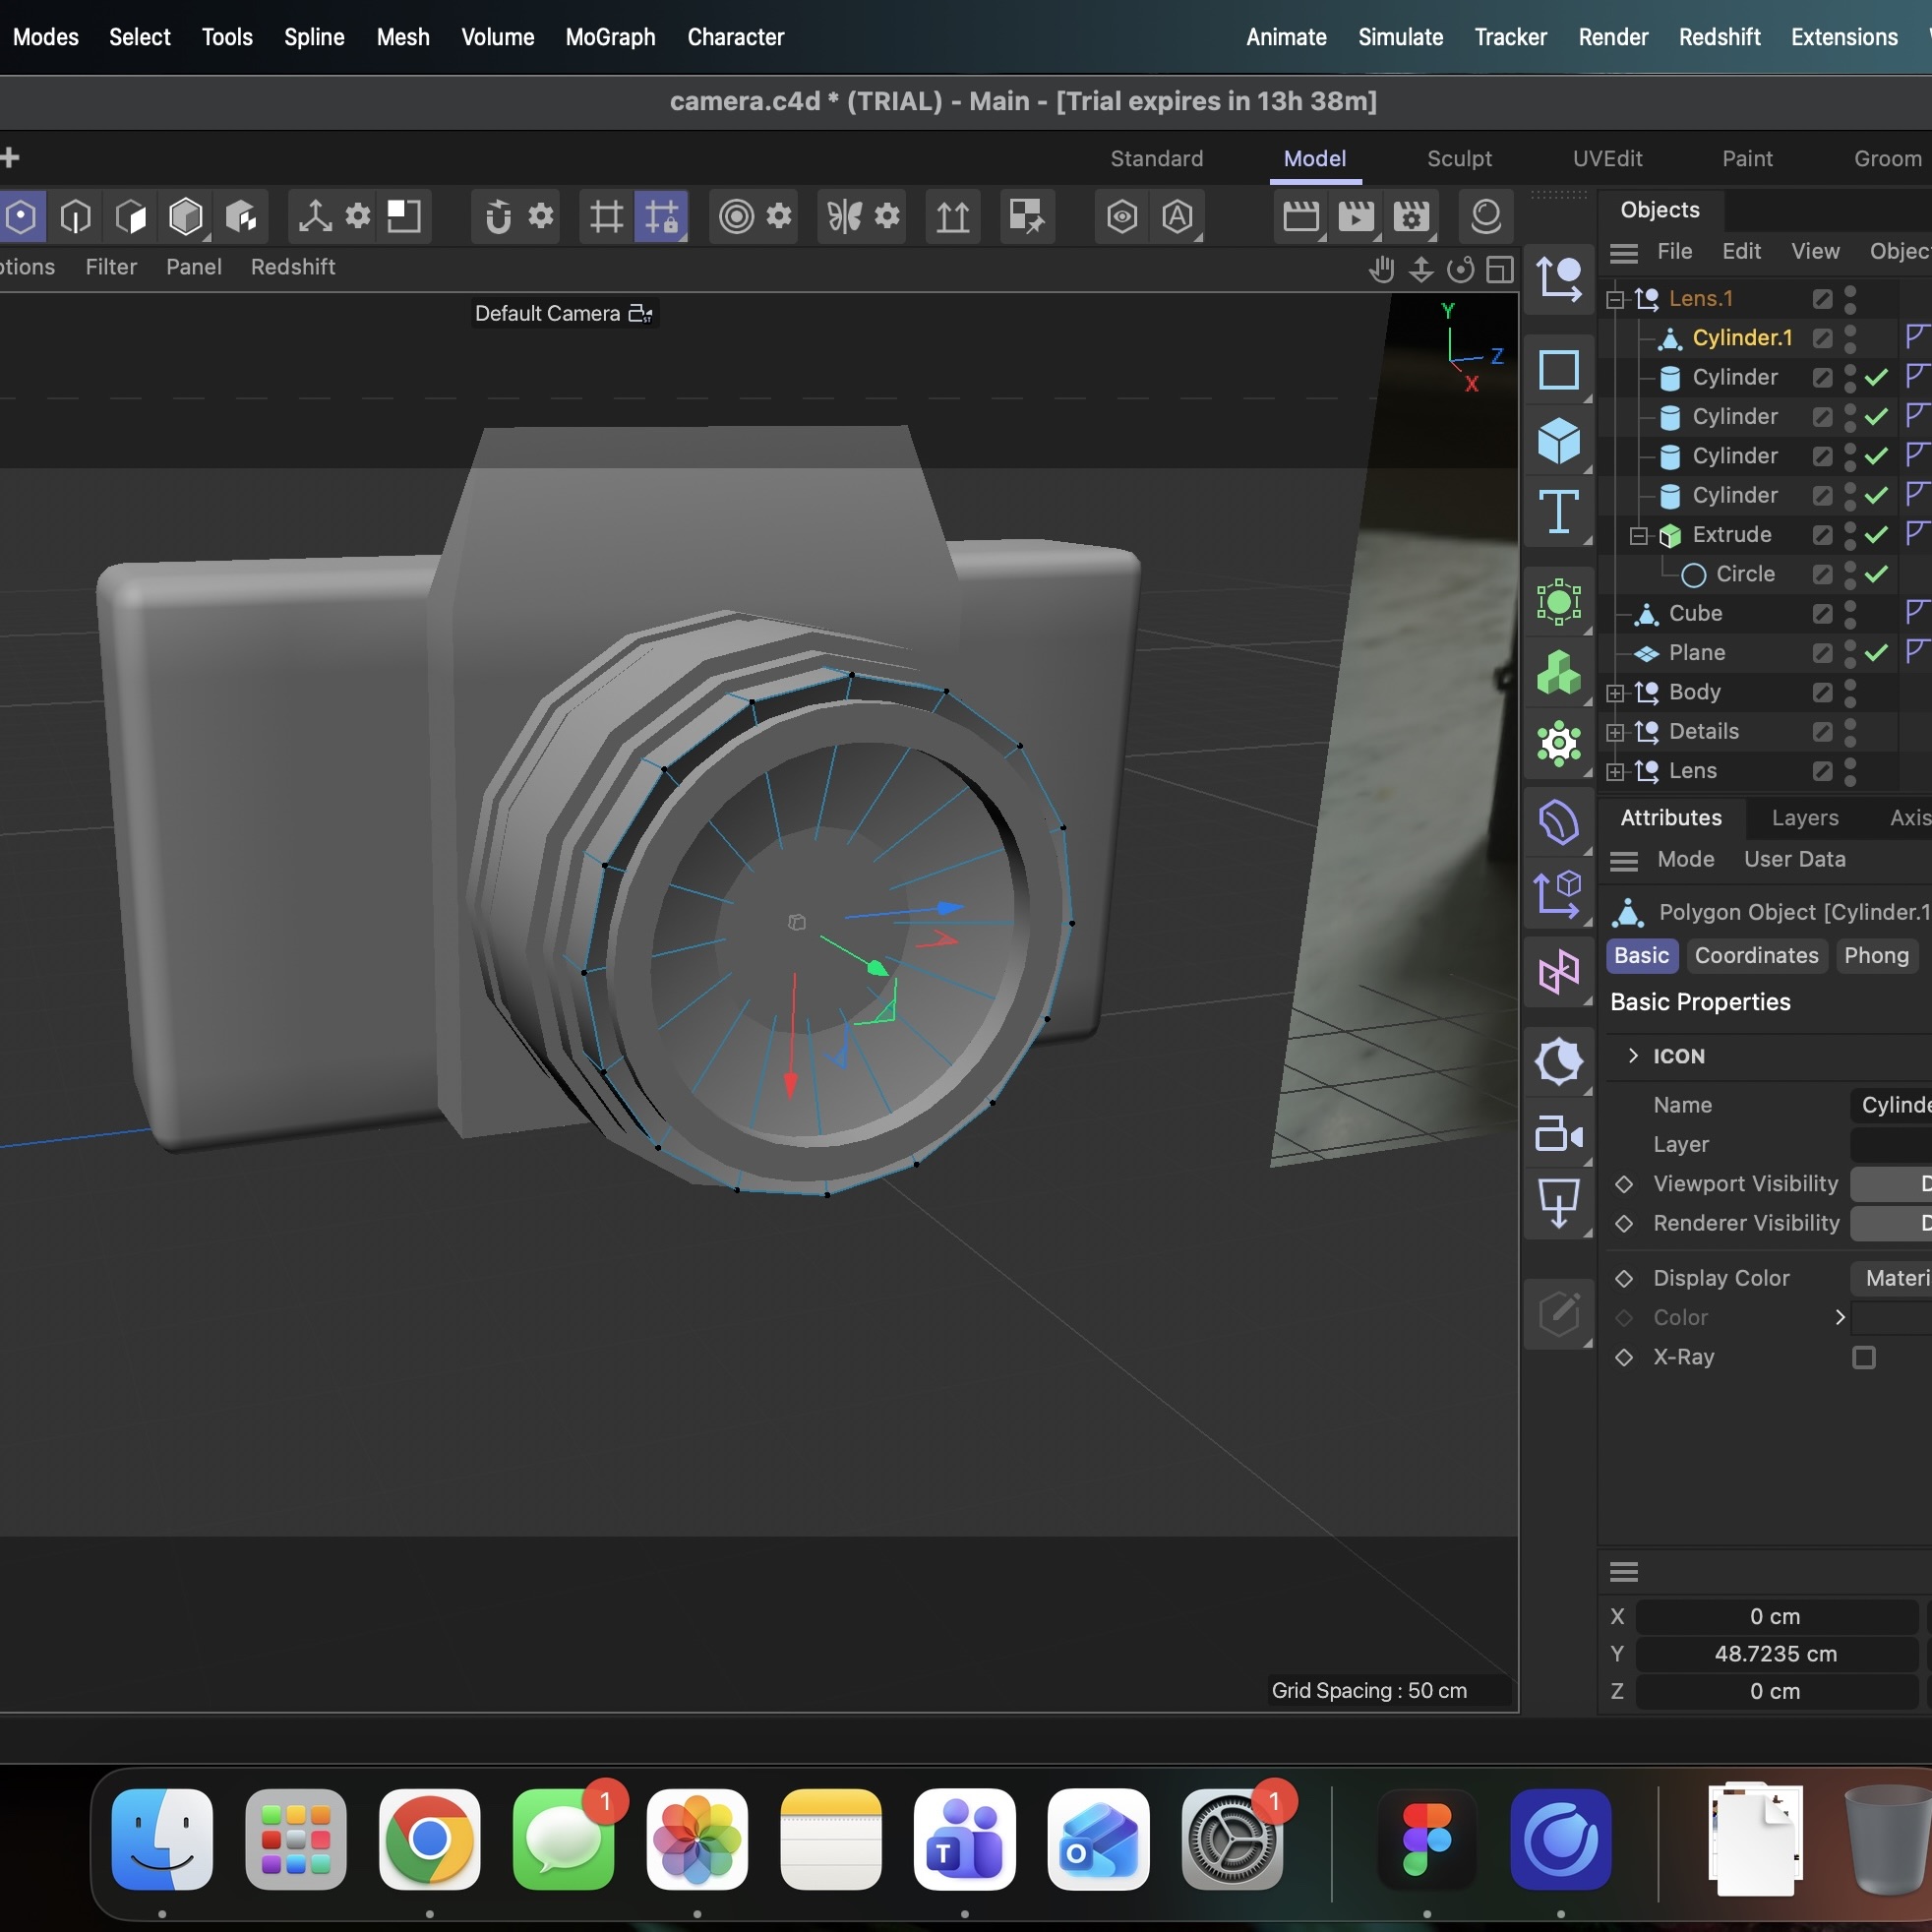
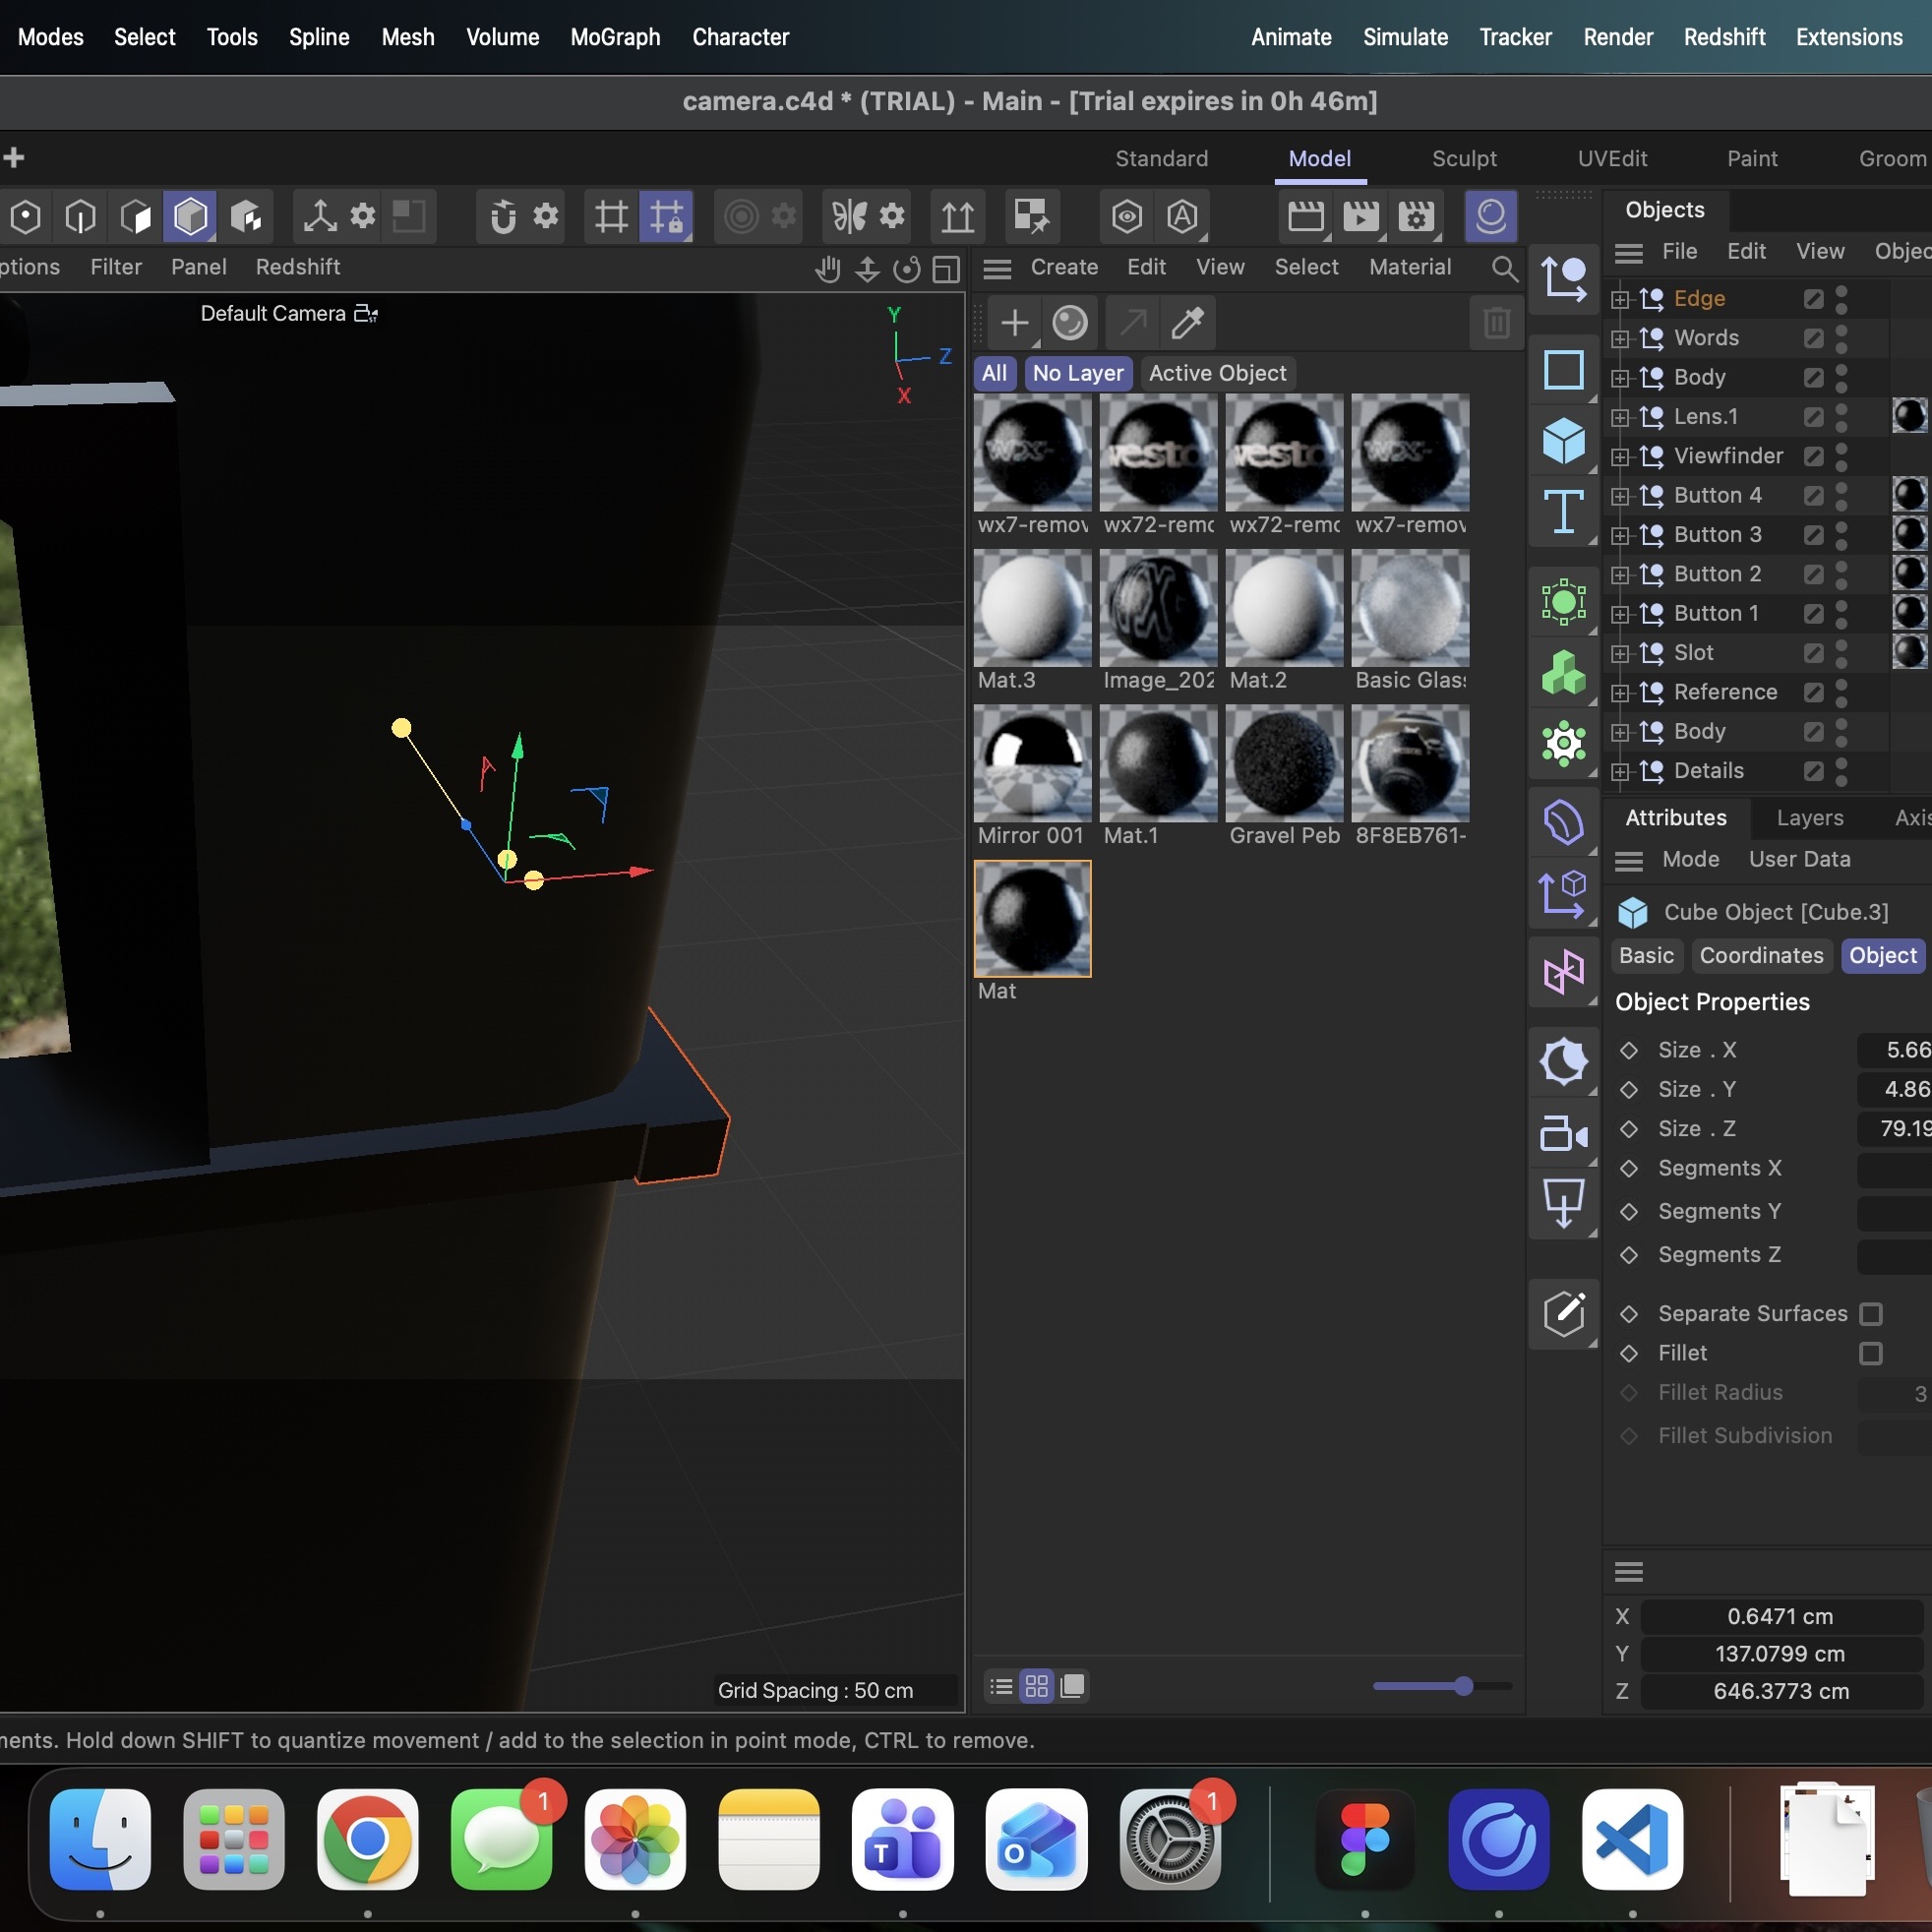
This is an image of my first simple object I am going to try and recreate: Airpods Here I created a primitive cube shape to start modelling the airpod I then added some more cubes and played with the sizes and height to create the indent in the object, I also learned how to use fillet, which creates the rounded edges of the object Here's the image of a waterbottle I am going to try and model next Here is my completed model that I created using basic shapes, I did learn later that I can use a bevel to make a more smooth transition when discussing with a peer, which I'll use in the future Next I'm going to try and model a pop can, here is the image I will be using as a reference Here is me creating my first basic shape for the model using a cylinder, I then used the scale tool to try and shape the object to match the reference image Again this is one of my early ones, so I just played with shapes, nothing too complicated. Just trying to play around and try to create an illusion of an indent because when I made this I hadn't learned how to do that yet I'm now creating next a tomato, which is a pretty basic object other than the top part Here is just my creation of the basic sphere shape, just used the scale tool and properties panel to try and shape the object I squished the sphere down to create an oval shape more like a tomato and then learned how to use extrude and the rectangle object shapes for the first time using the tutorials on the Maxon site, I then played around with shaping it to make it look the most like leaves of some sort Here is the final result of the tomato, originally it was supposed to be an orange, but we ran out of those before I could photgraph it and the tomato added an extra challenge The next object I modelled was based off of this mug I had in my house, although i did not try the pattern on it All my models I focused more on basic shapes and form, rather than proper advanced modelling just to get a feel for the software. So here I played around more with extrude and the cylinder tool, to create what resembled the shape of the mug Using this tutorial: https://www.youtube.com/watch?v=9-GykynABwg&t=176s. I went a little deeper into the more advanced tools in Cinema4D, so I figured out how to use the polygon tool and create an inner extrude to create the hollowed out part of the mug Here is the headphones I chose to model next, as more of a challenge for myself, as all I have done are pretty simple objects and shapes Using a mixture of fillet, extrude, scale, and the ring tool, I was able to get this shape that resembled a pair of headphones, but for some reason I couldn't figure out how to cut the ring in half creating a problem I had to fix It took me a while to figure a solution out, but I ended up using the boolean tool set on 'intersection' mixed with an extruded cube, to try and cut out the bottom half of the ring, which ended up working really well Here's a look at the final outcome of the headphone model after I added some more shapes and fixed some of the errors in my earlier model, like for example the headband coming out of the padded part instead of the actual plastic part like my object had My next more complicated object I chose to model was an old vintage camera I had I then started getting the basic shapes in using the extrude tool and a variety of shapes to create a rough model of the camera, with the different nobs and stuff I then went over and fixed some inconsistencies, including making the lens actually look like a lens with more layers, more detail to the buttons, filleting the edges to make it more smooth, I was trying to put as much detail as I could in this one to see the limits I could go and ended up with something that looked pretty decent My final object I tackled in my exploration of Cinema4D was a video game controller Again there was a lot of details and small buttons, which I spent a lot of time trying to model correctly on my object. Exeperimented with different shapes like the capsule shape and tried to get sizing of the buttons matching the reference image Finally I just experimented with the different materials I could add to an object, so I tested out a variety to see which one worked, ended up going with this black plastic one, which looked the most like the object I was trying to replicate, for this one I kinda just messed around and explored, since I hadn't done any thing with colour yet

Design Challenge 2
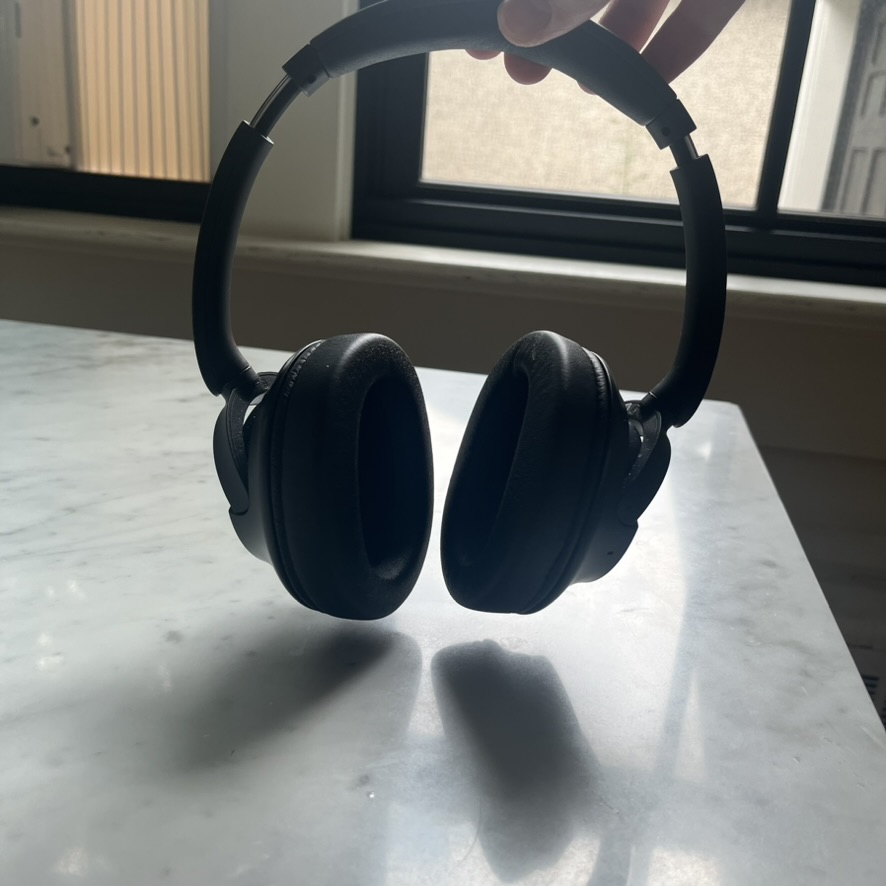
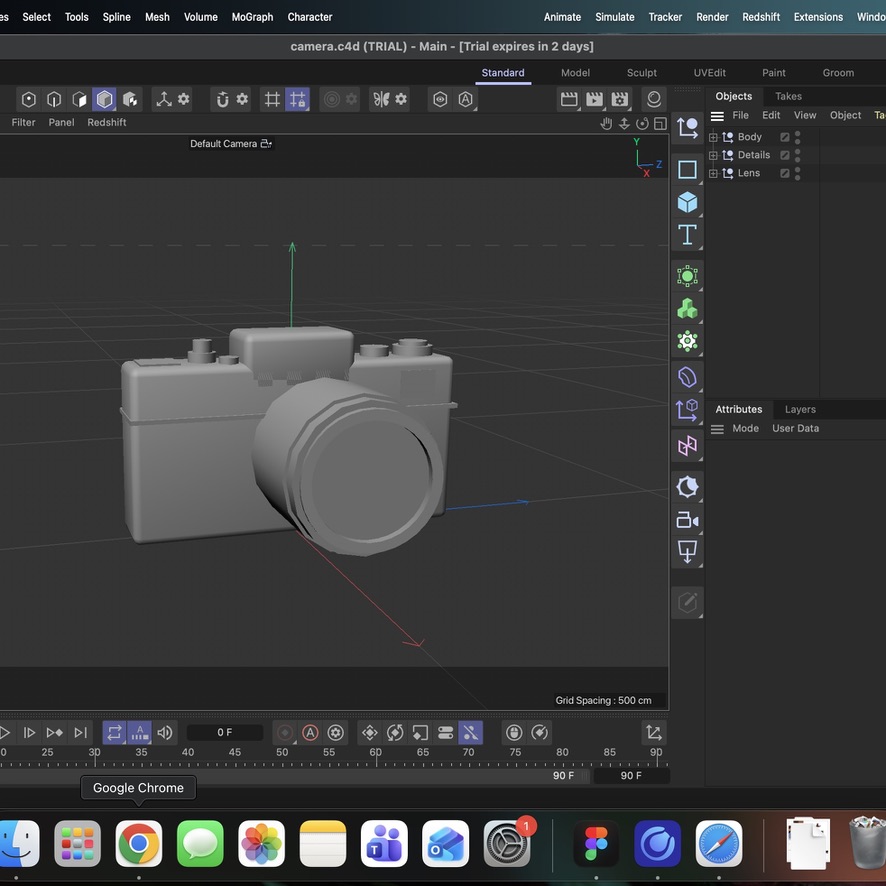
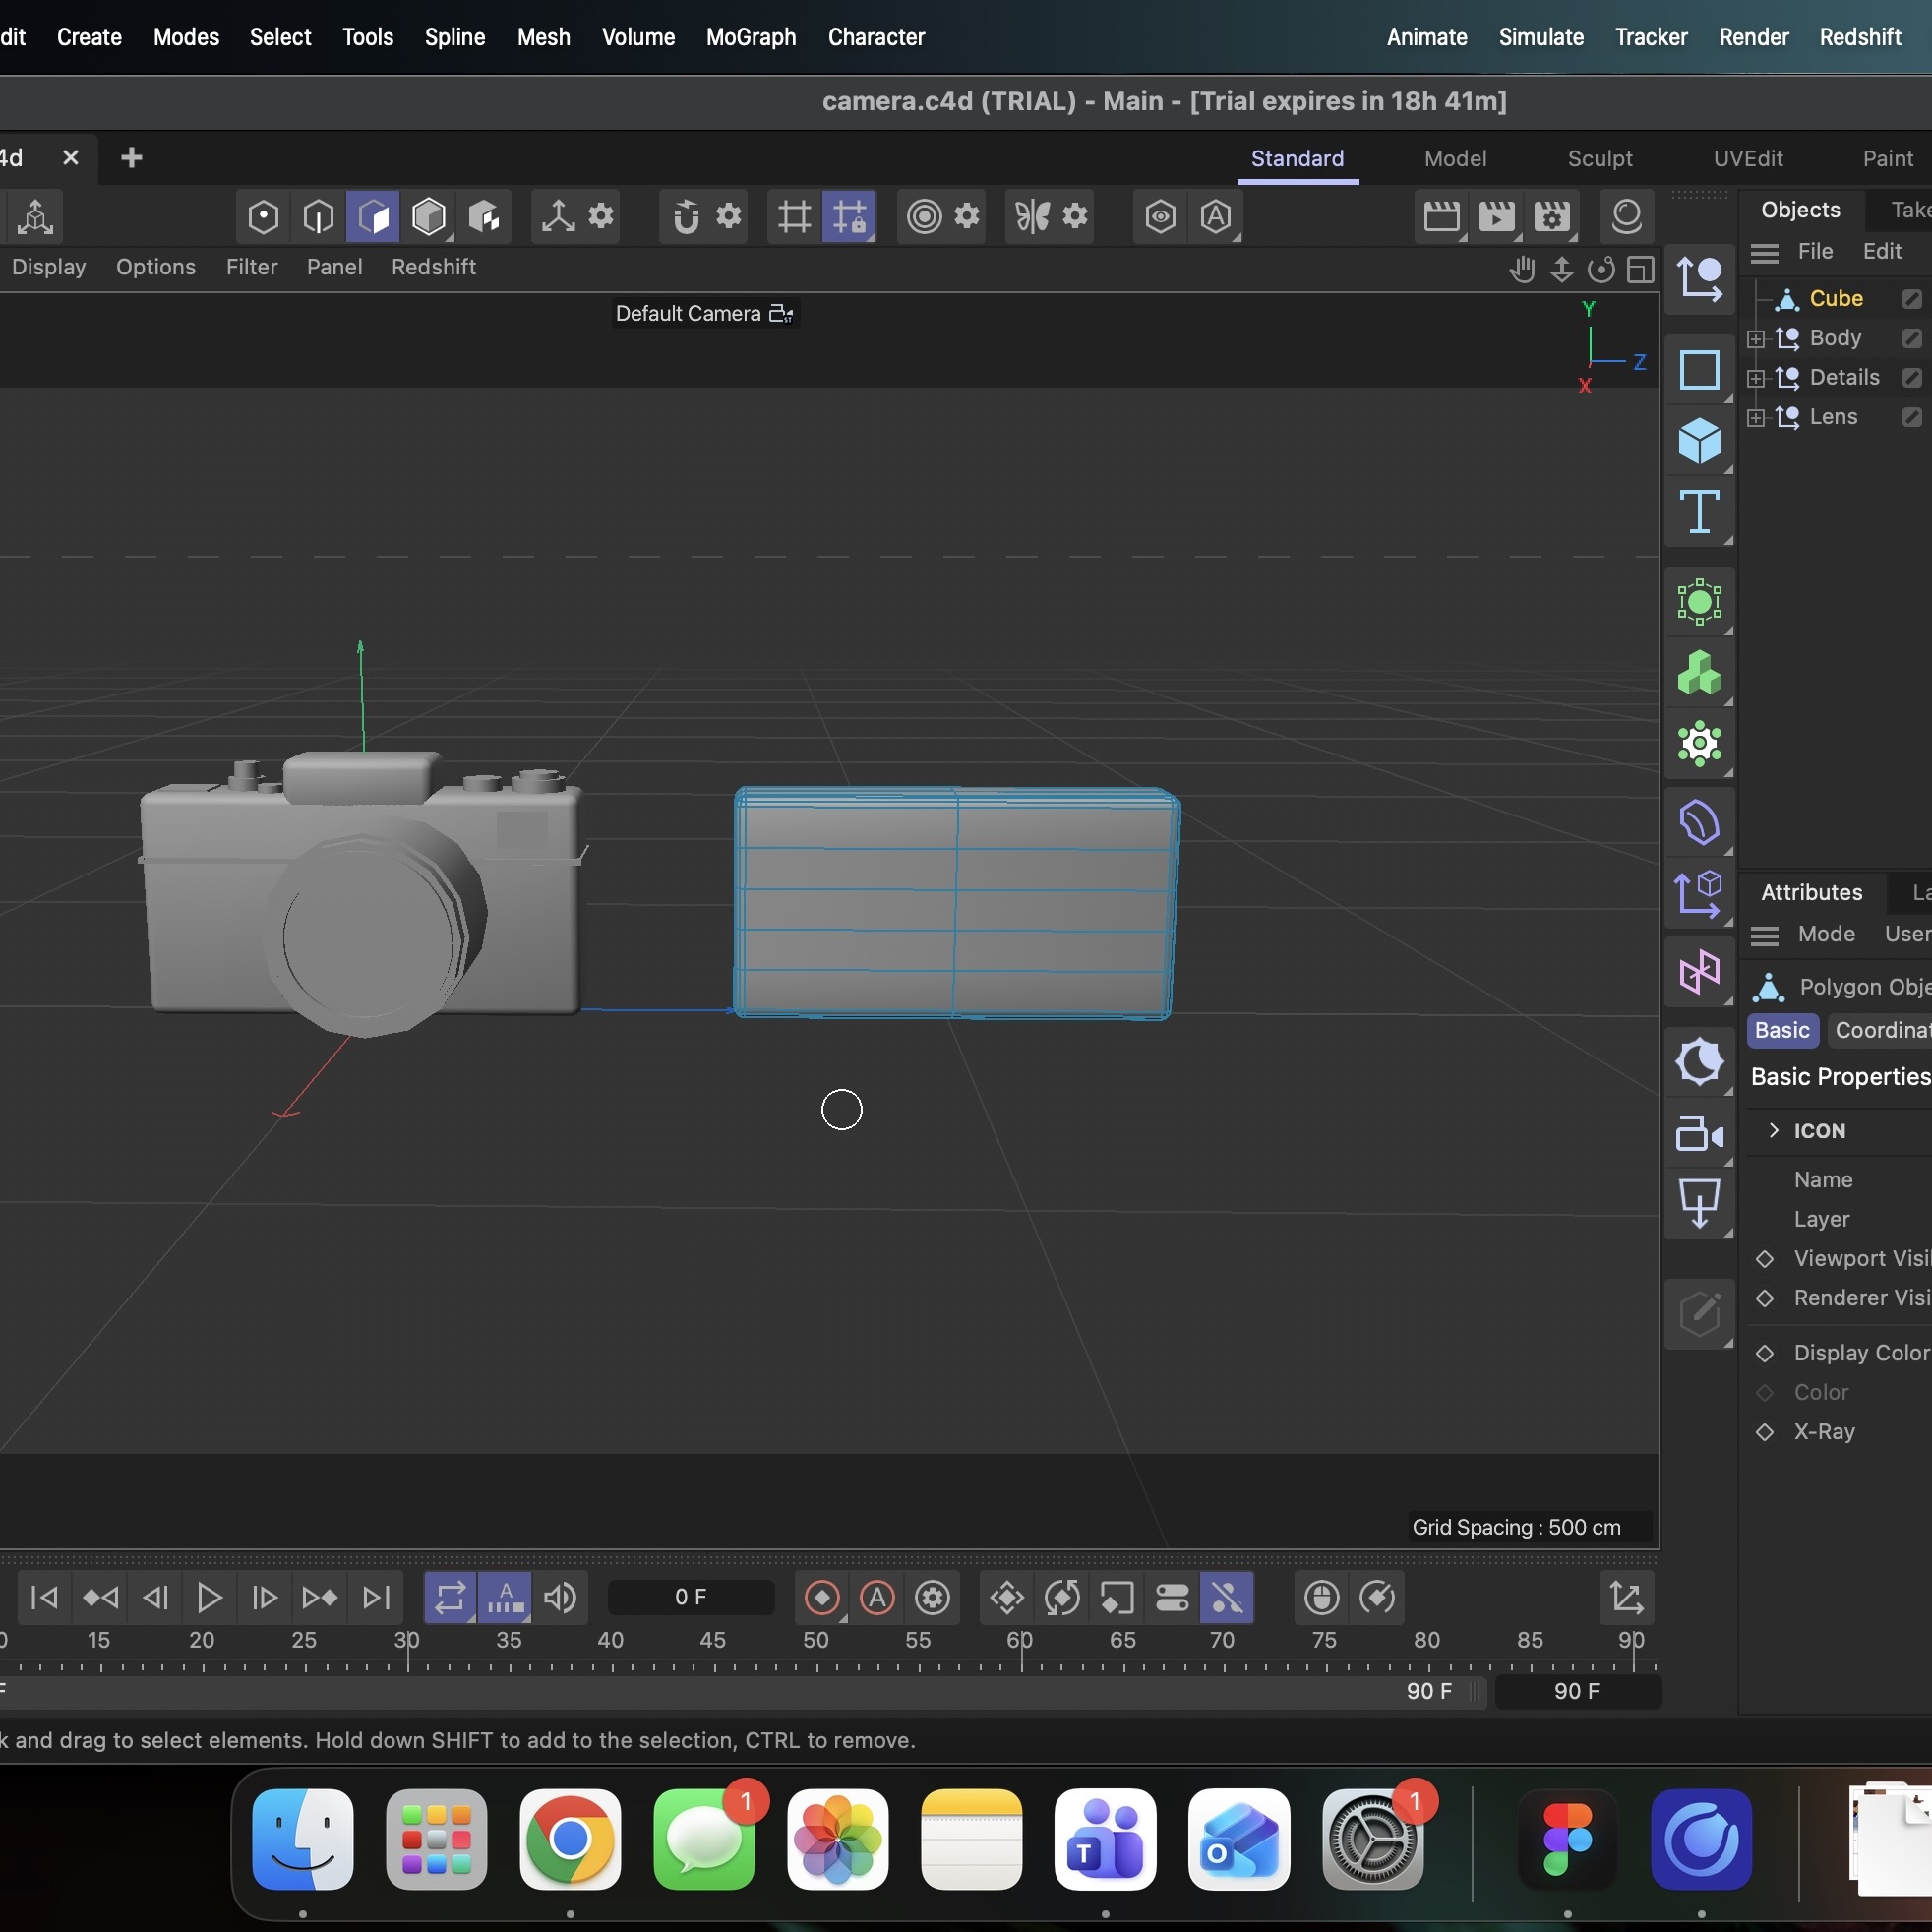
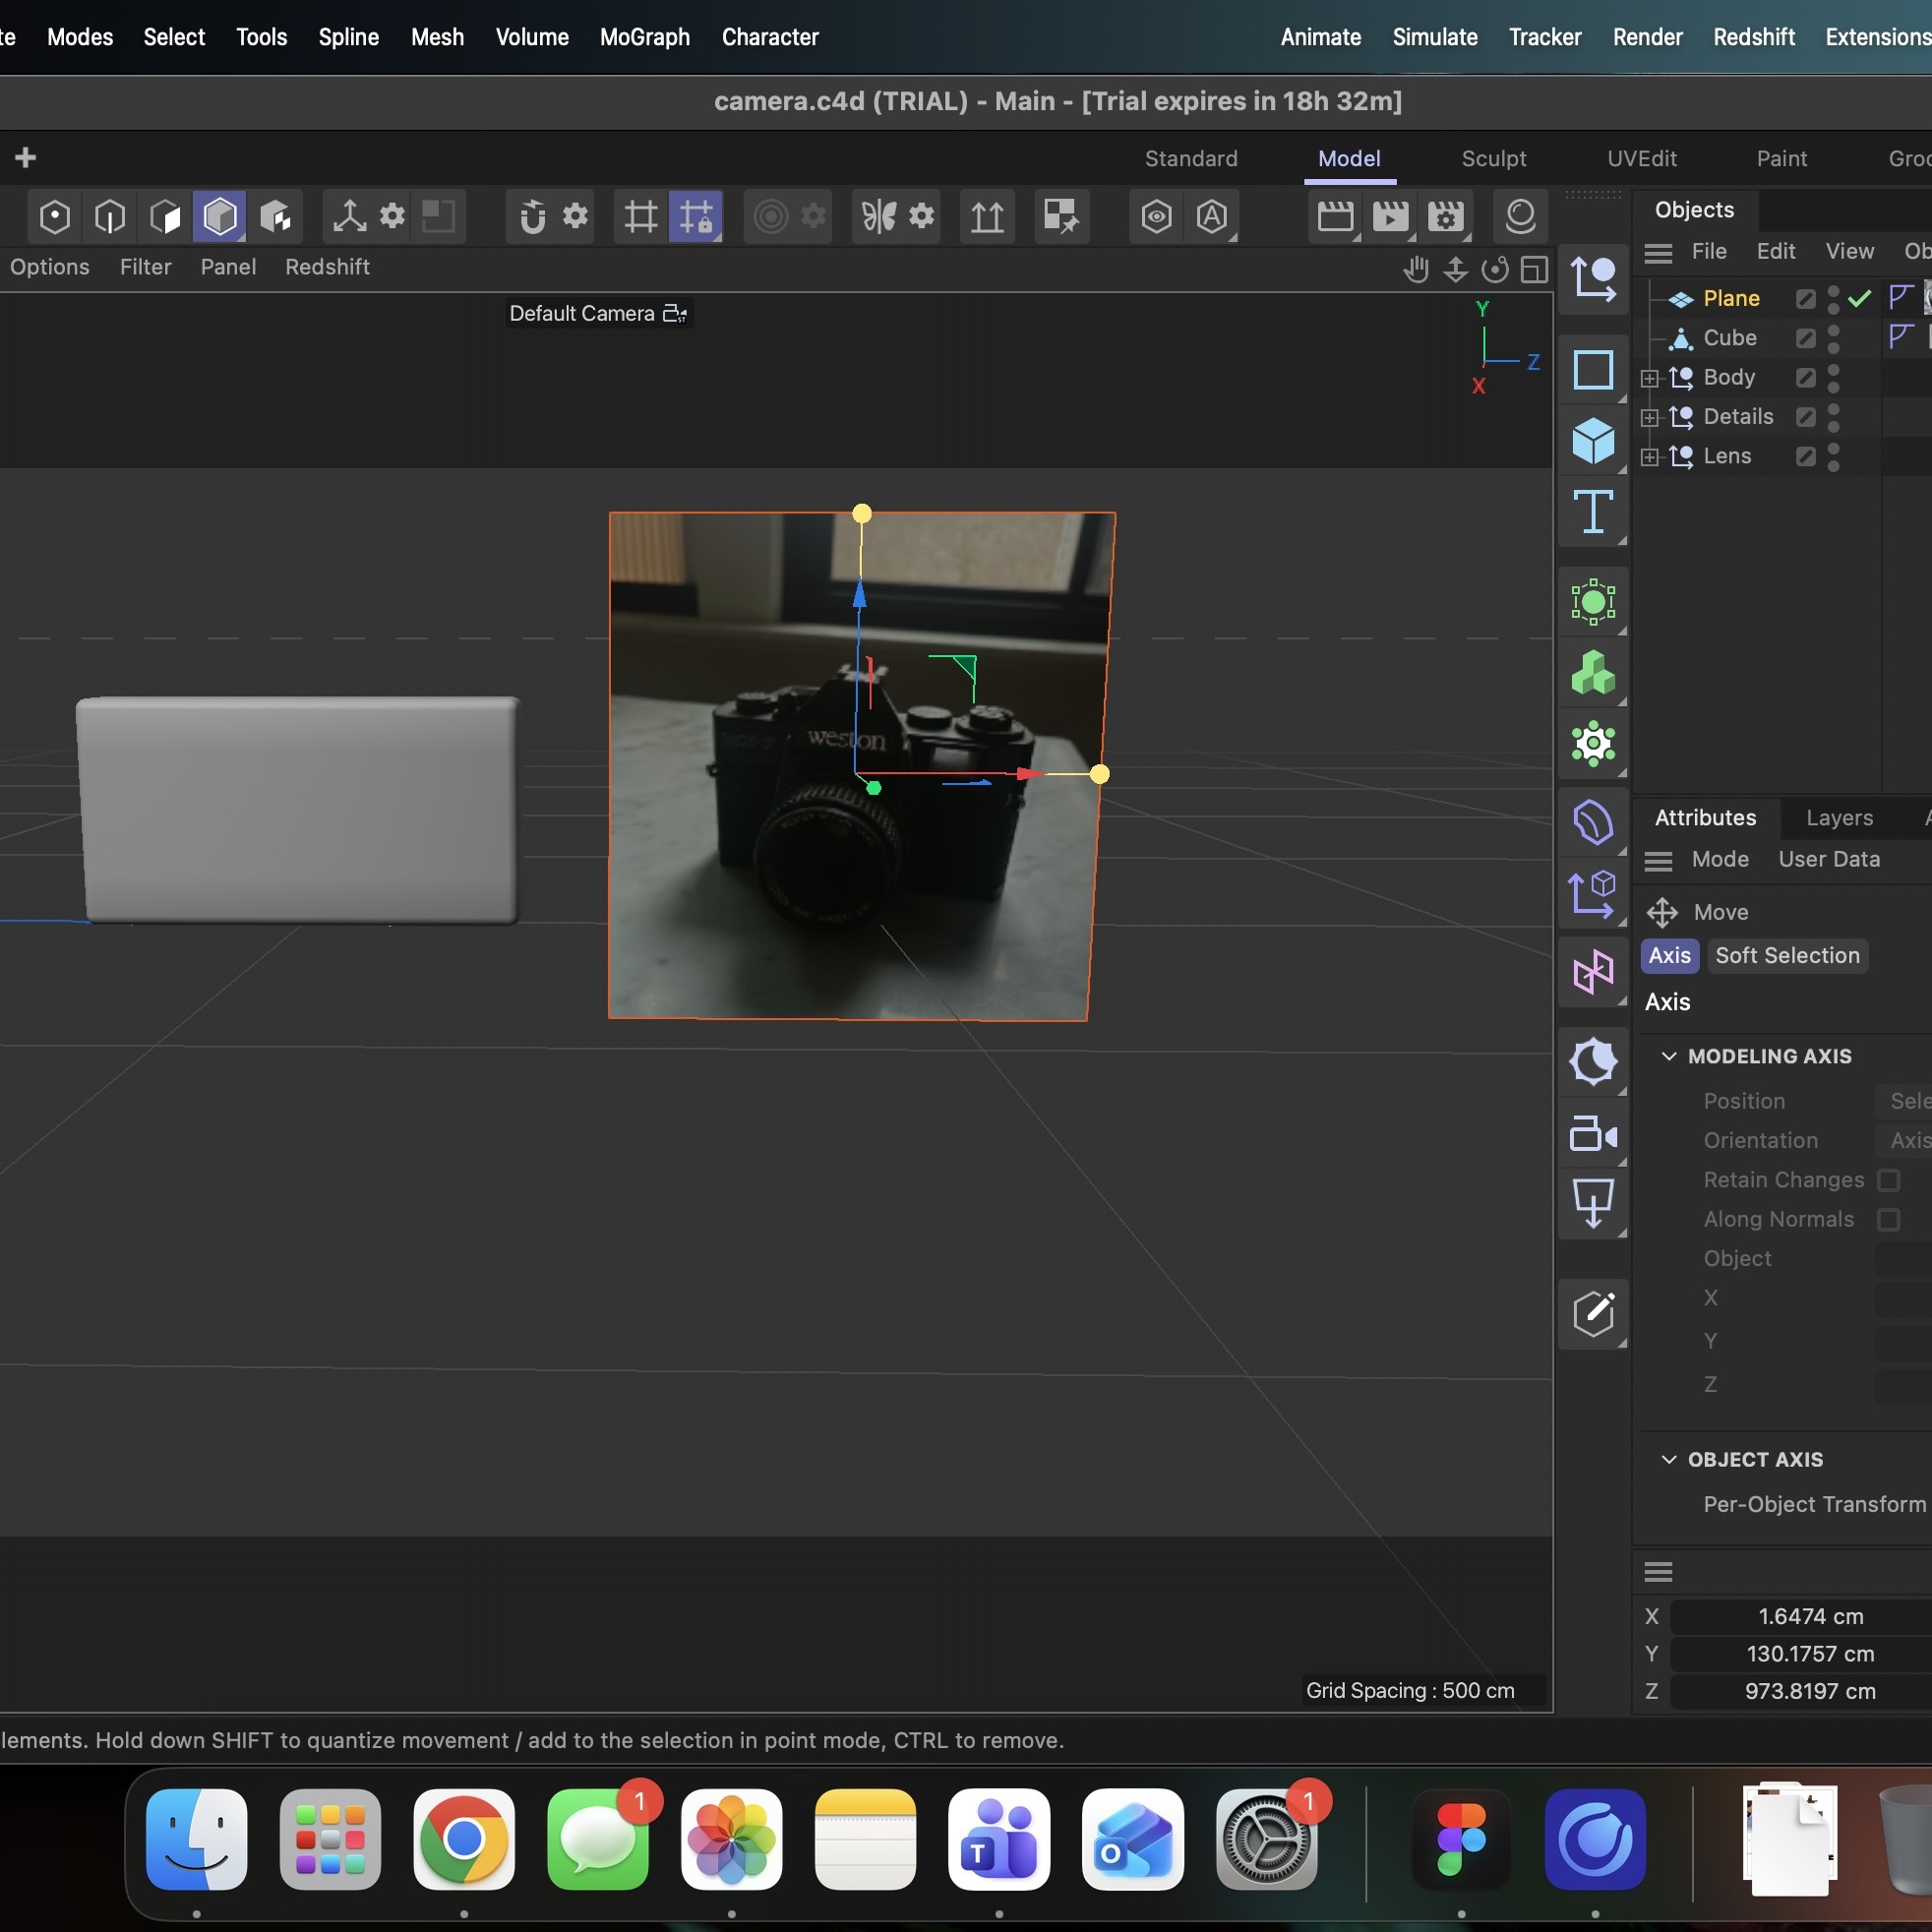
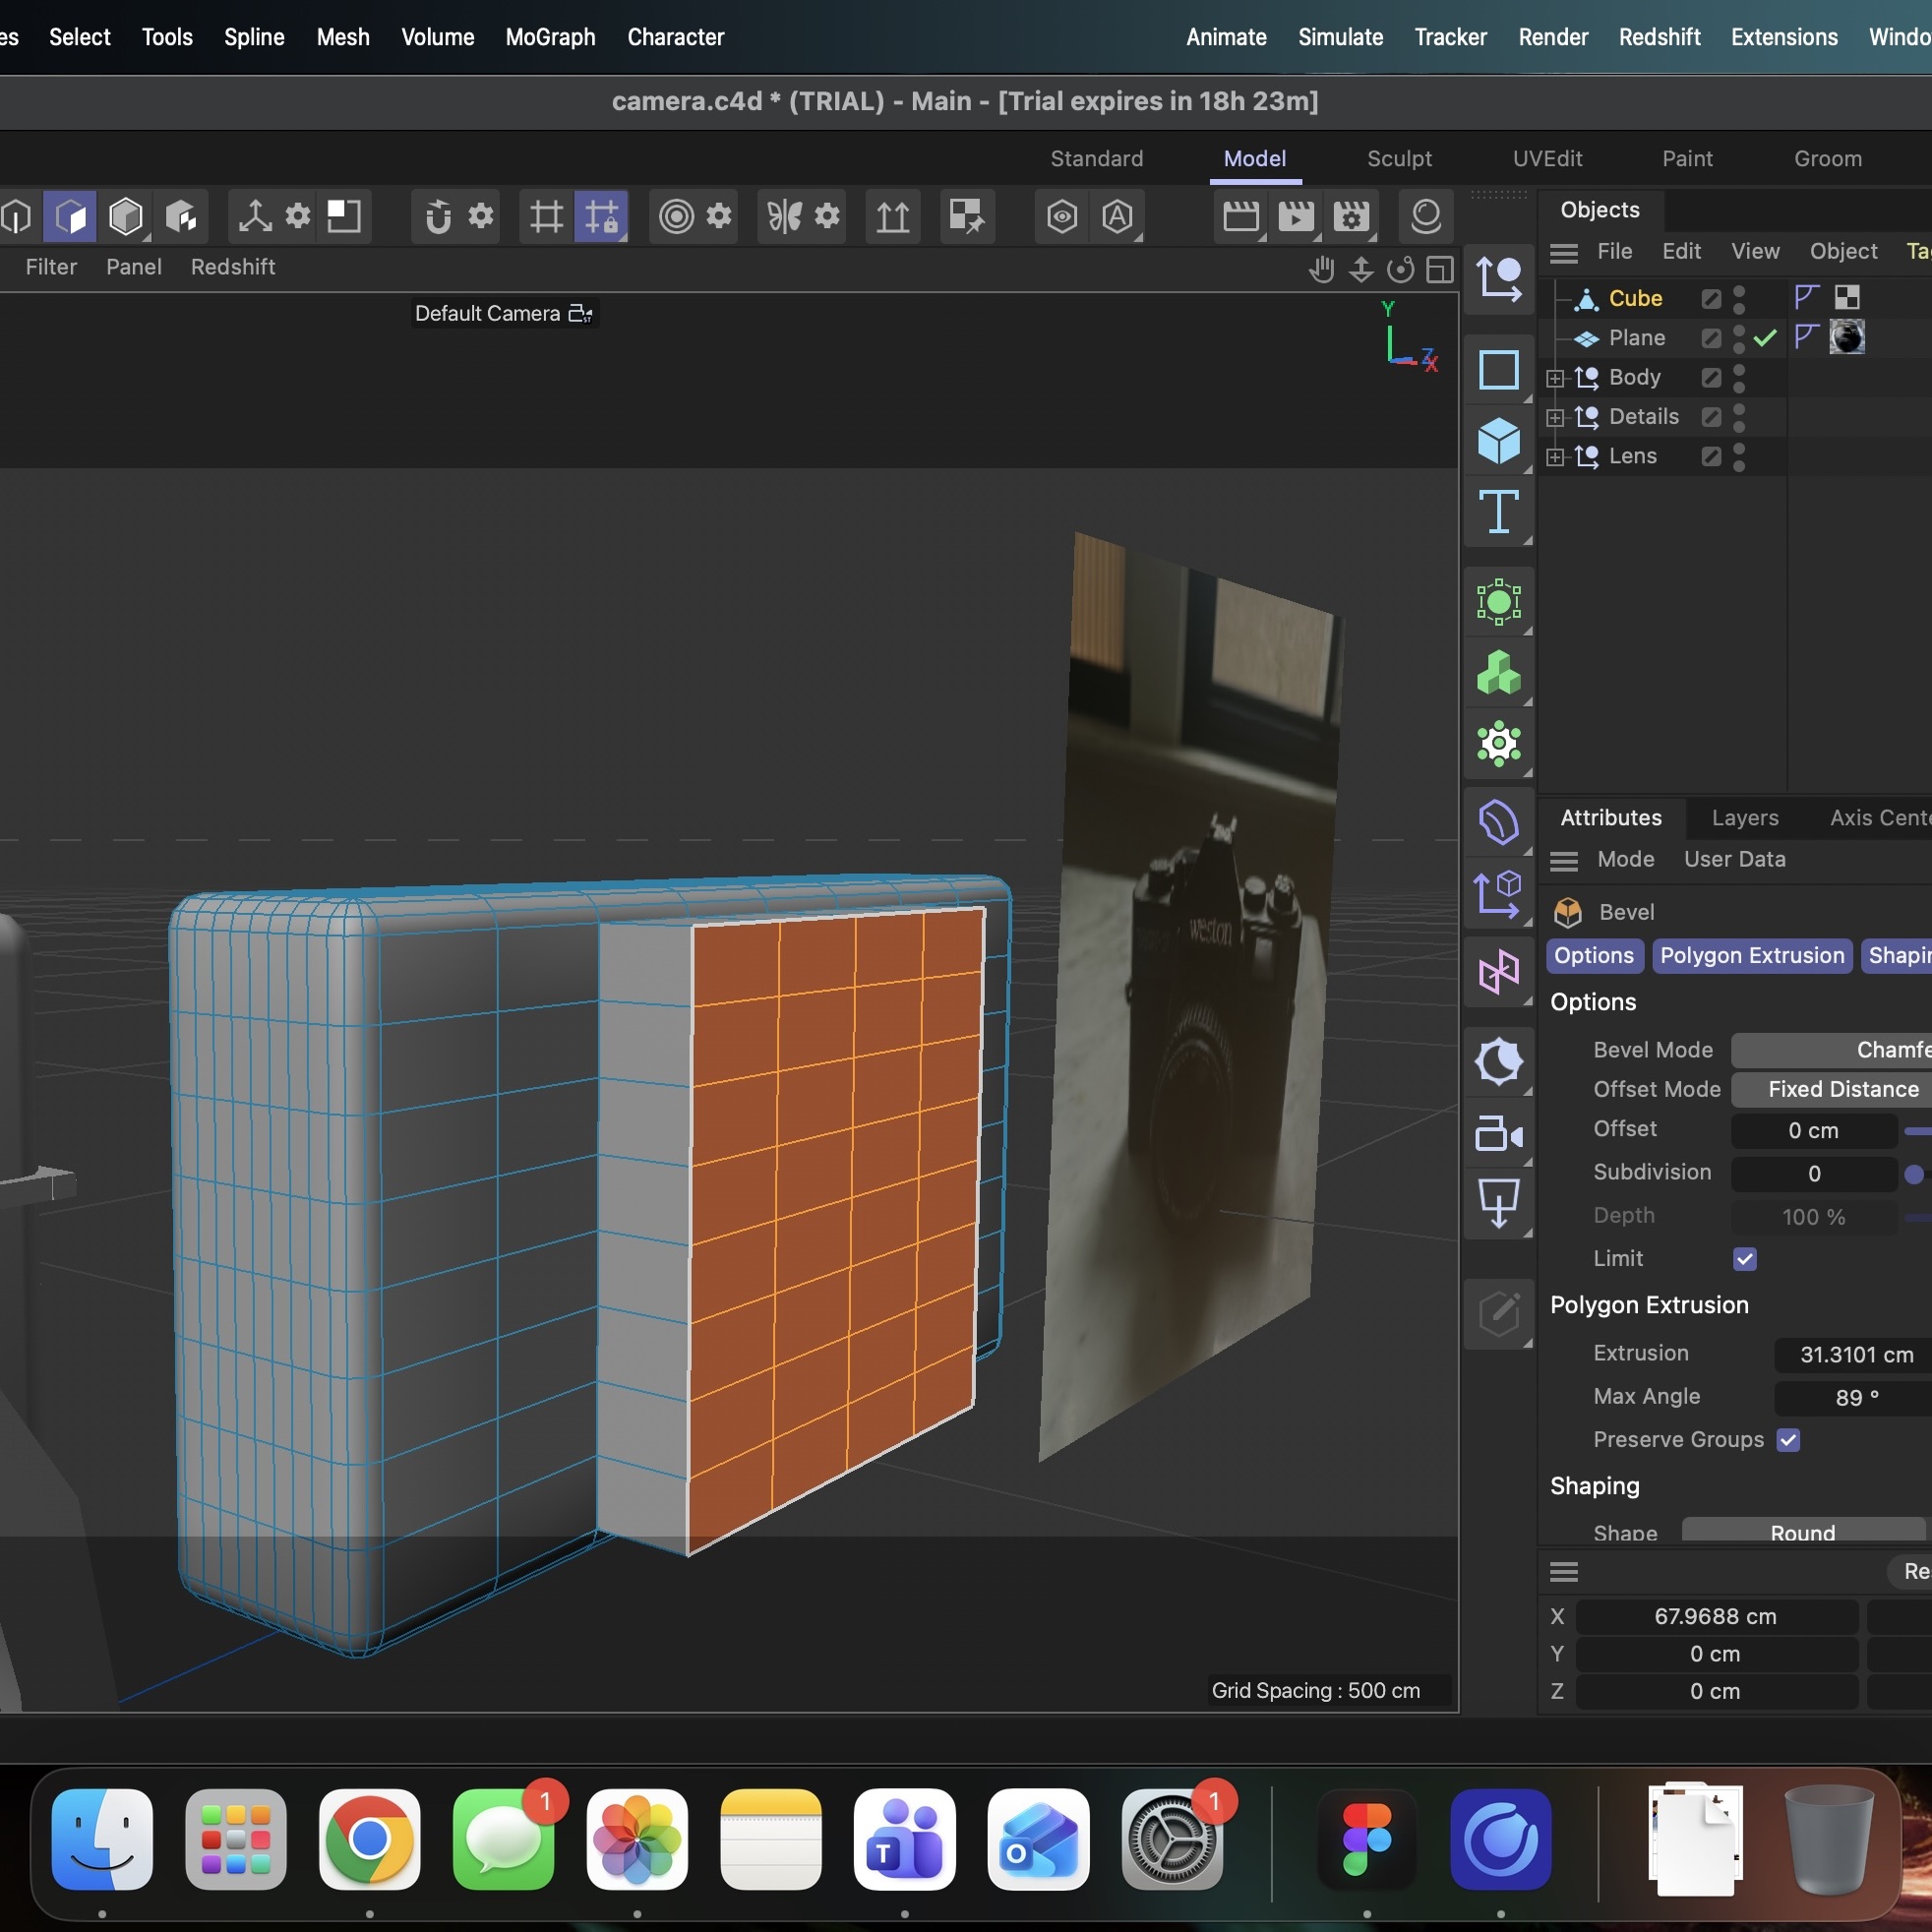
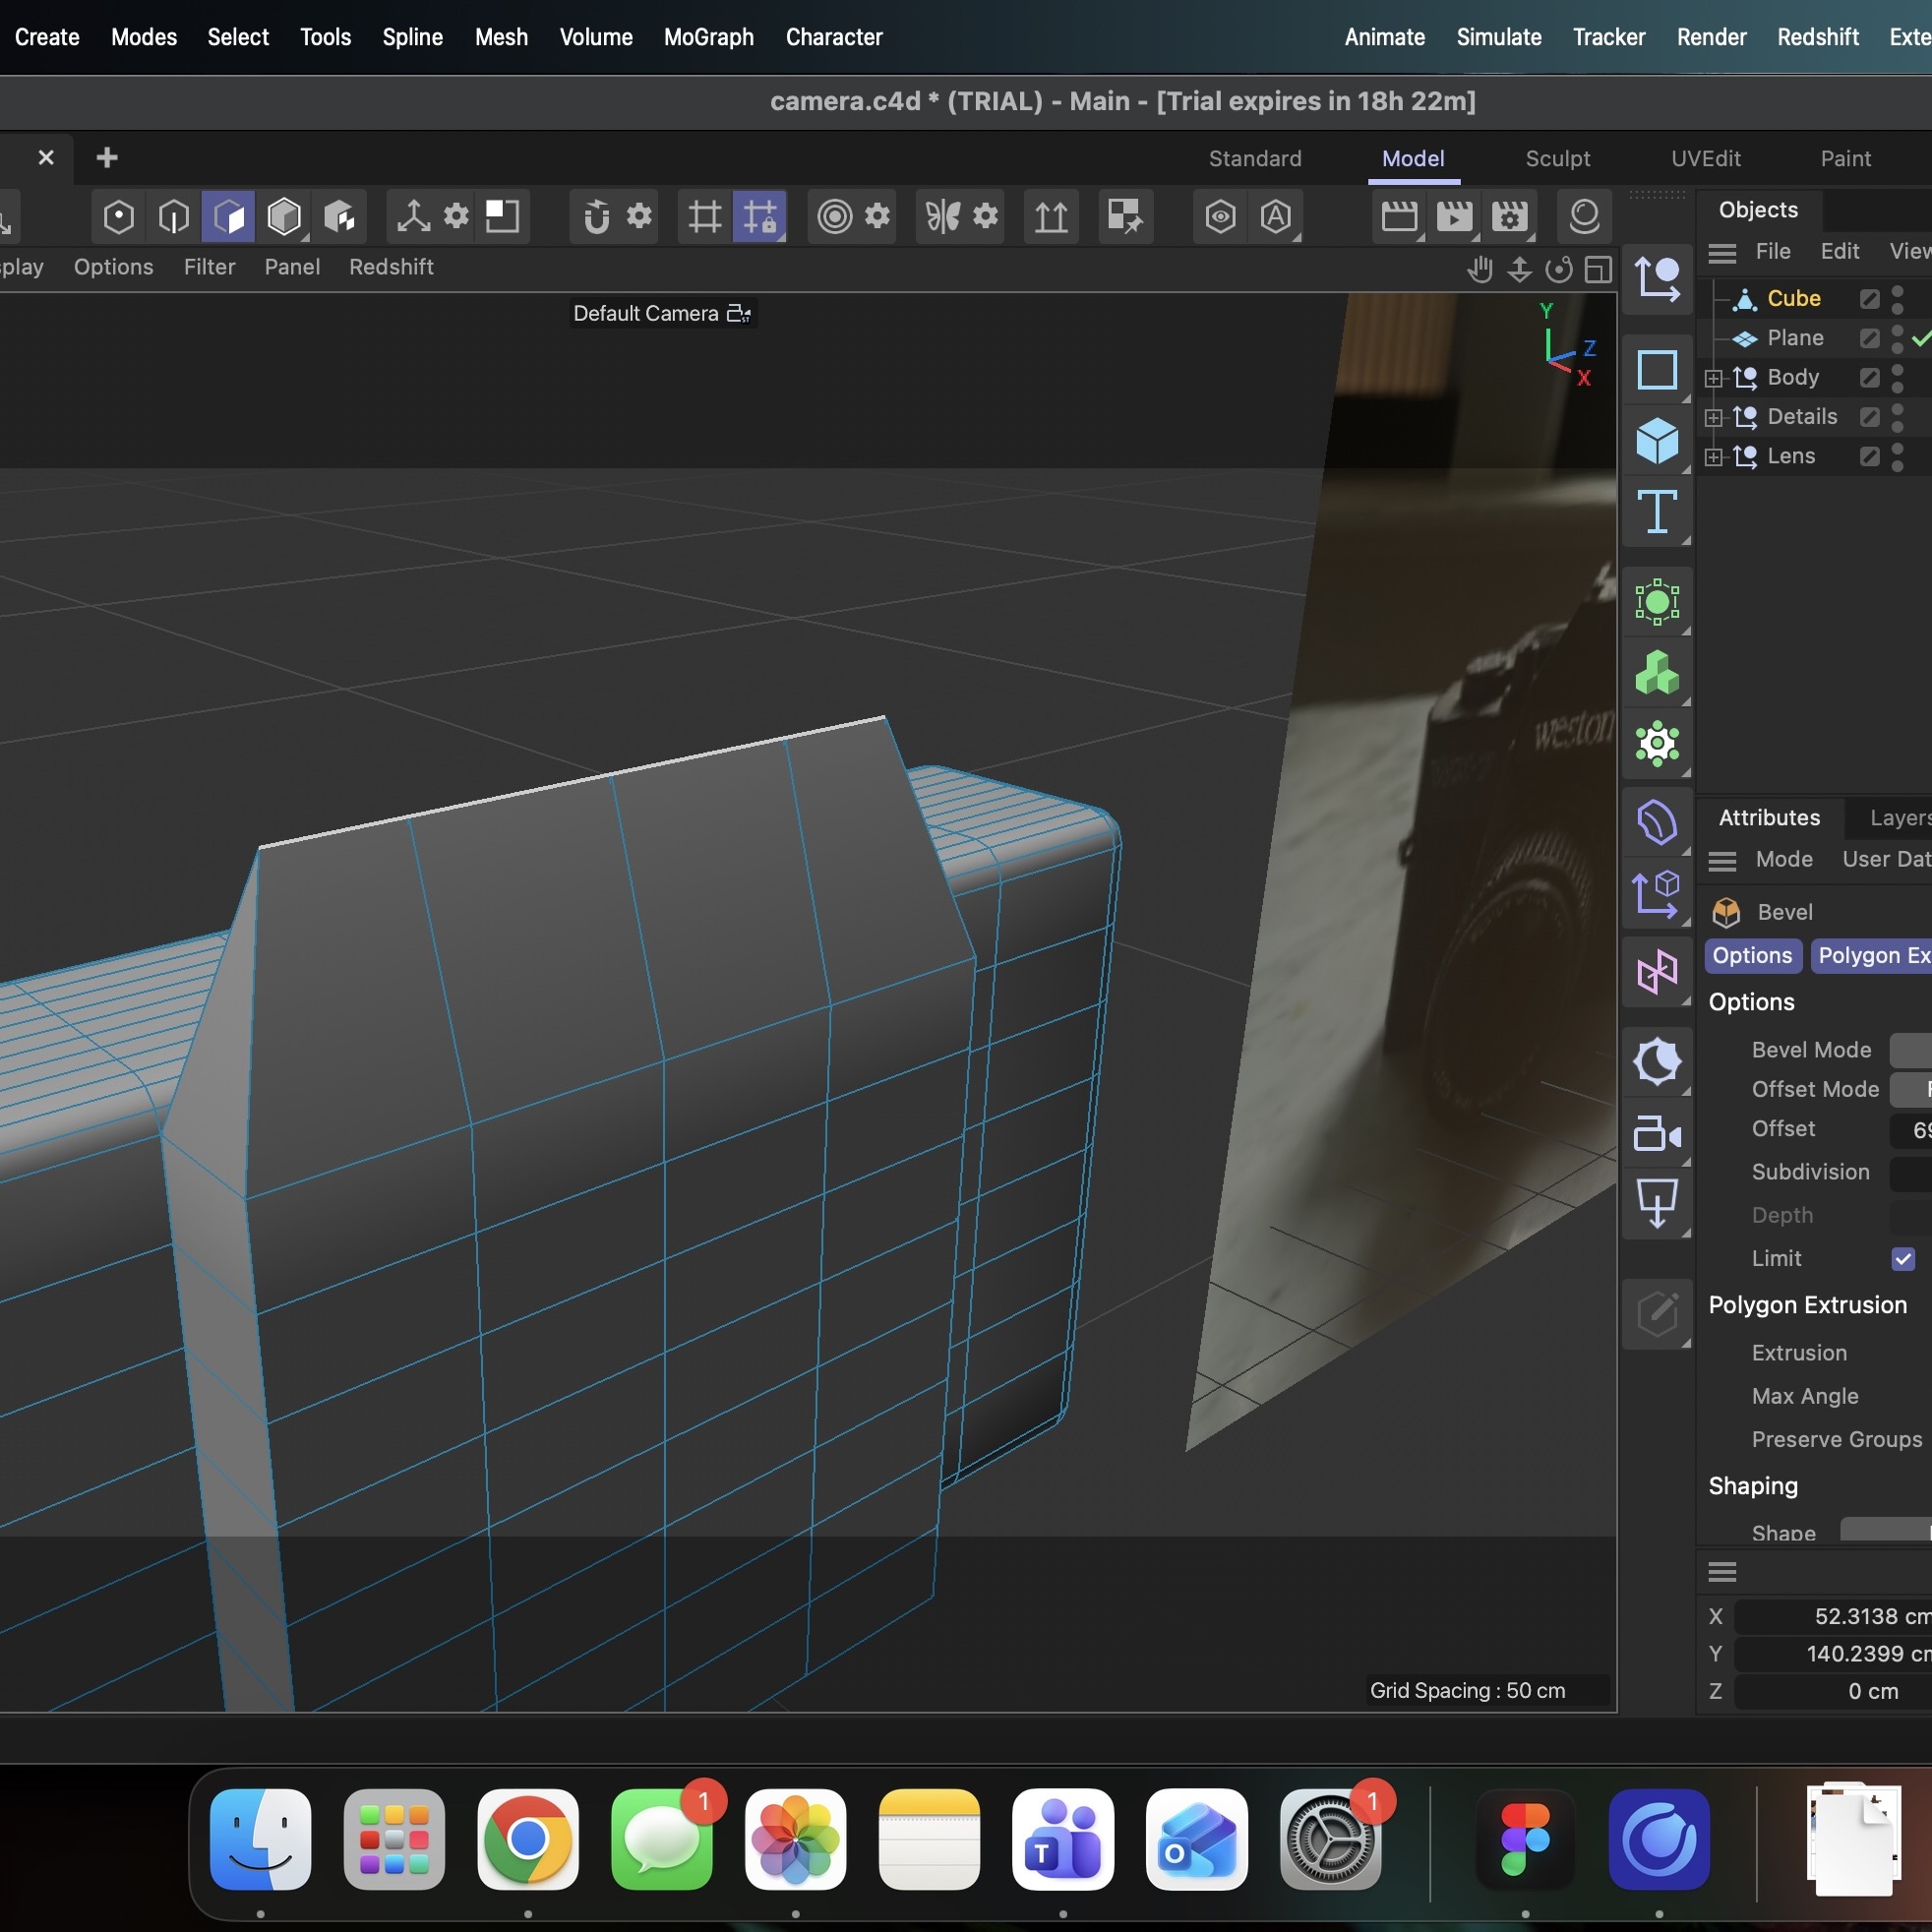
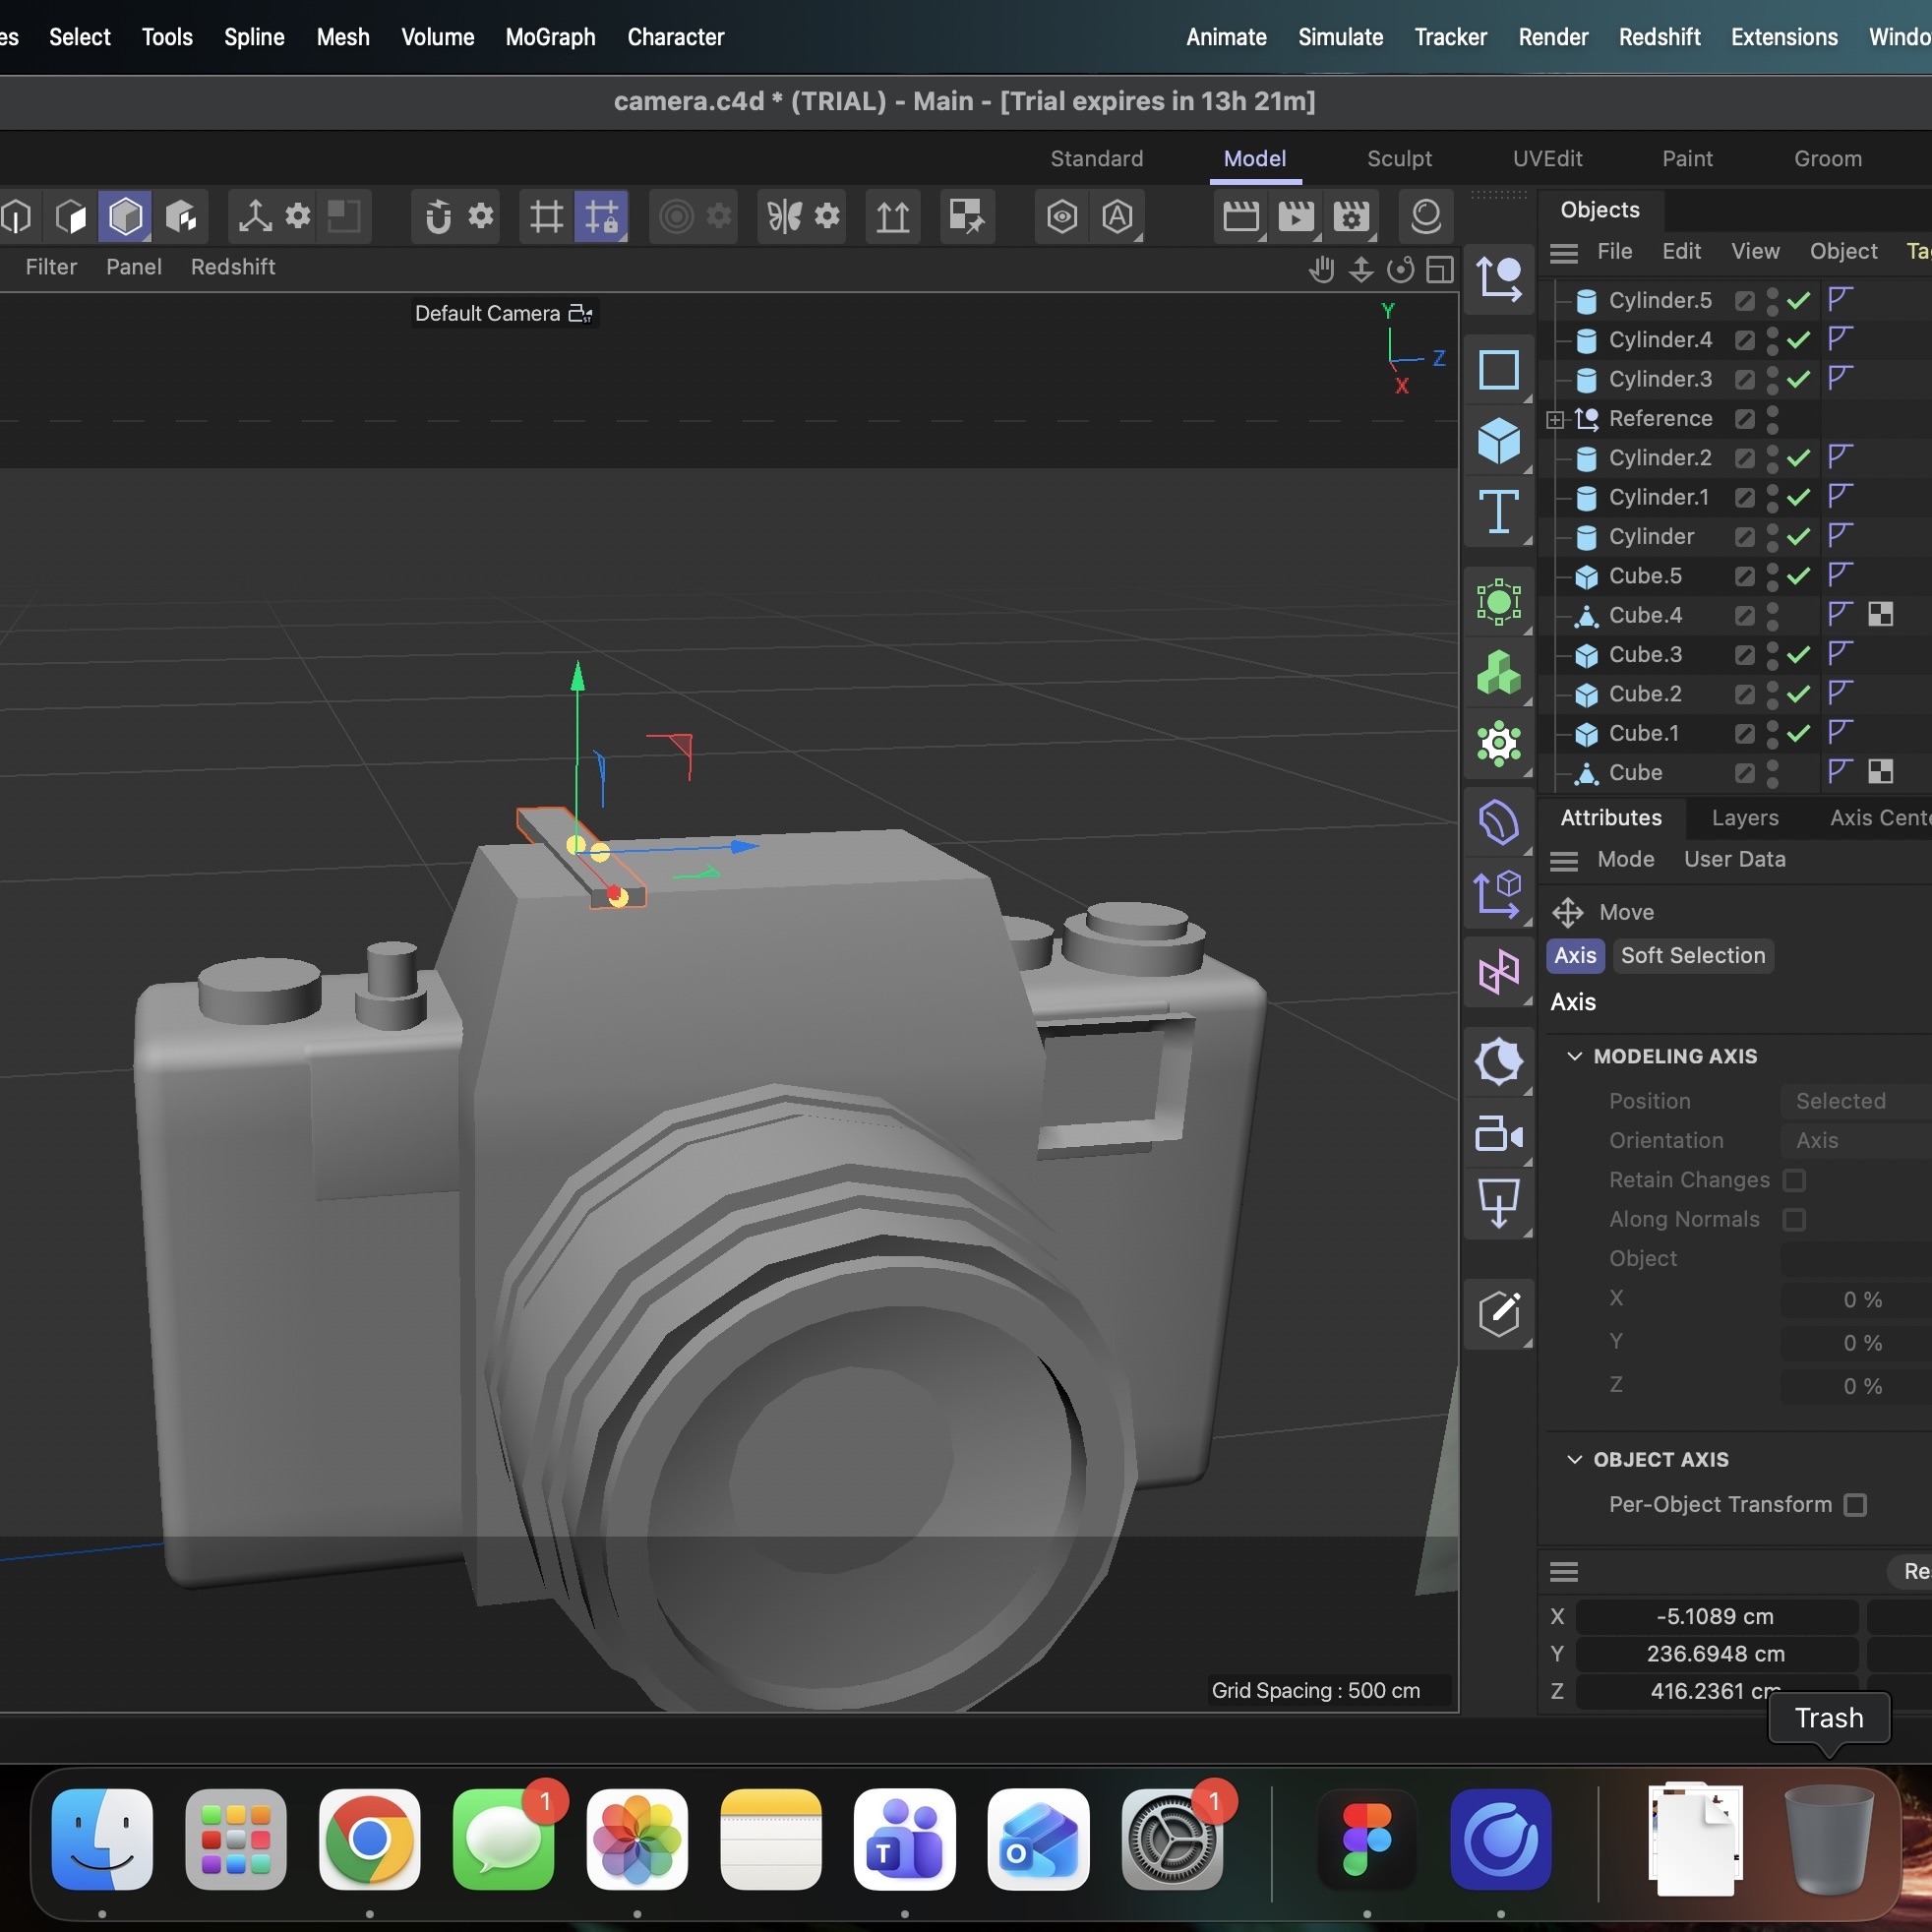
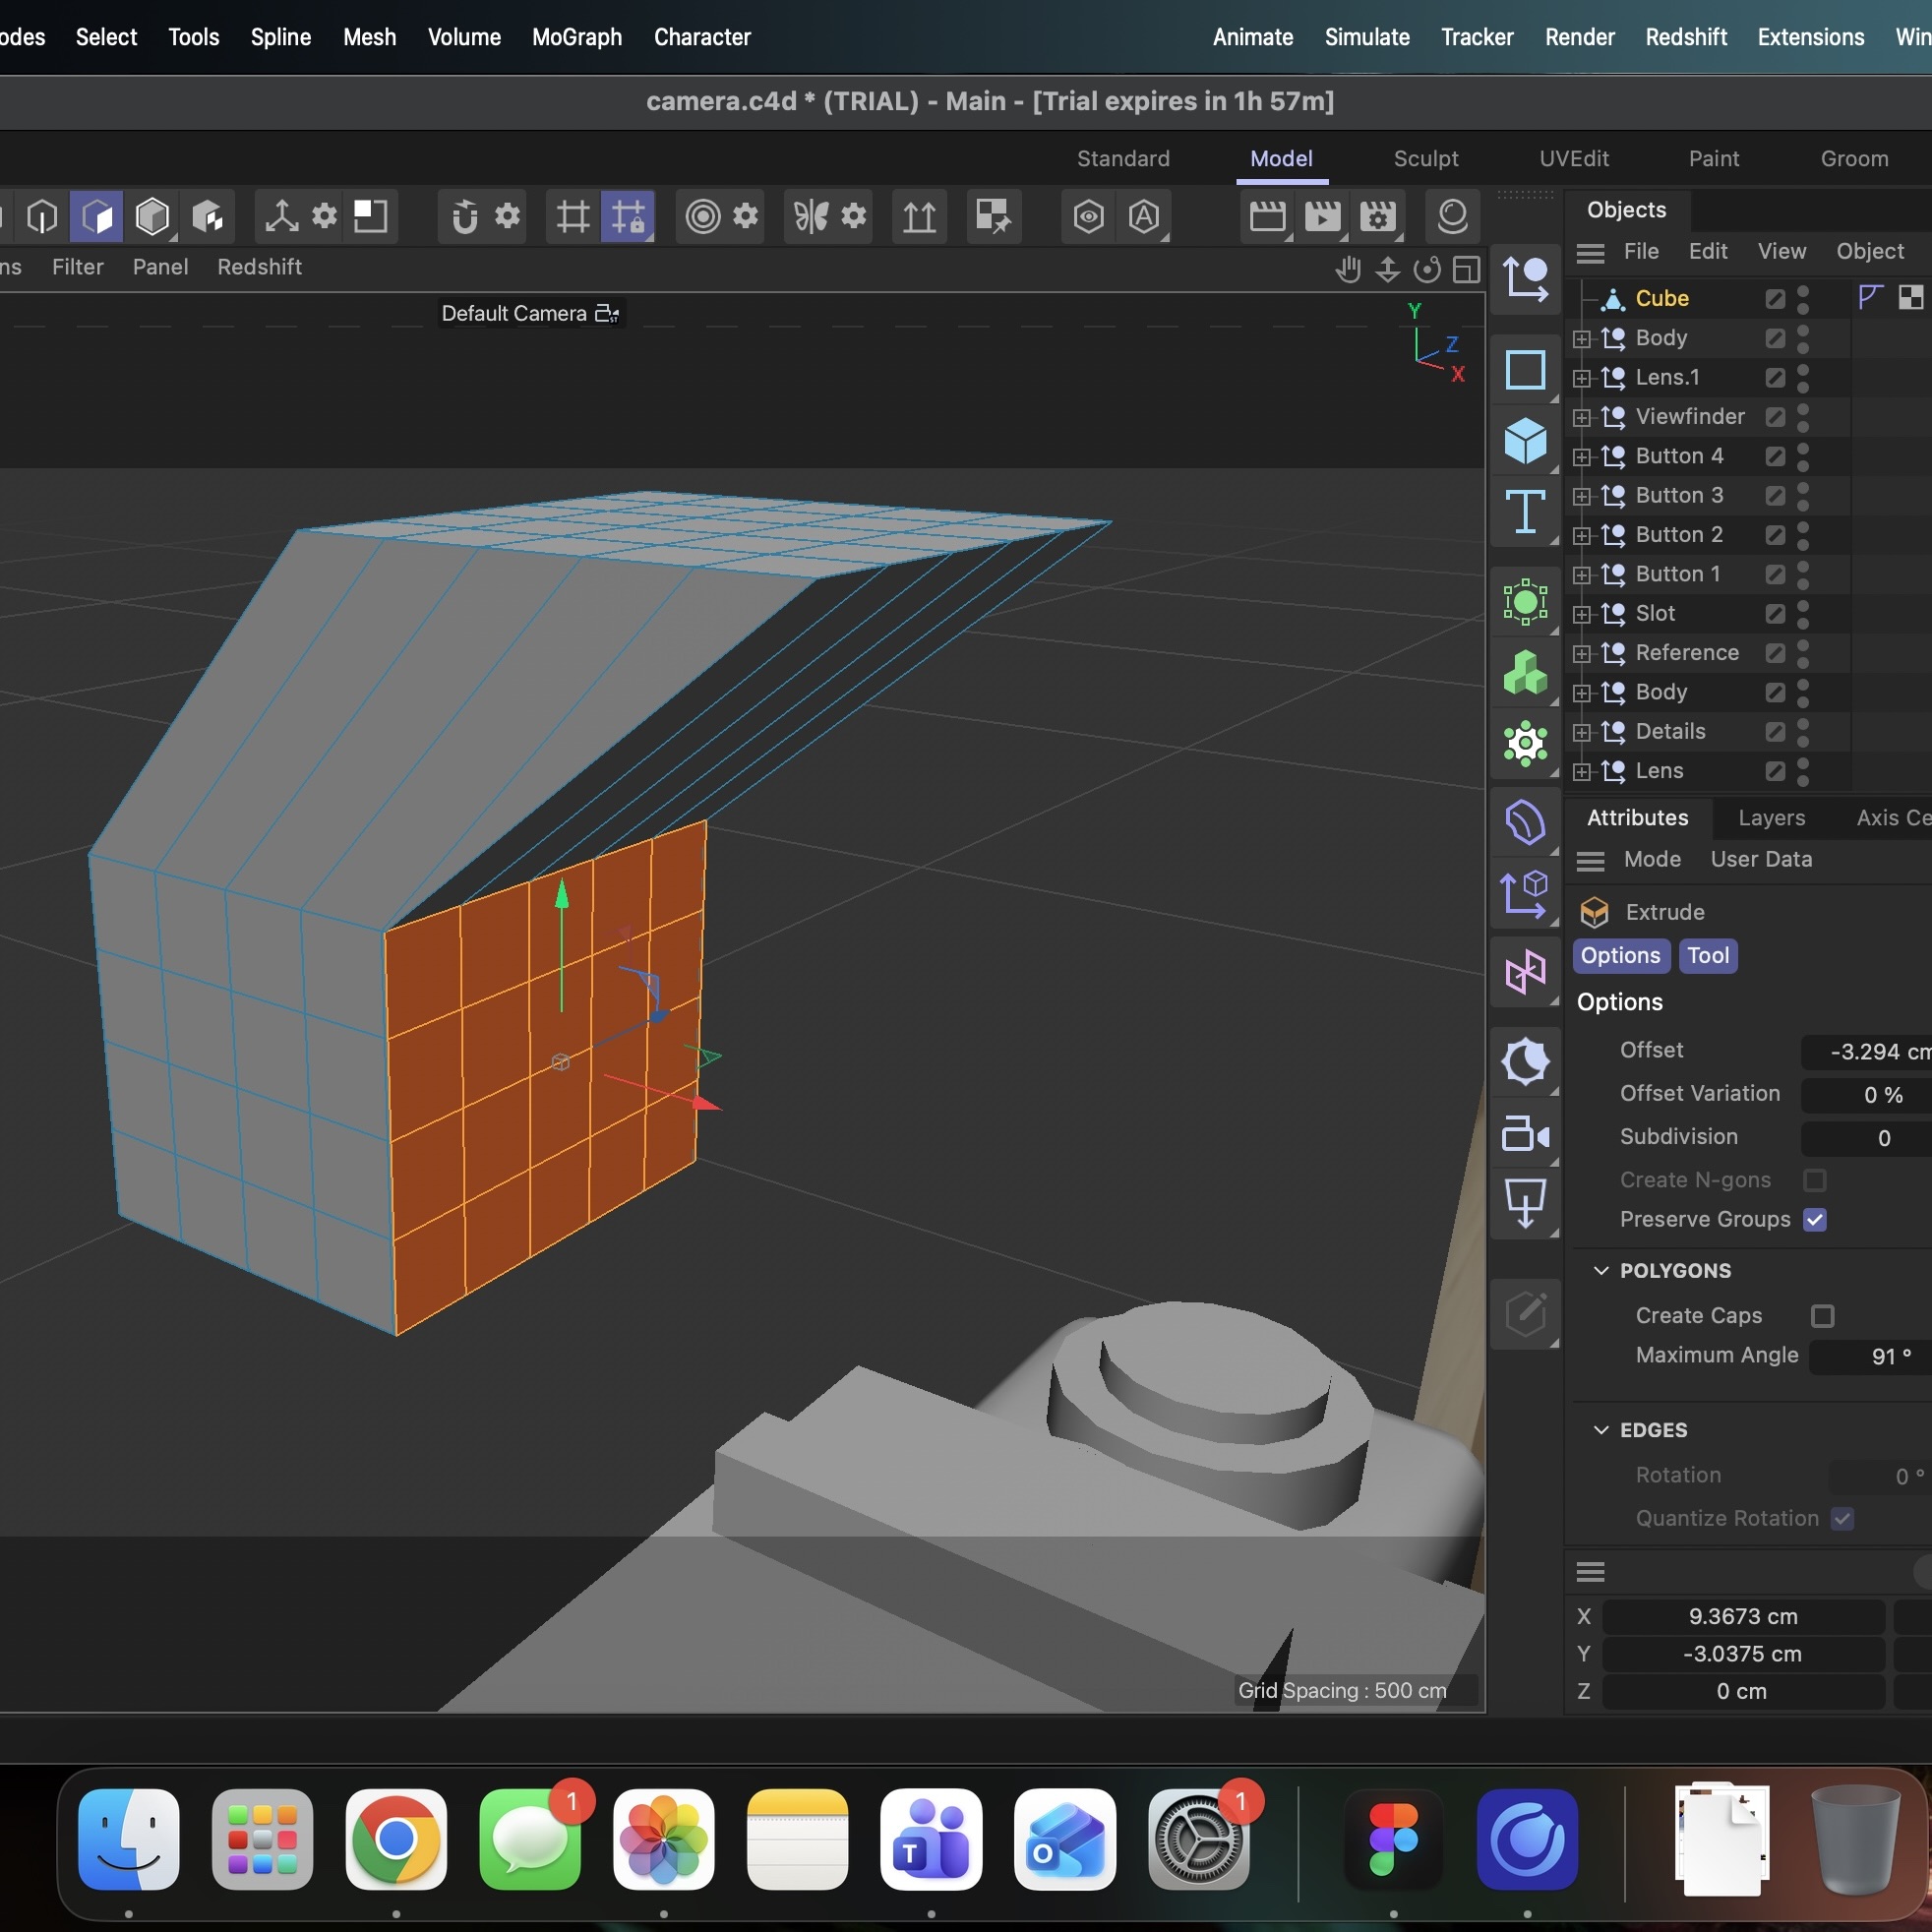
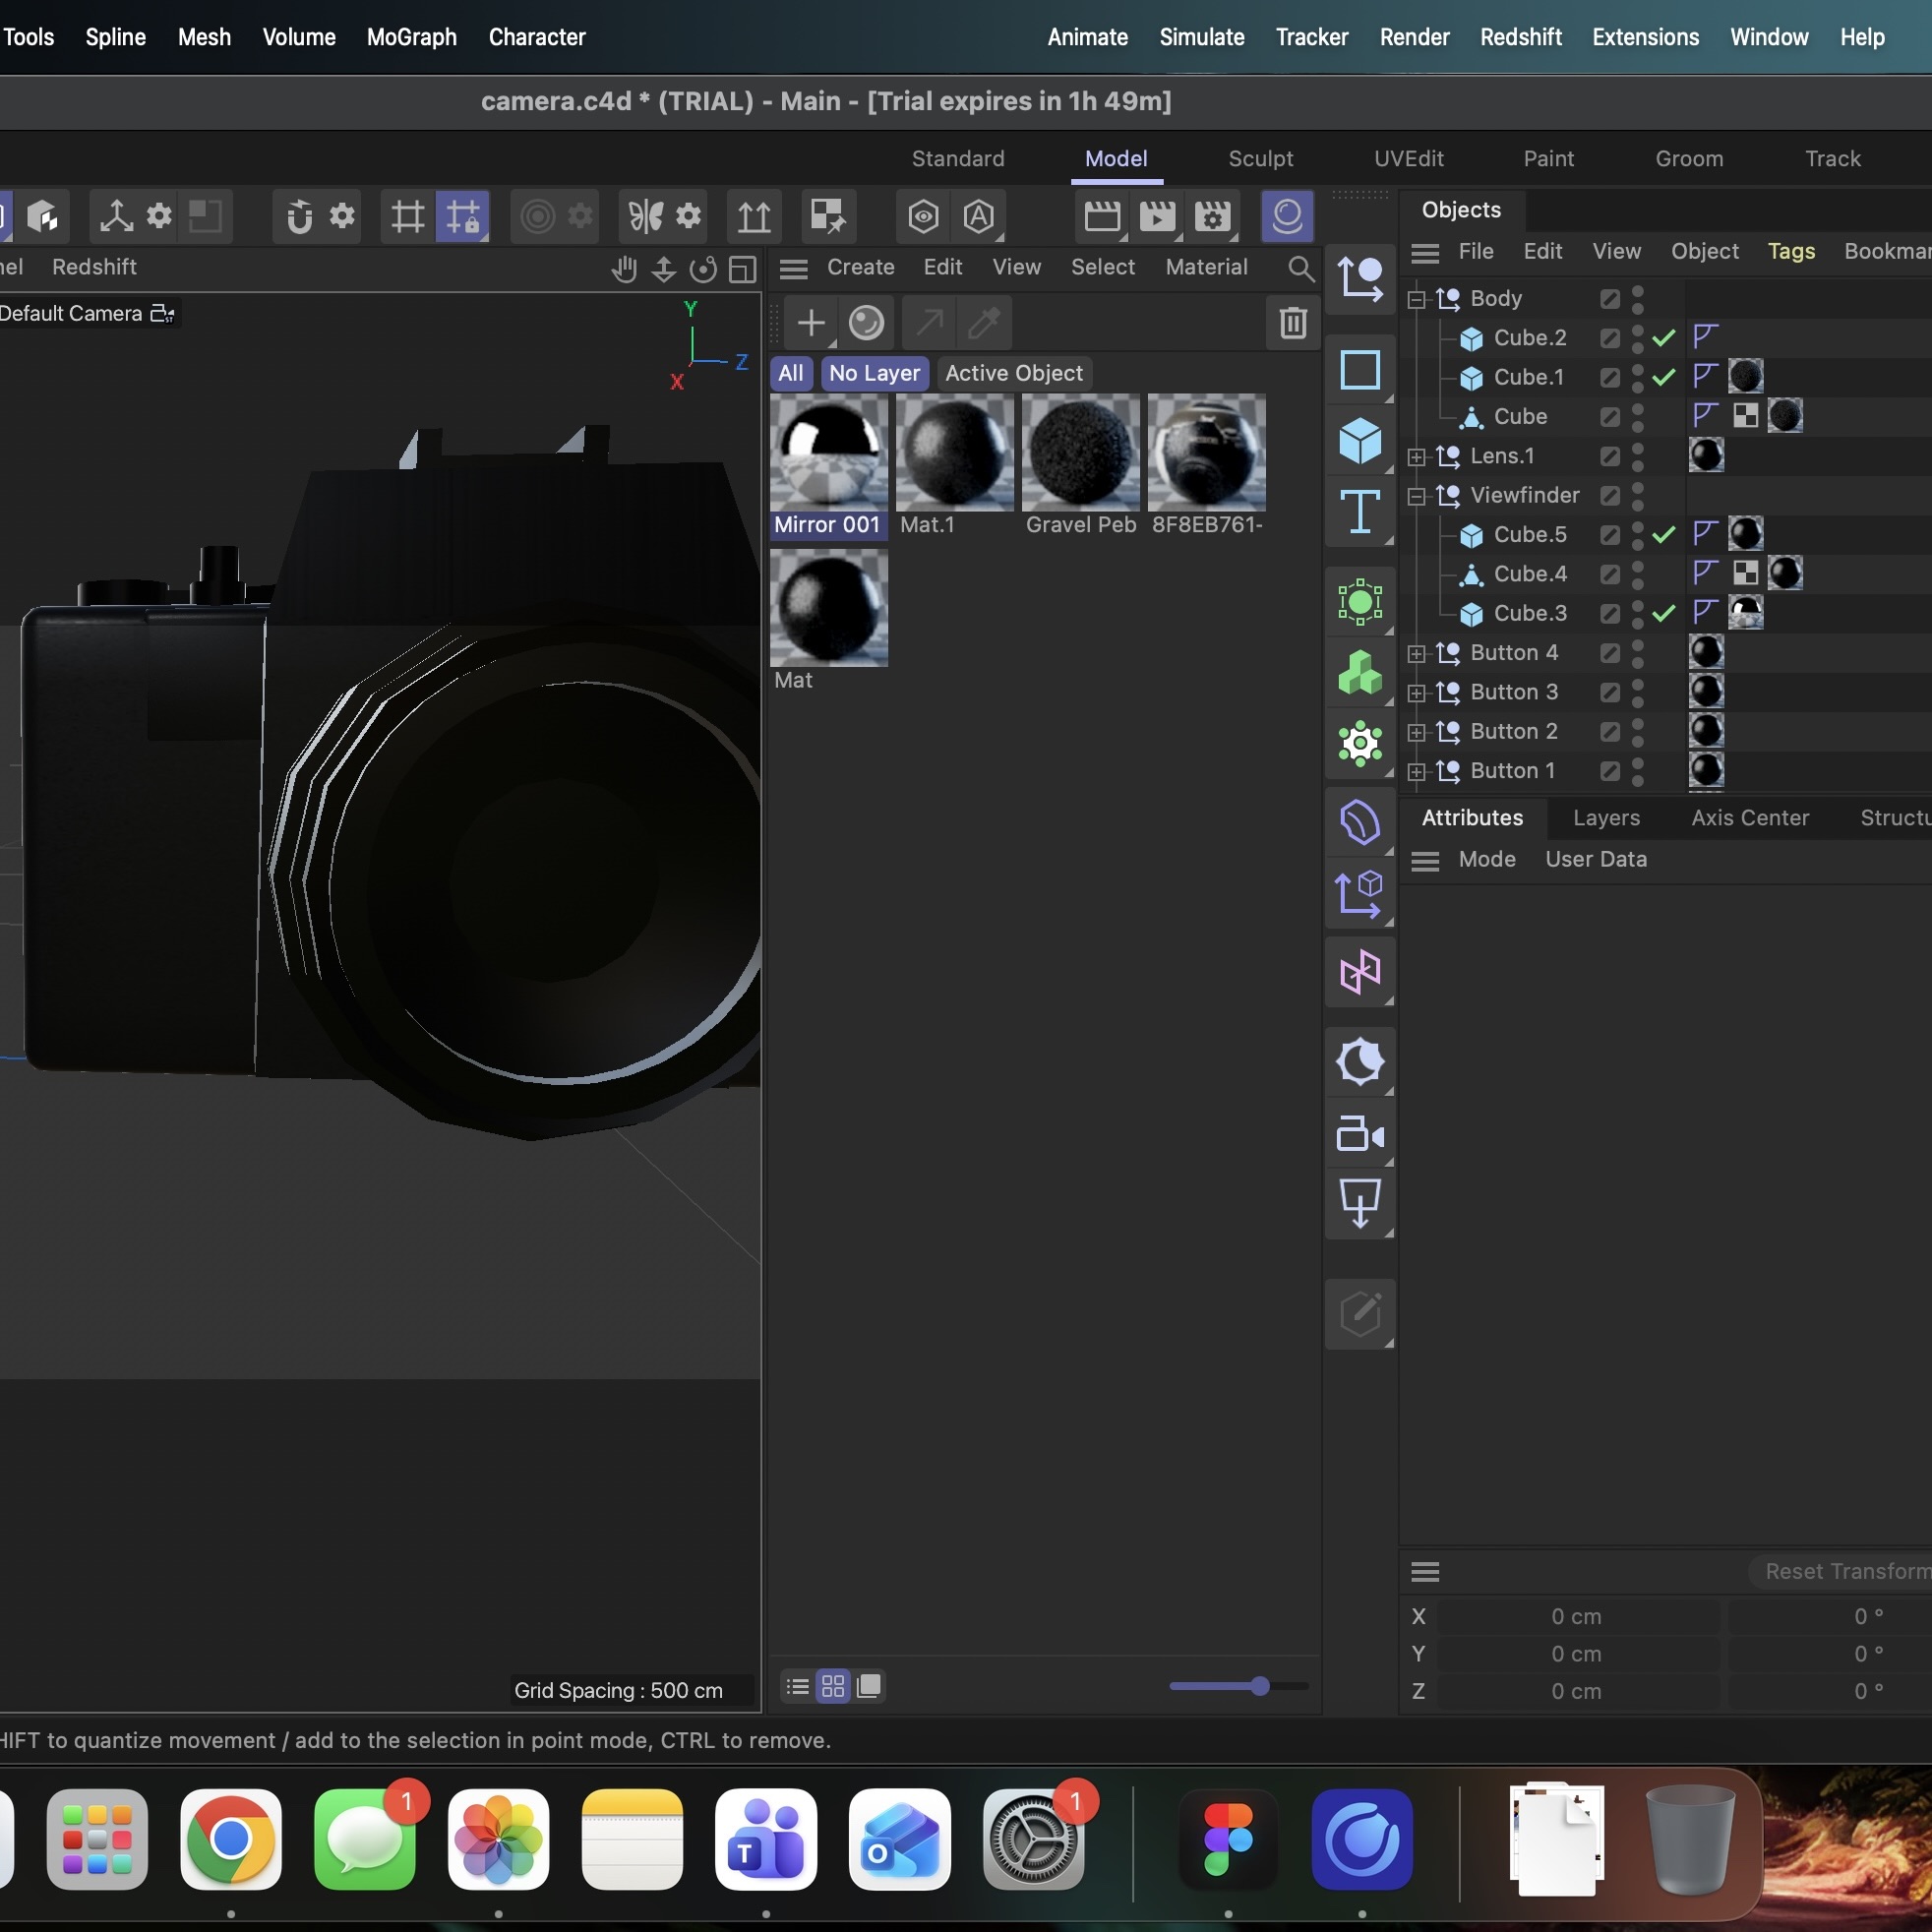
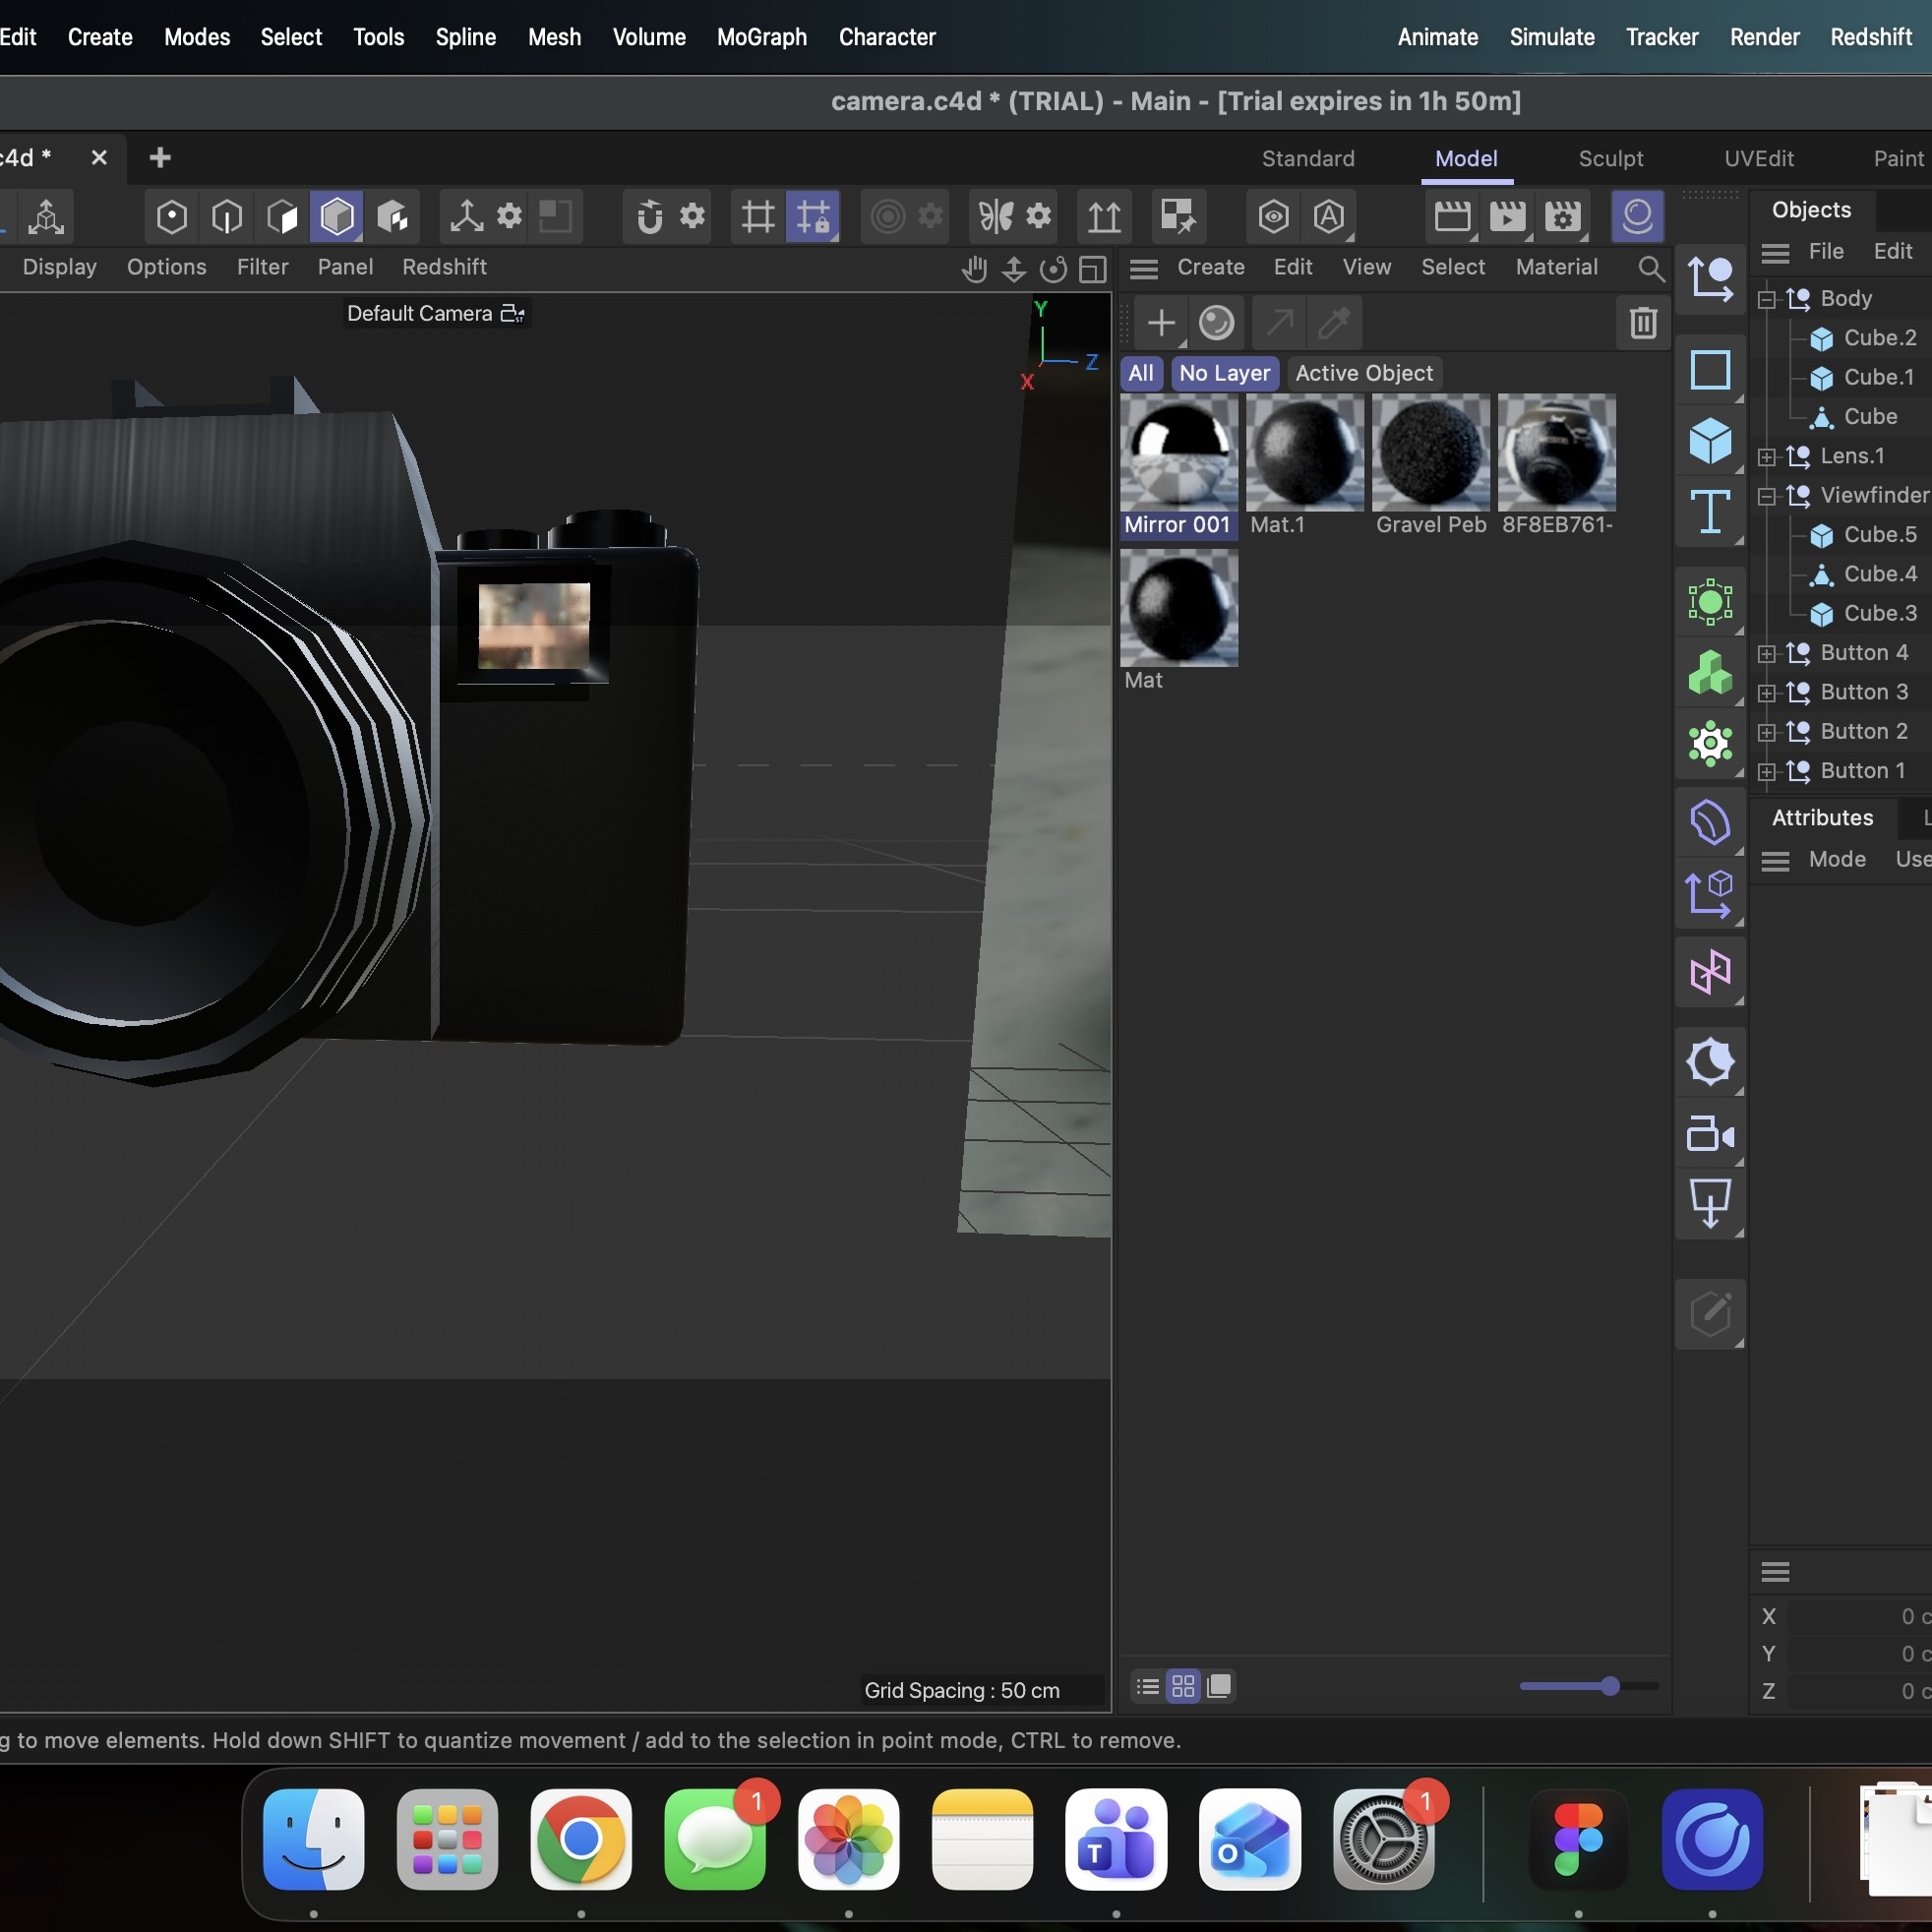
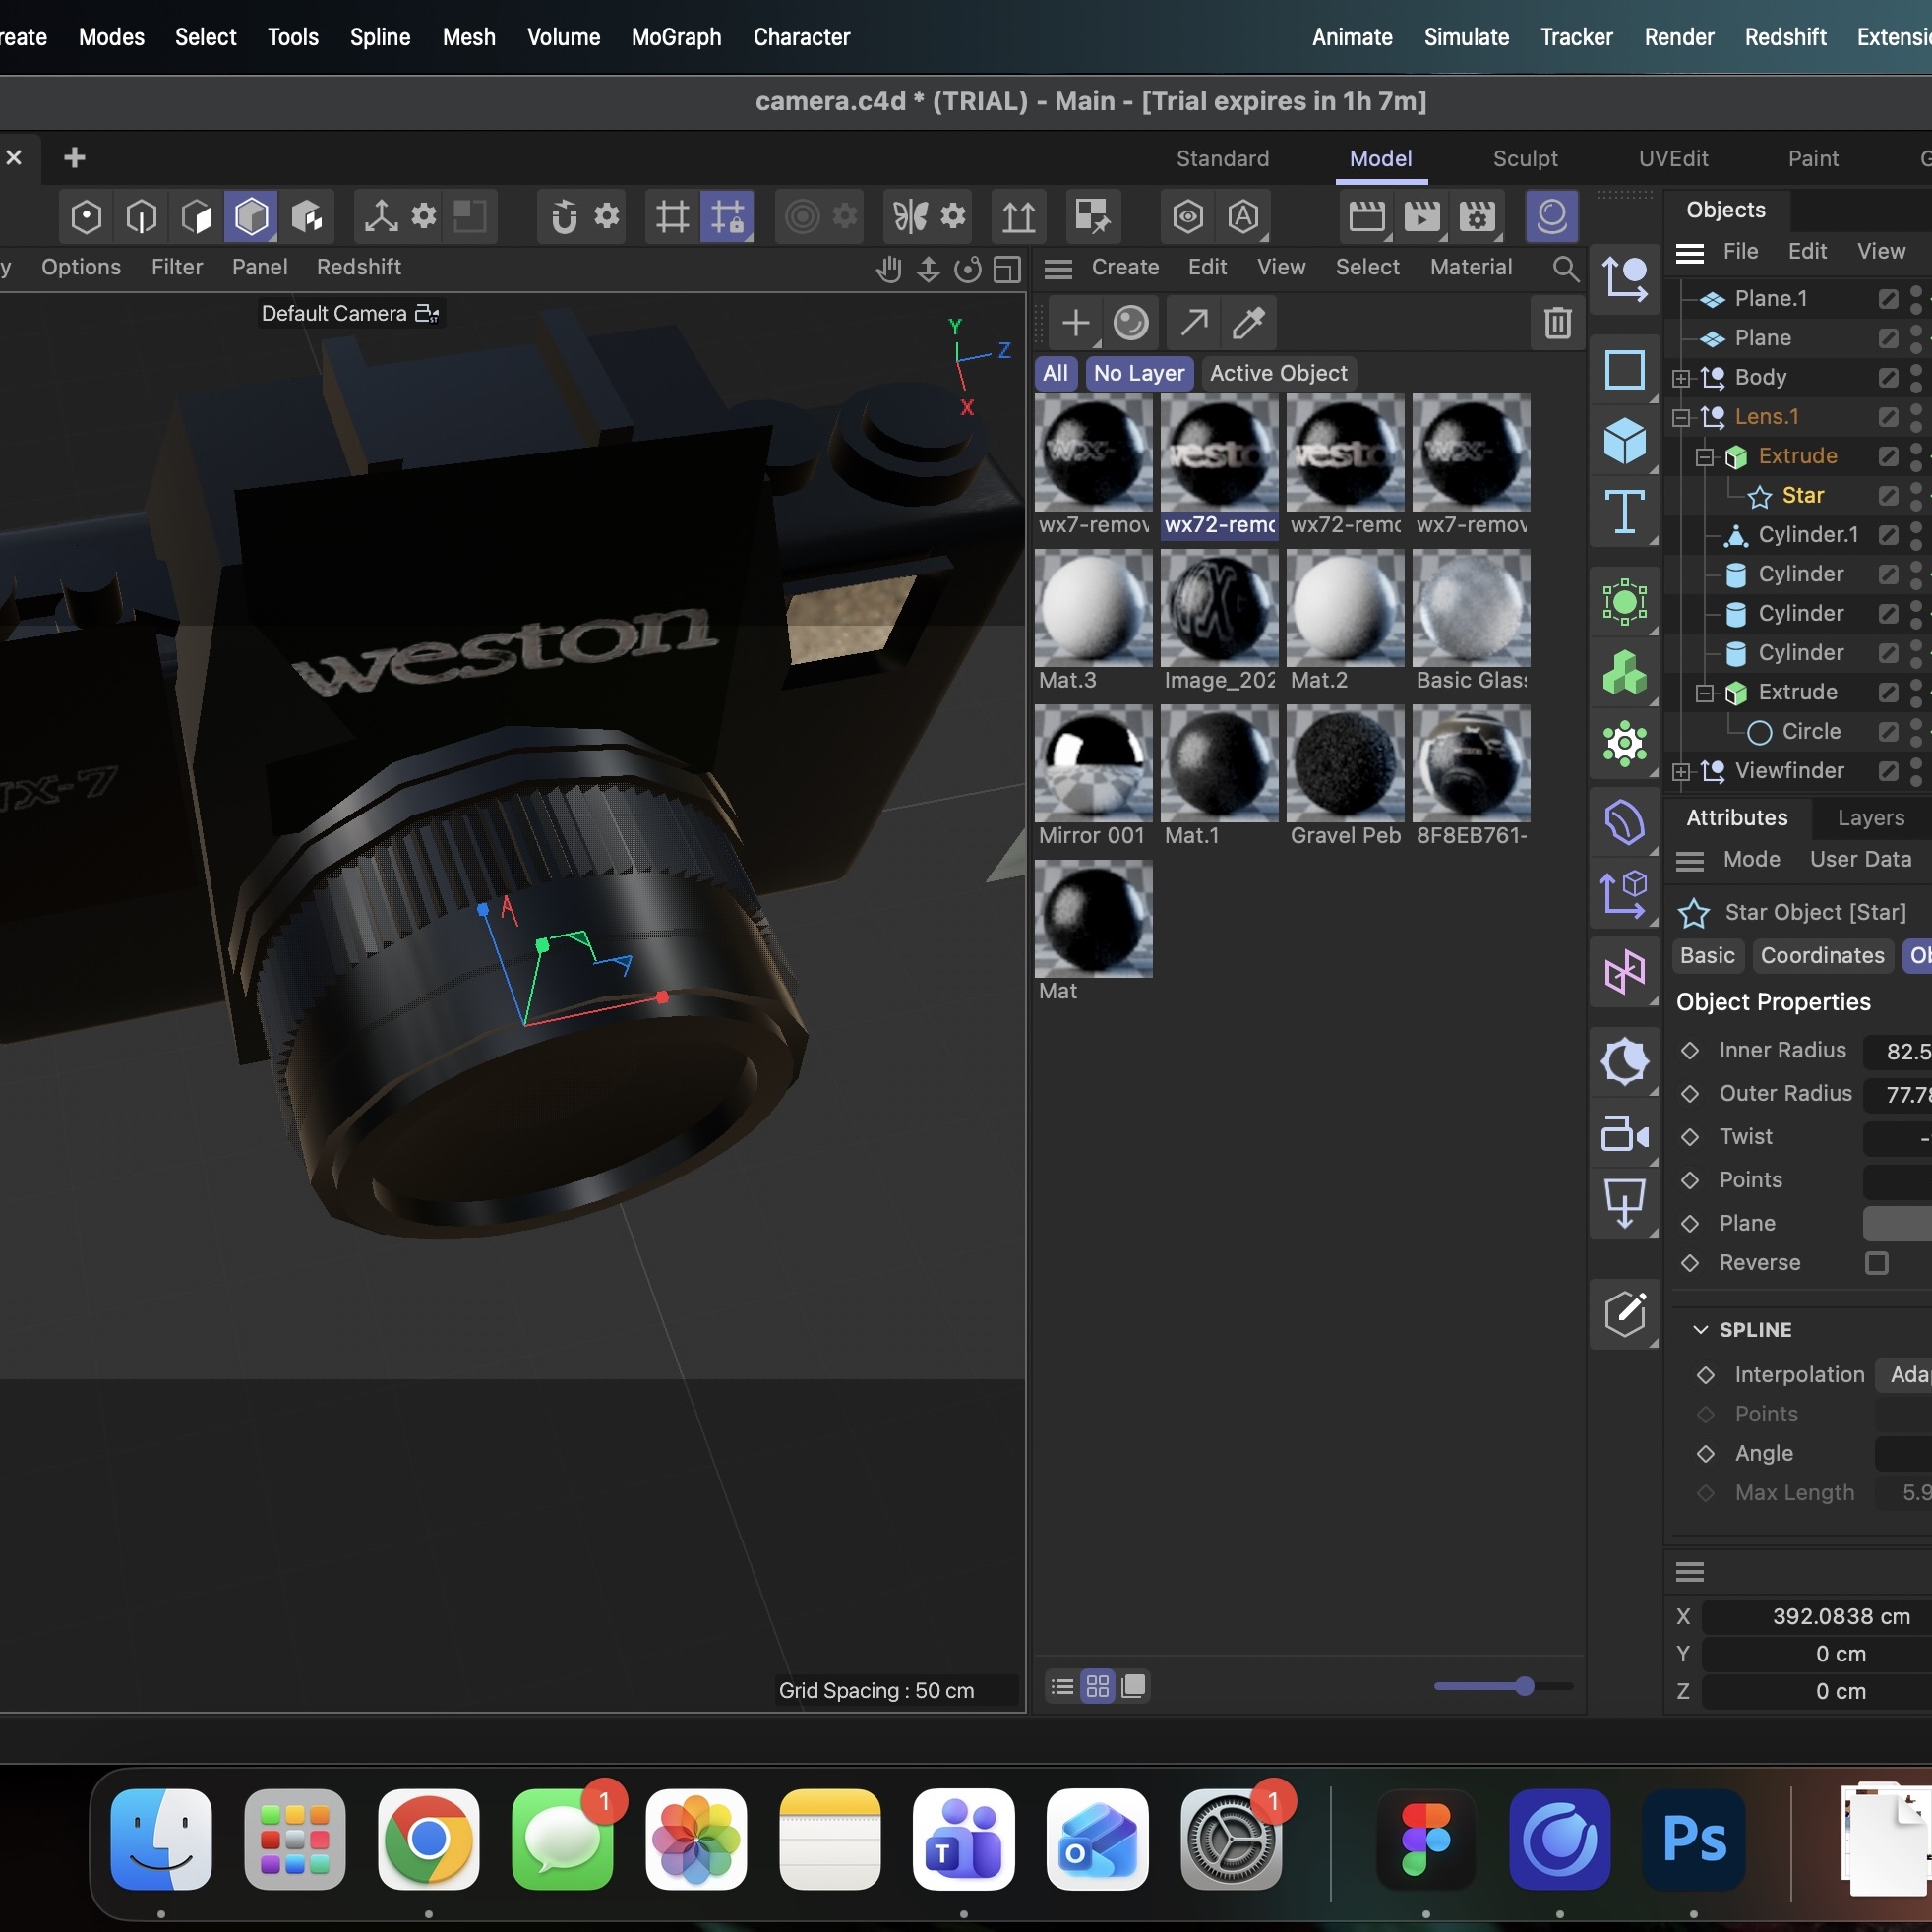
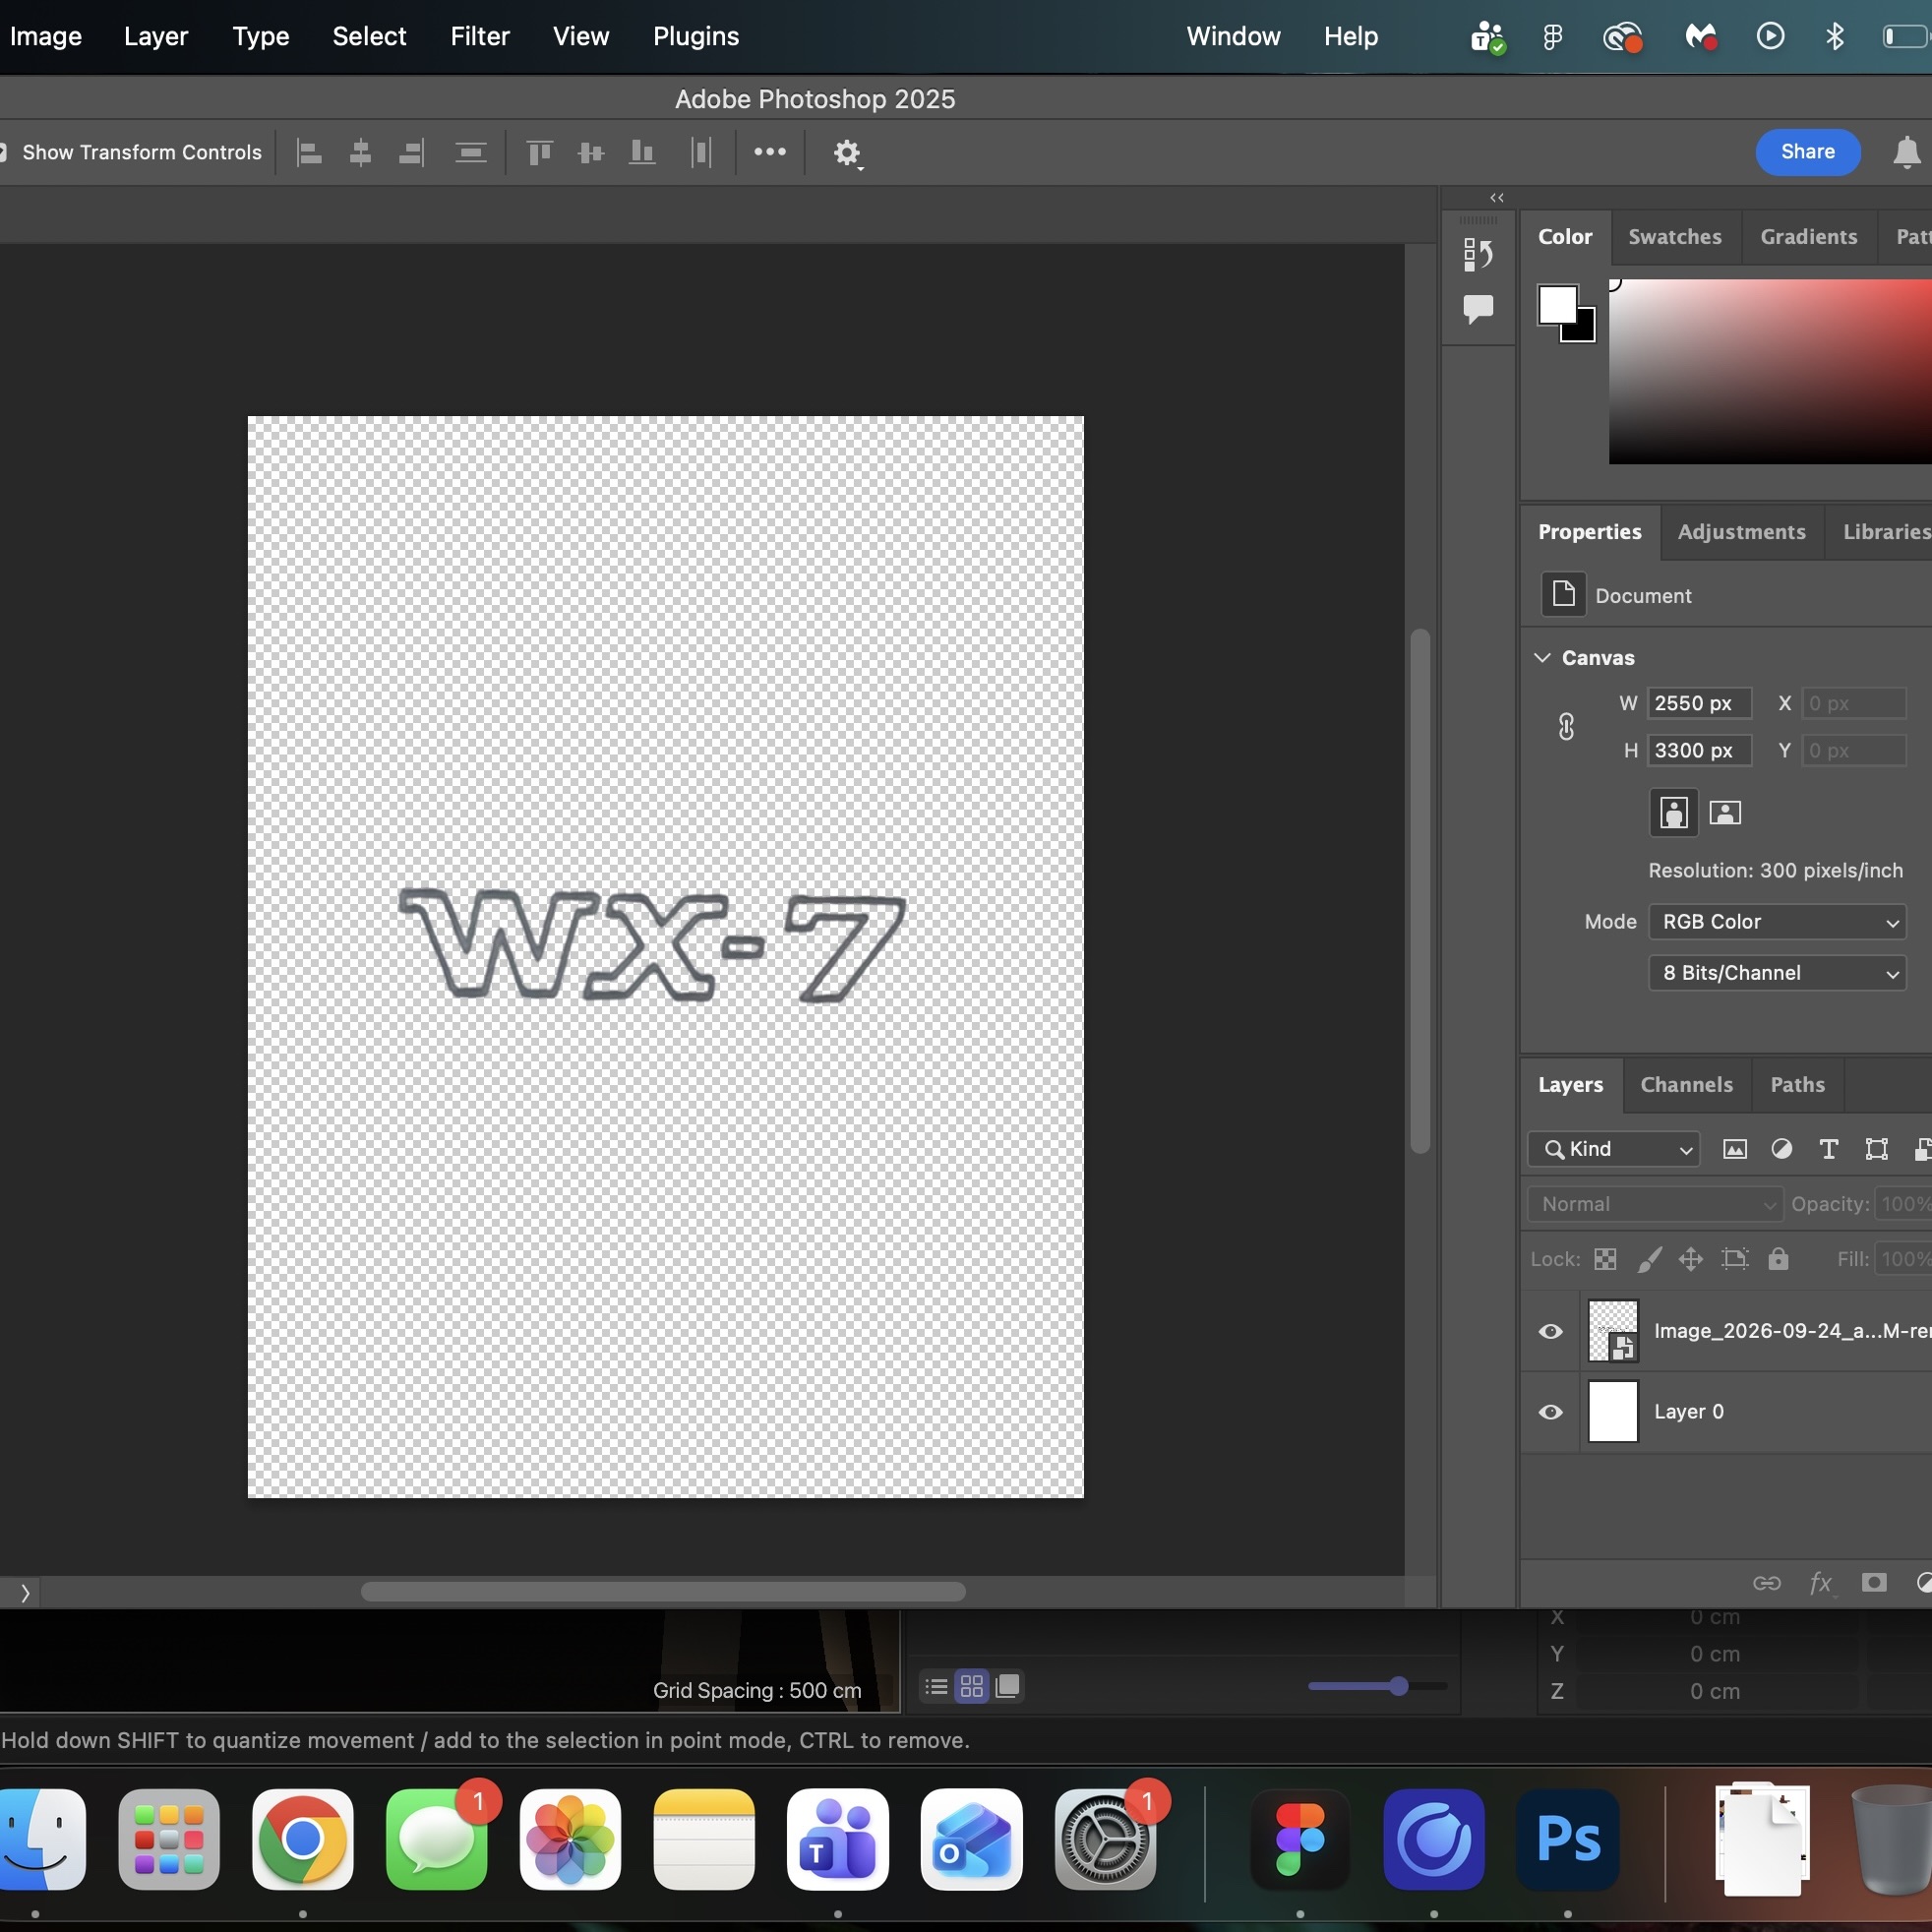
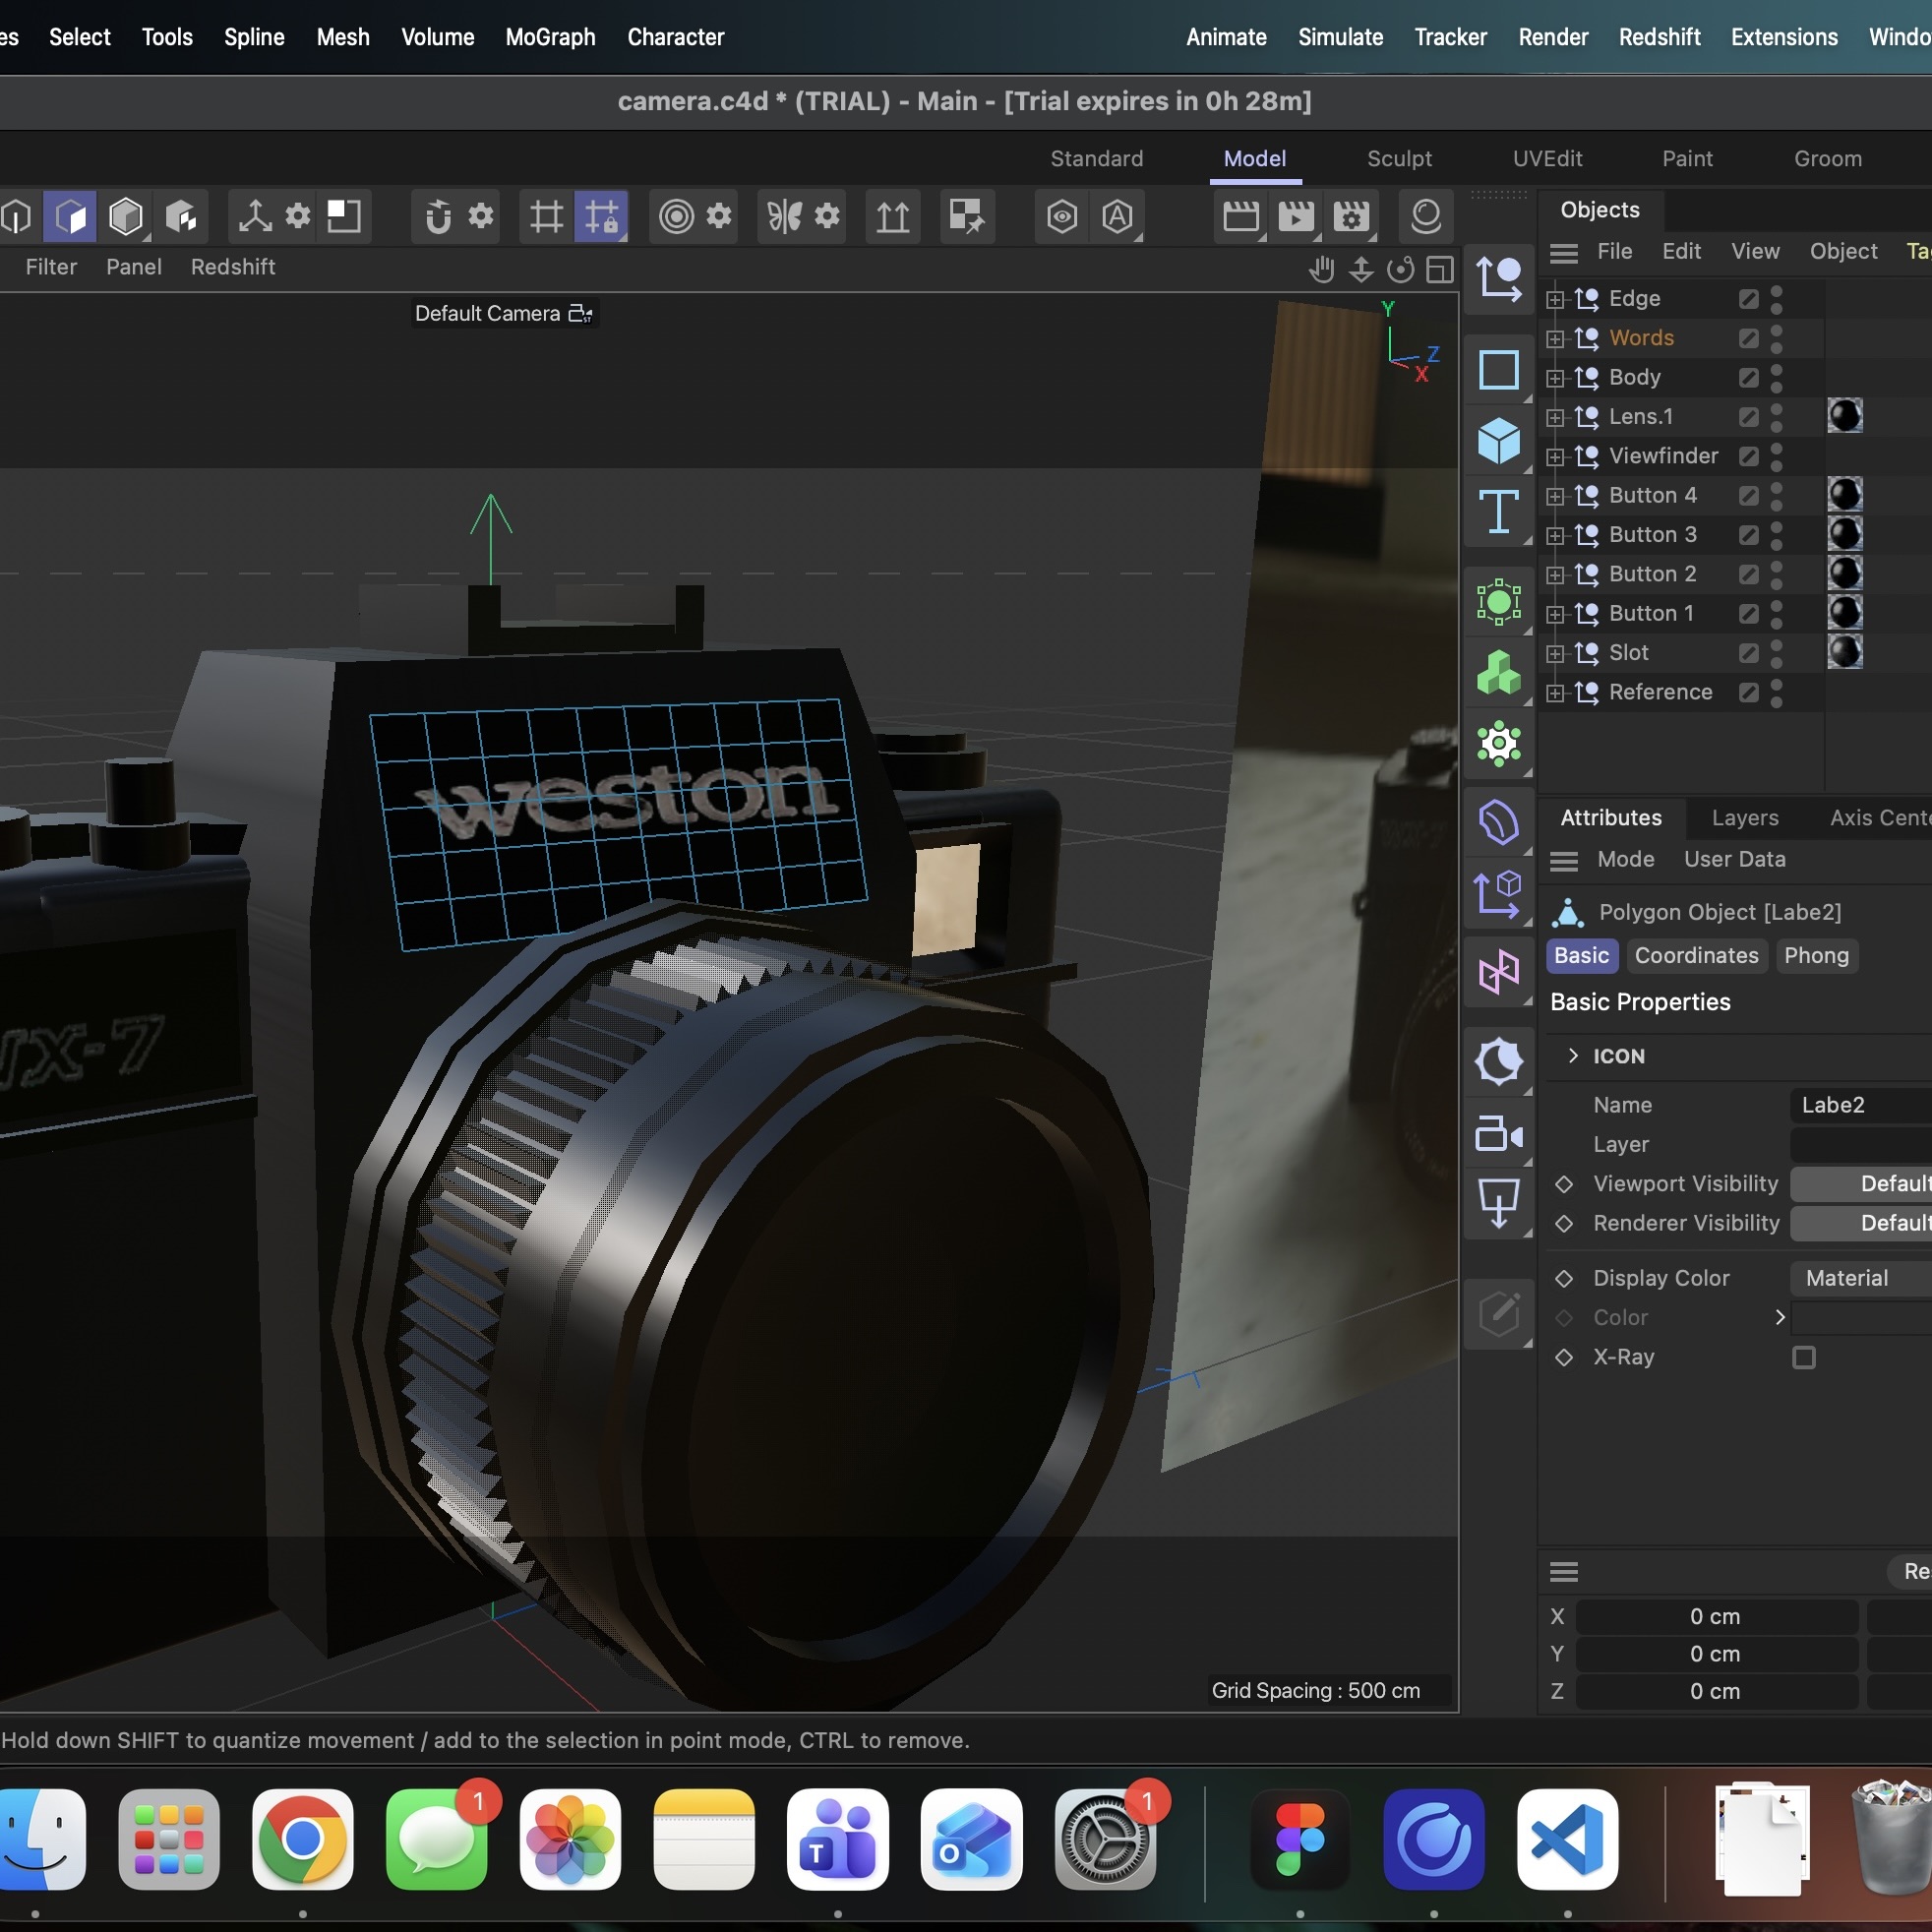
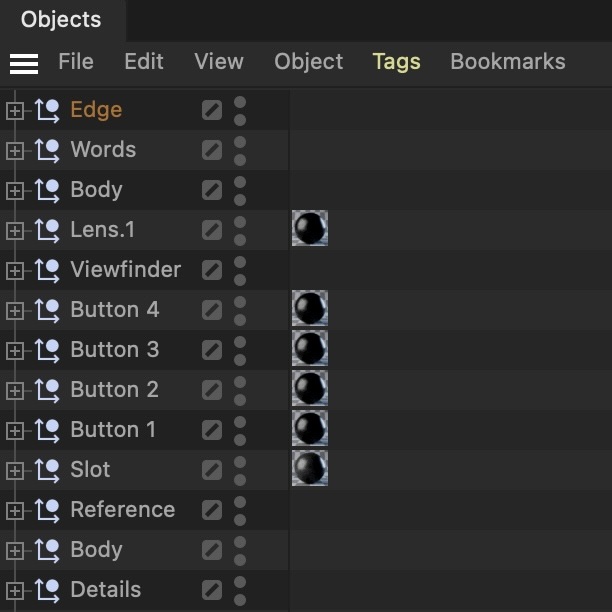
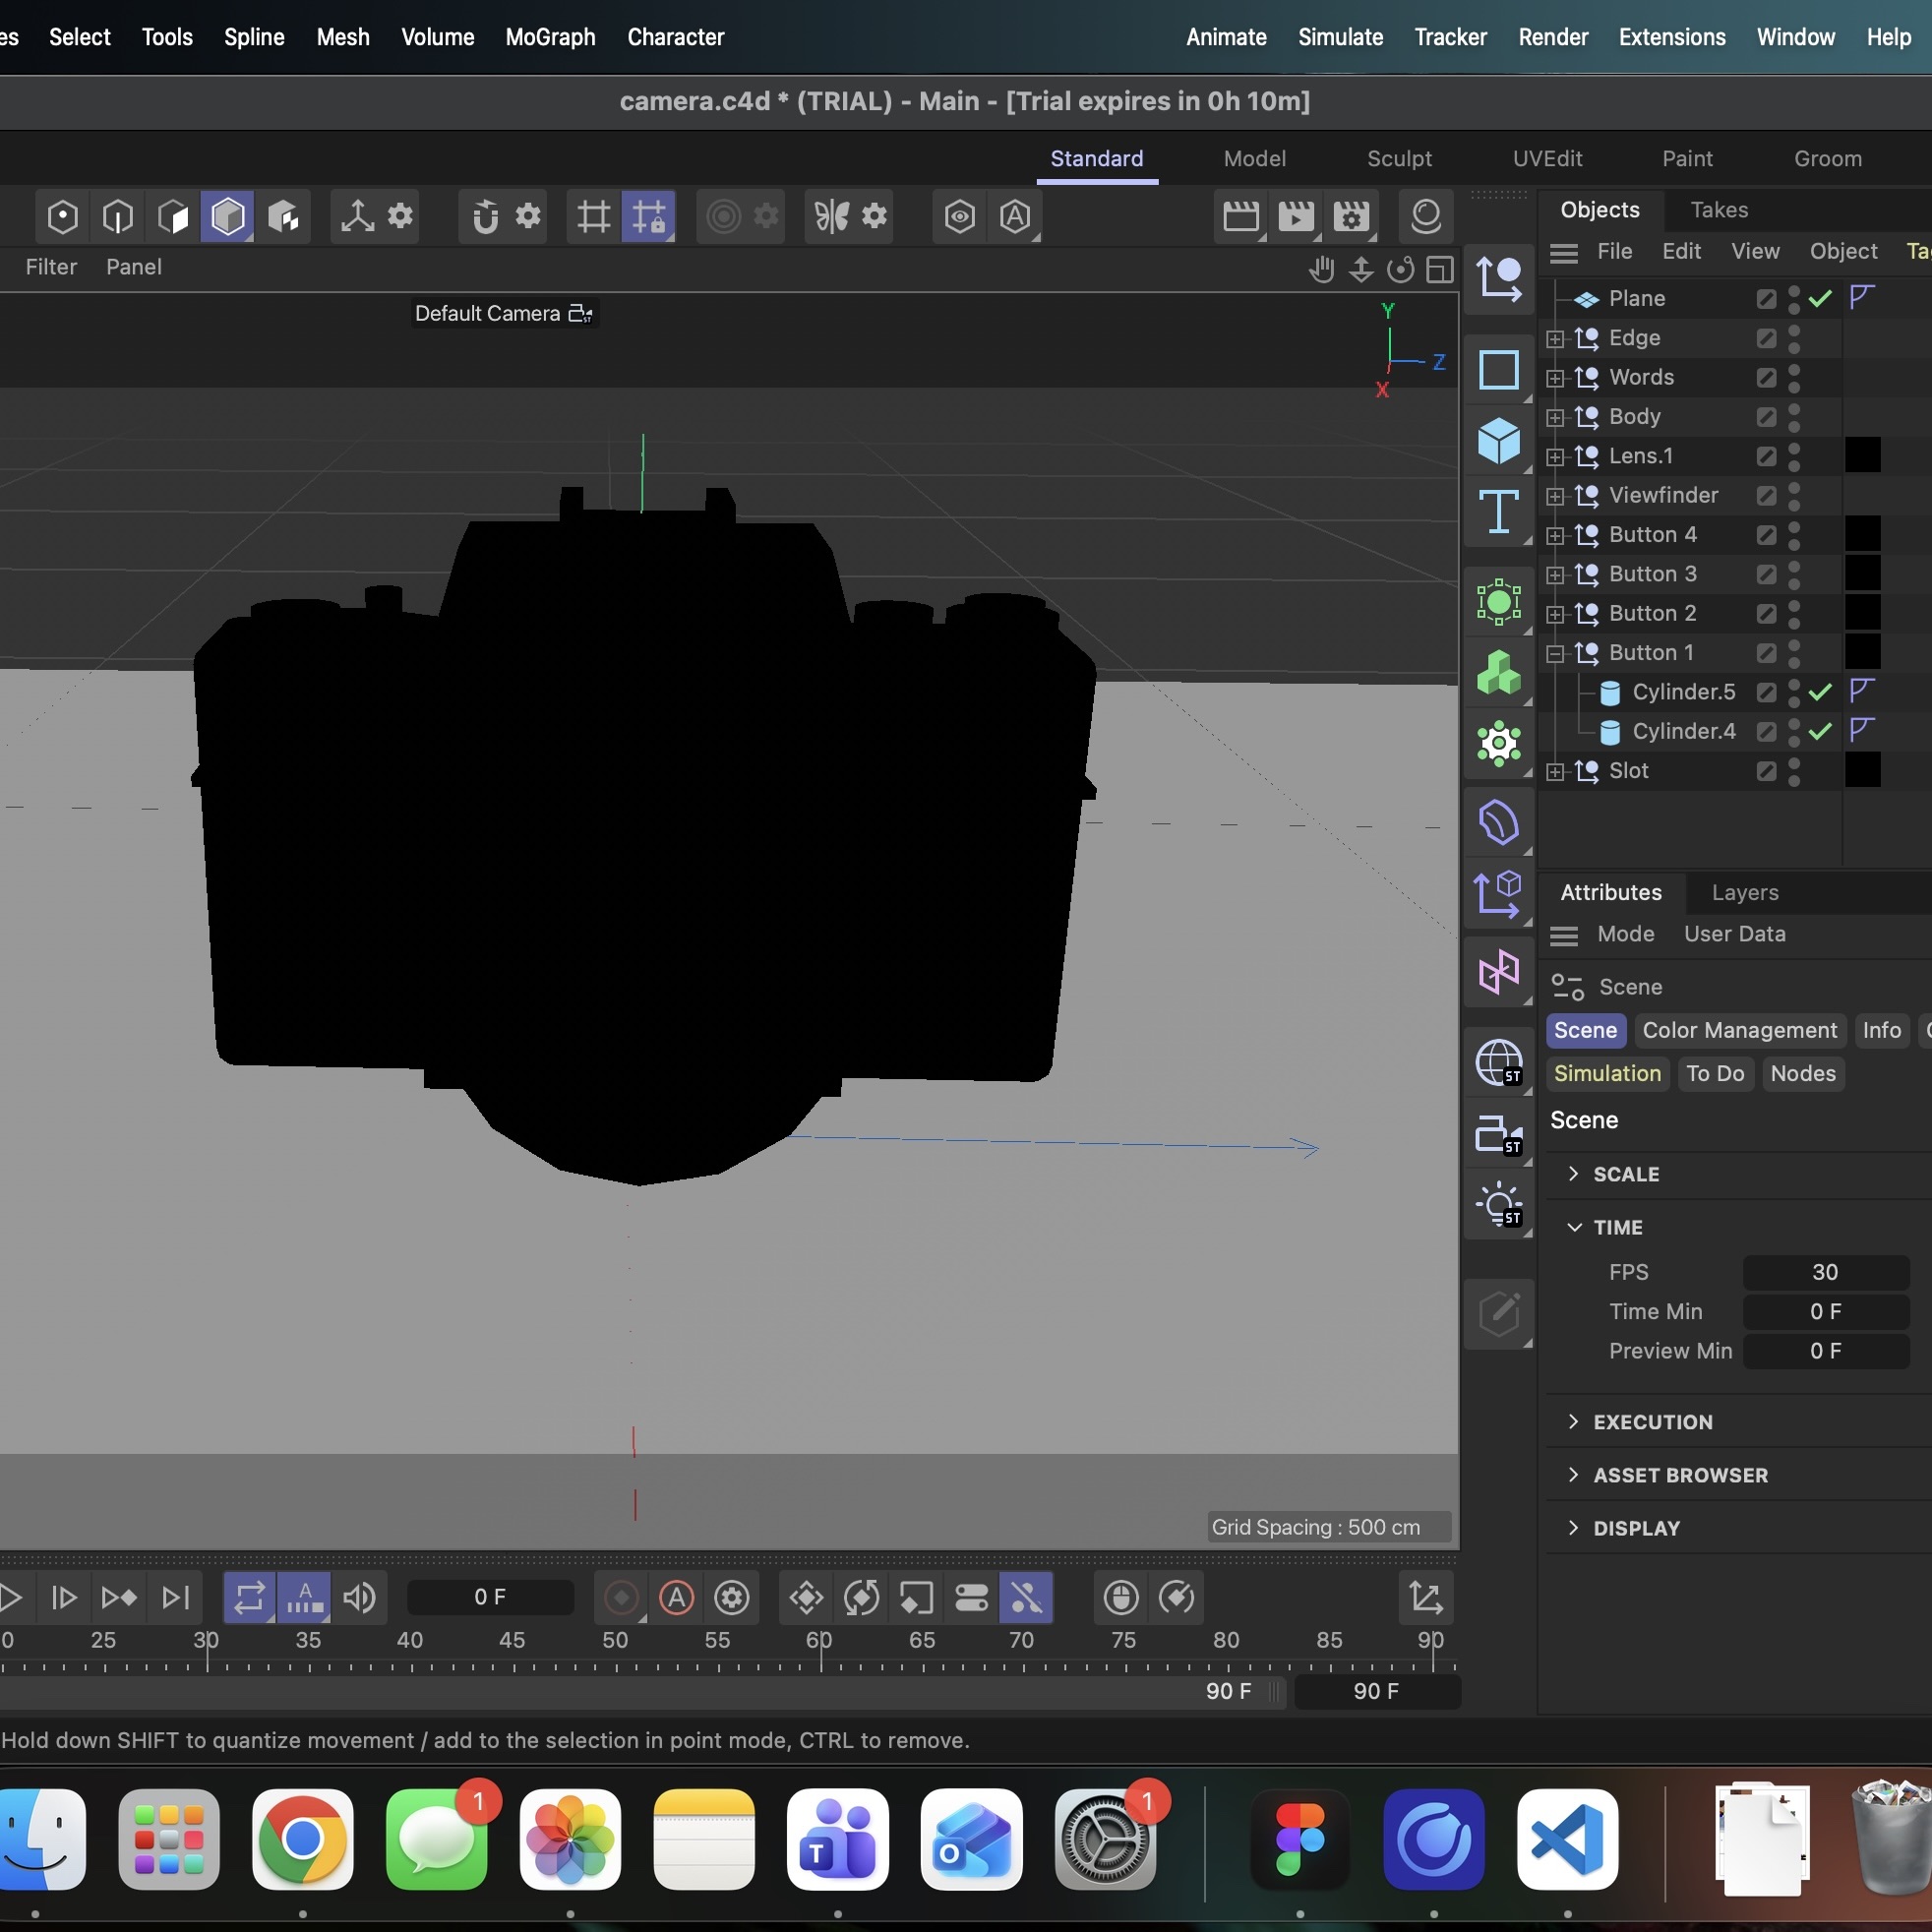
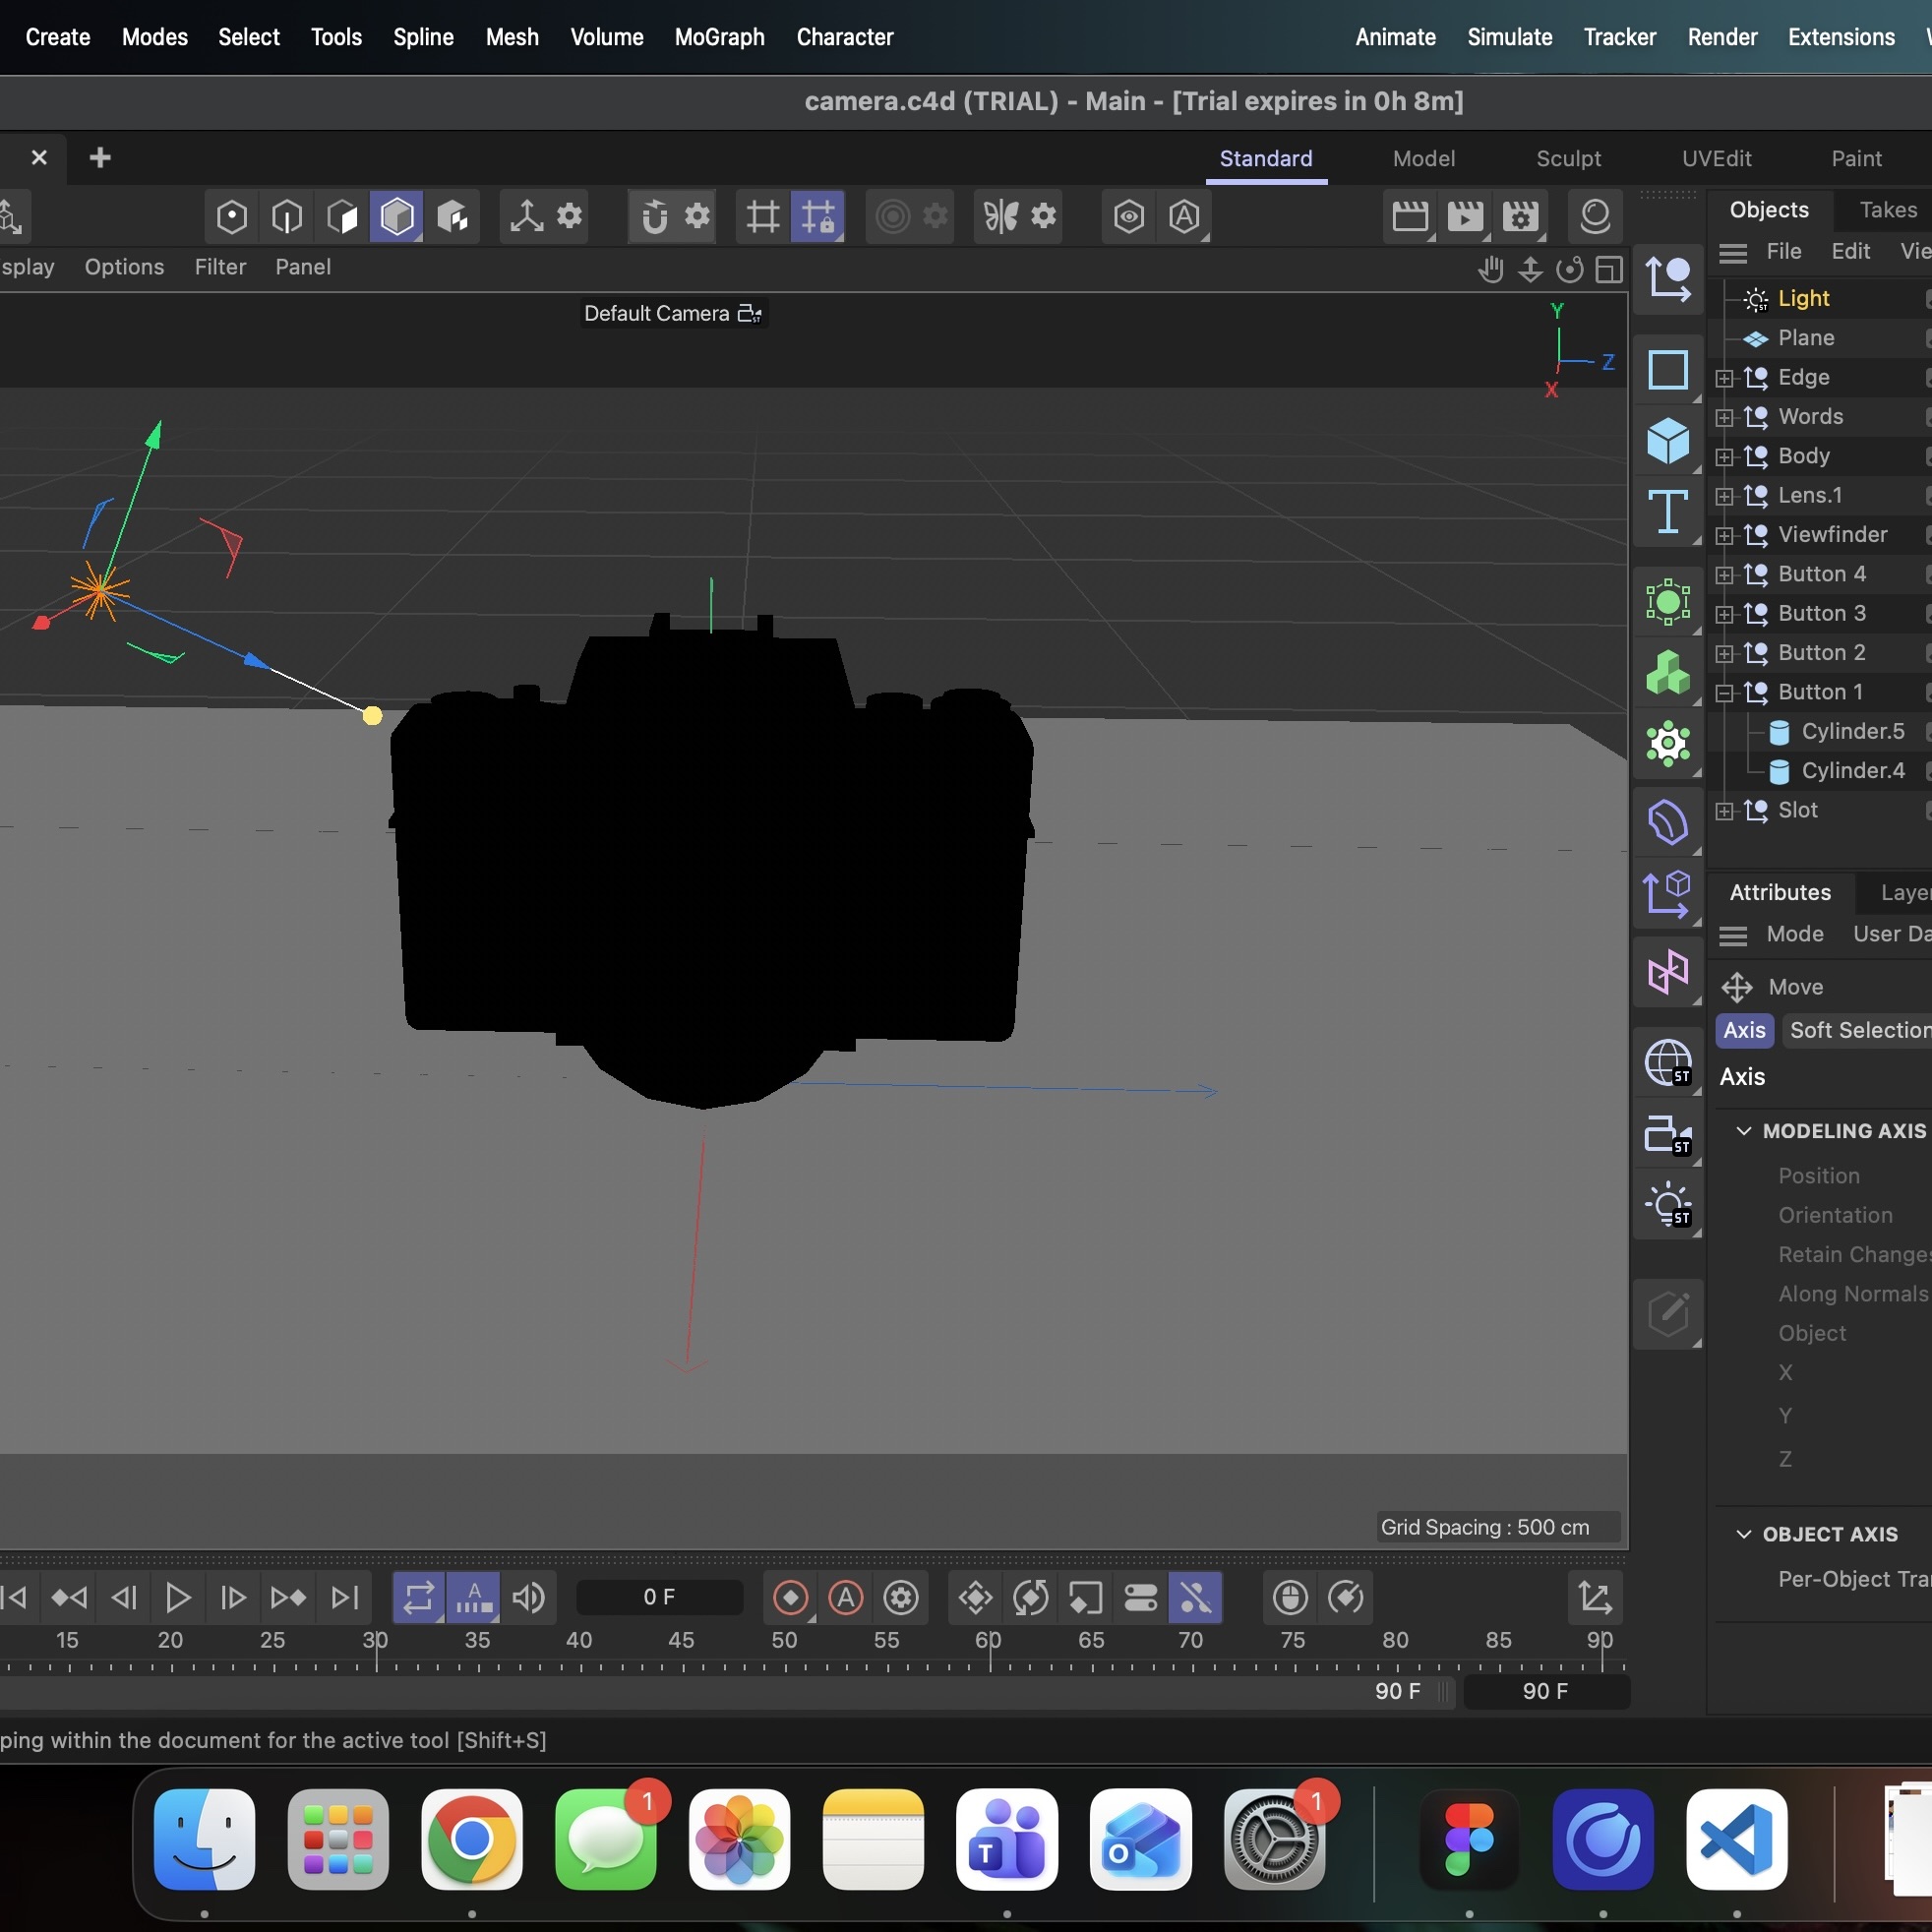
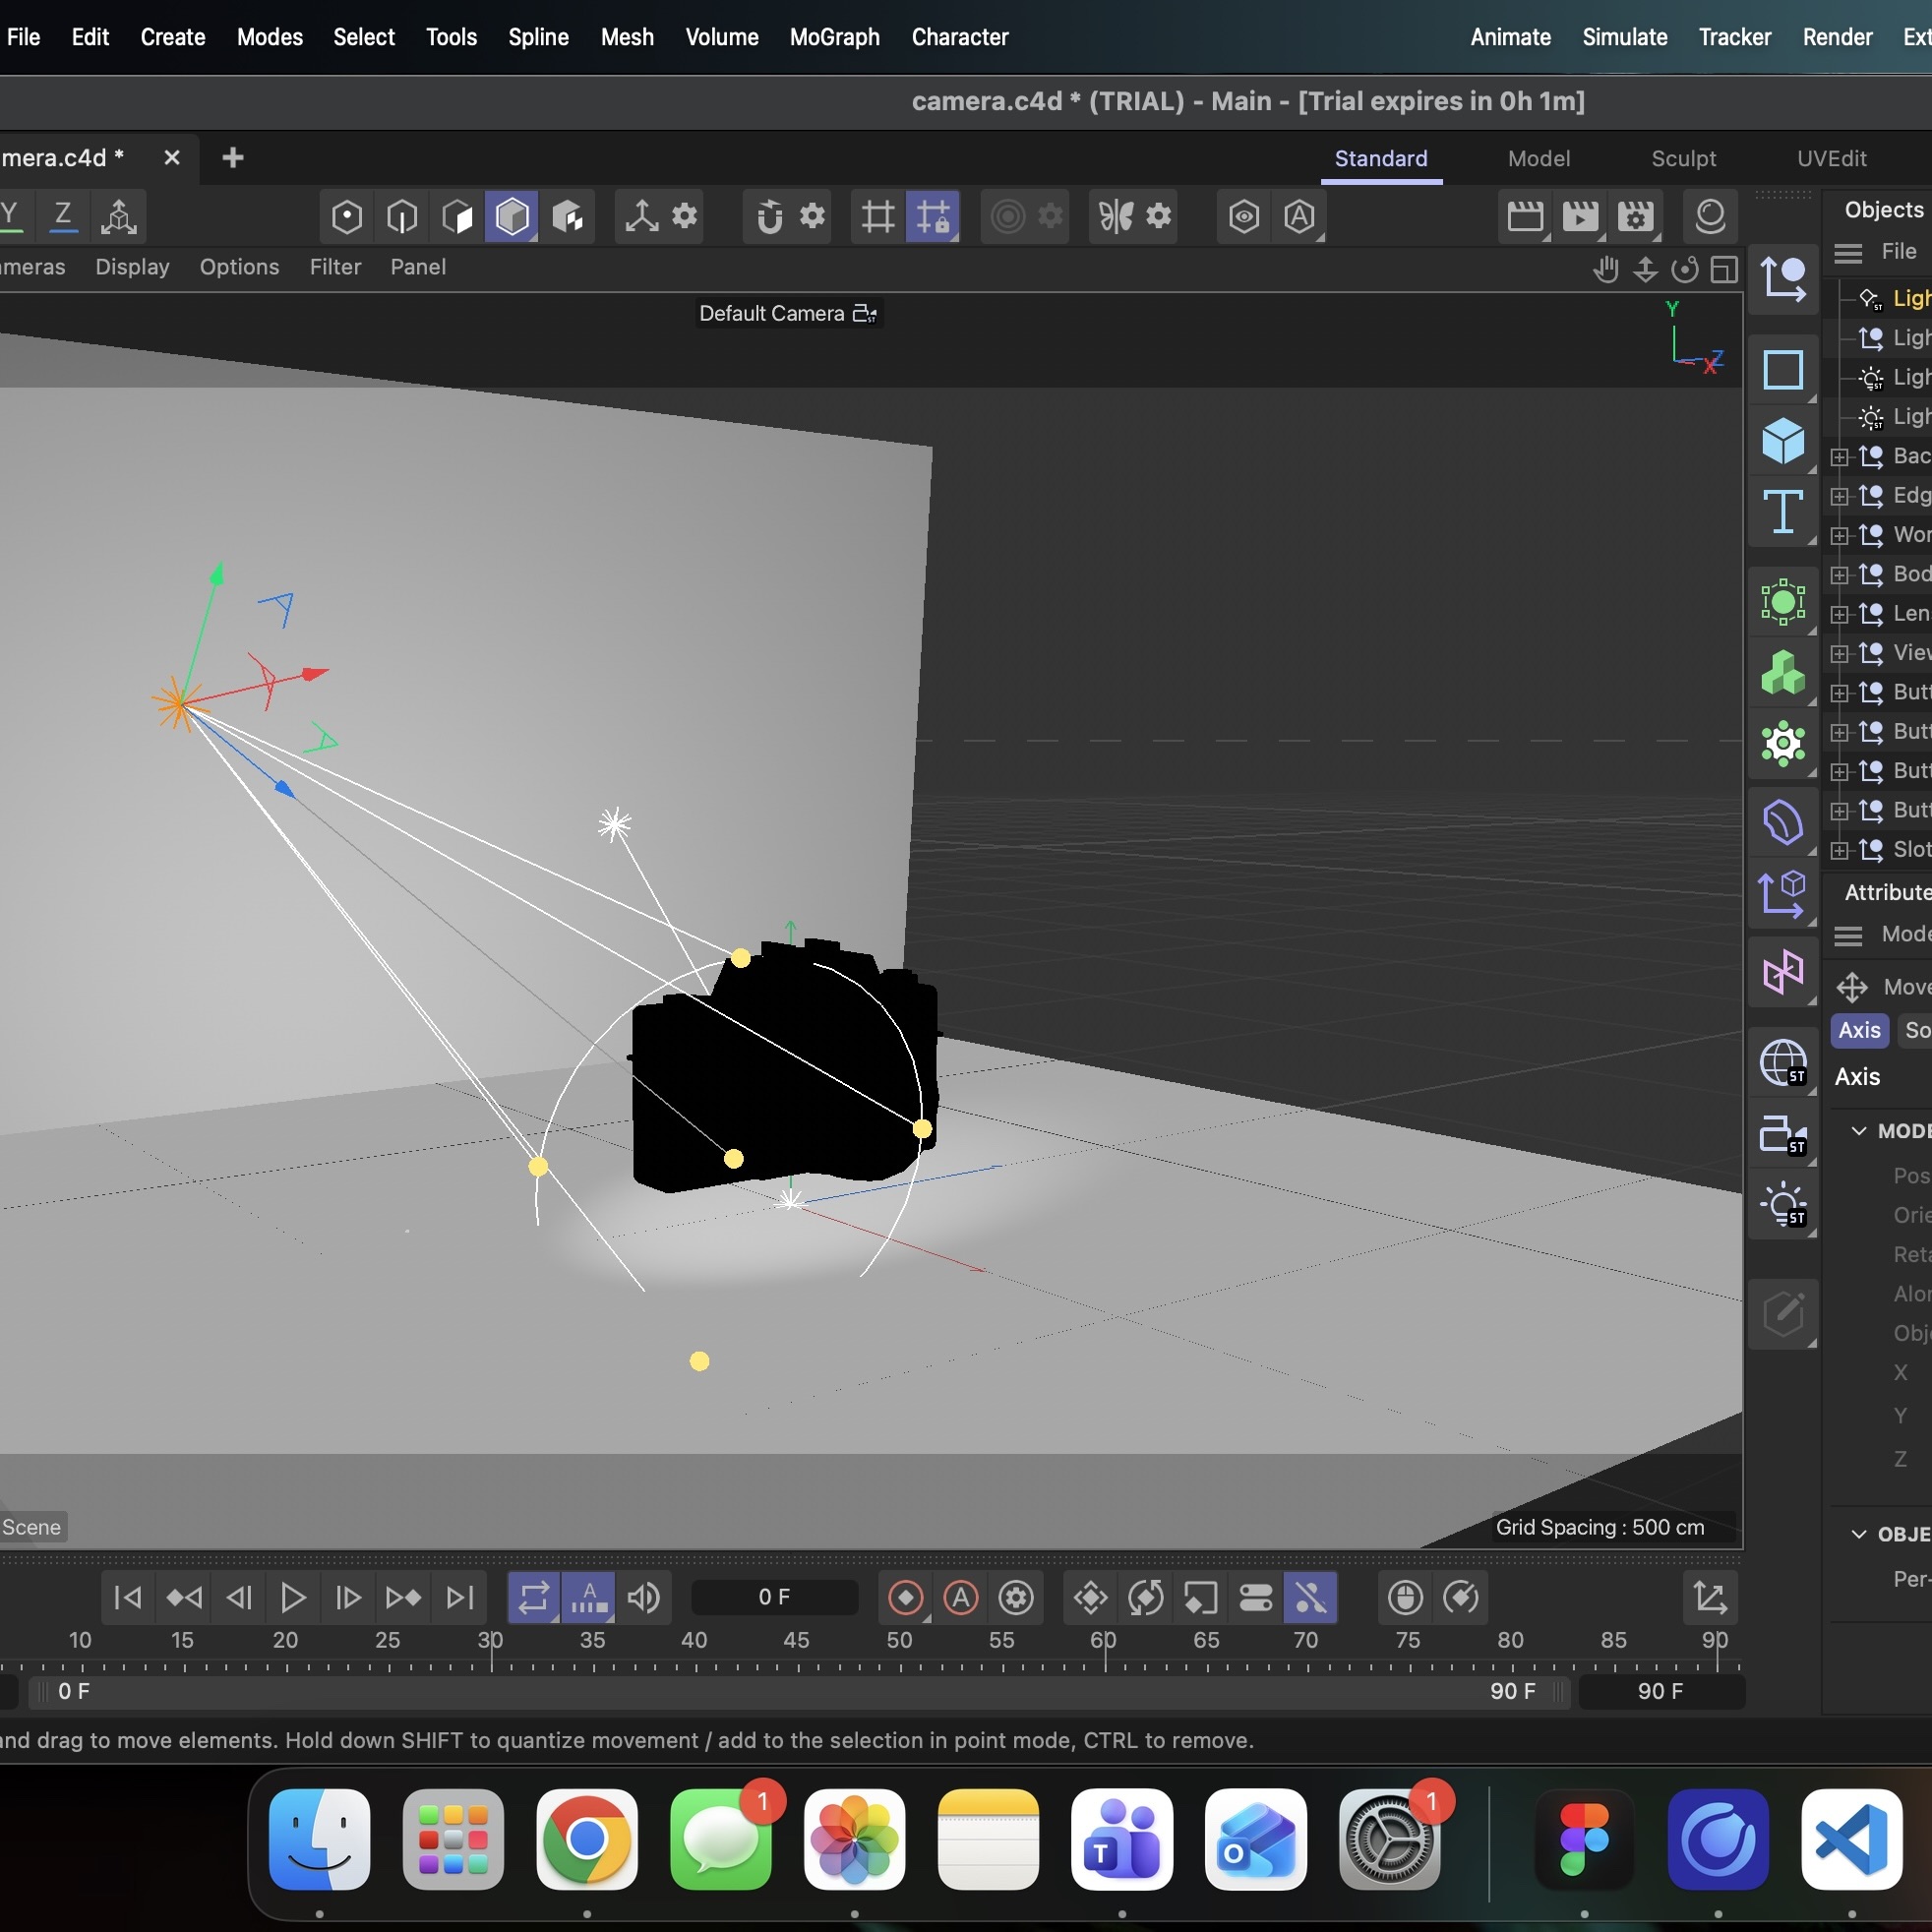
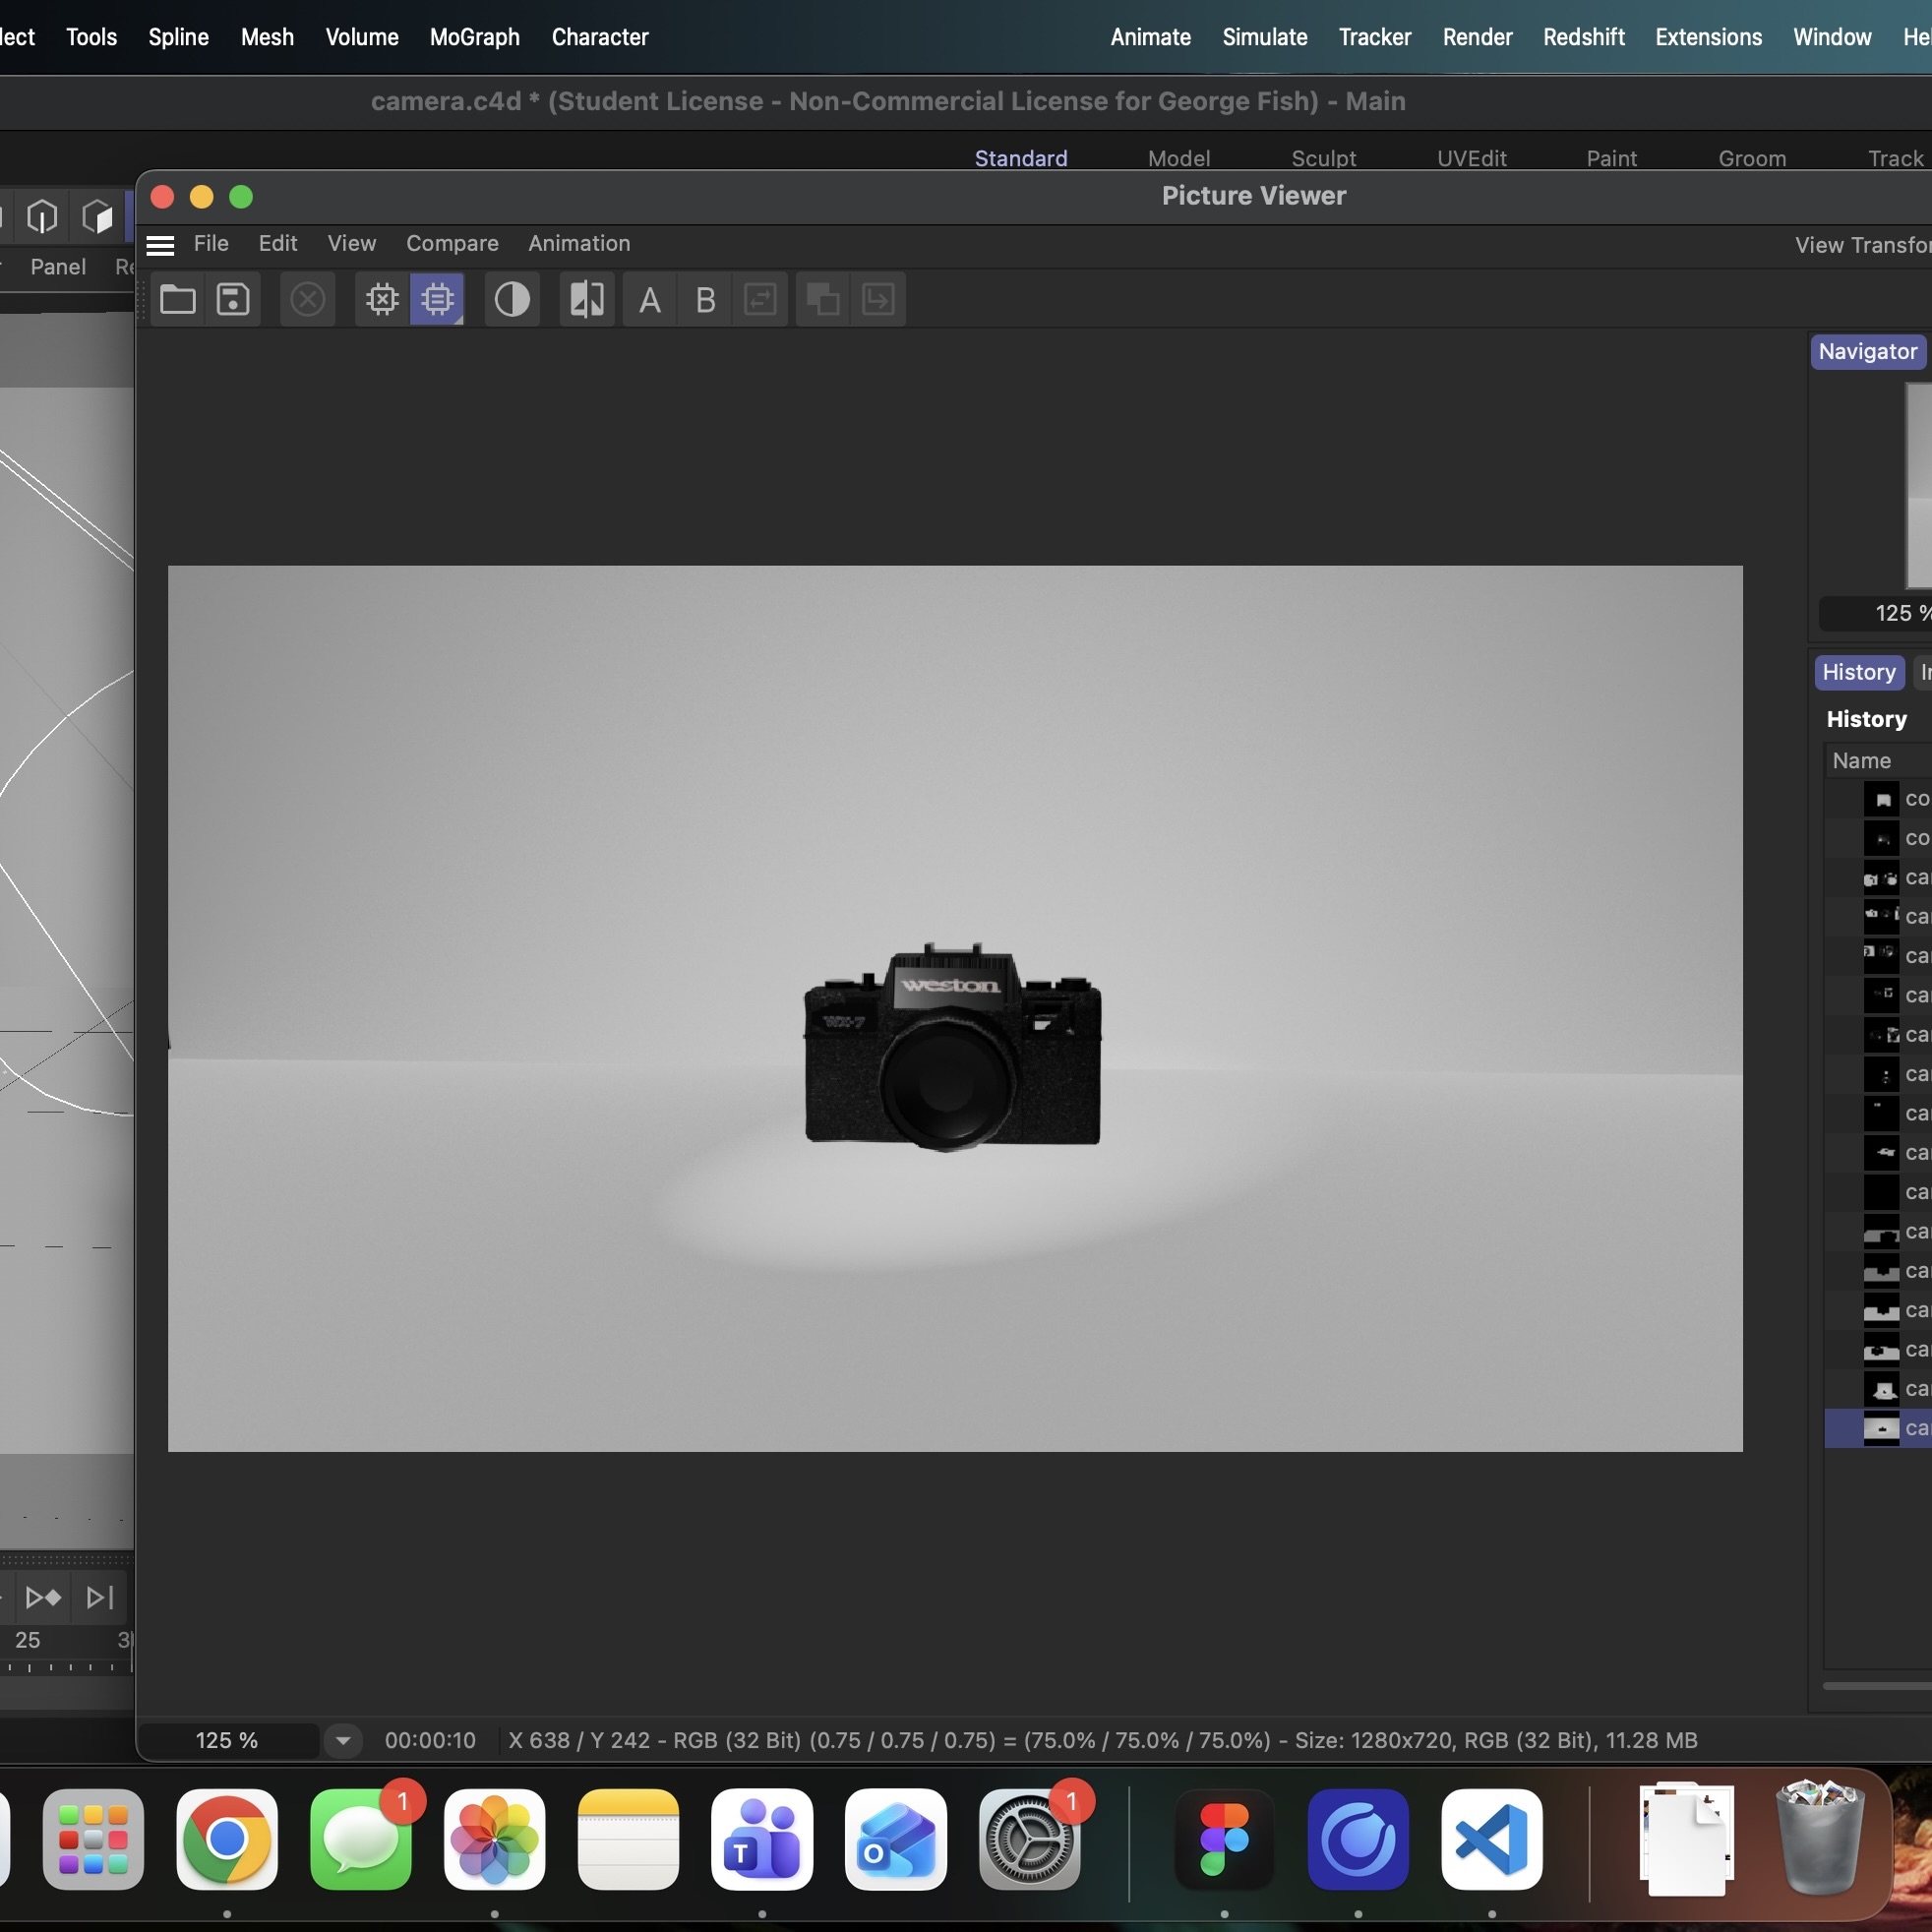
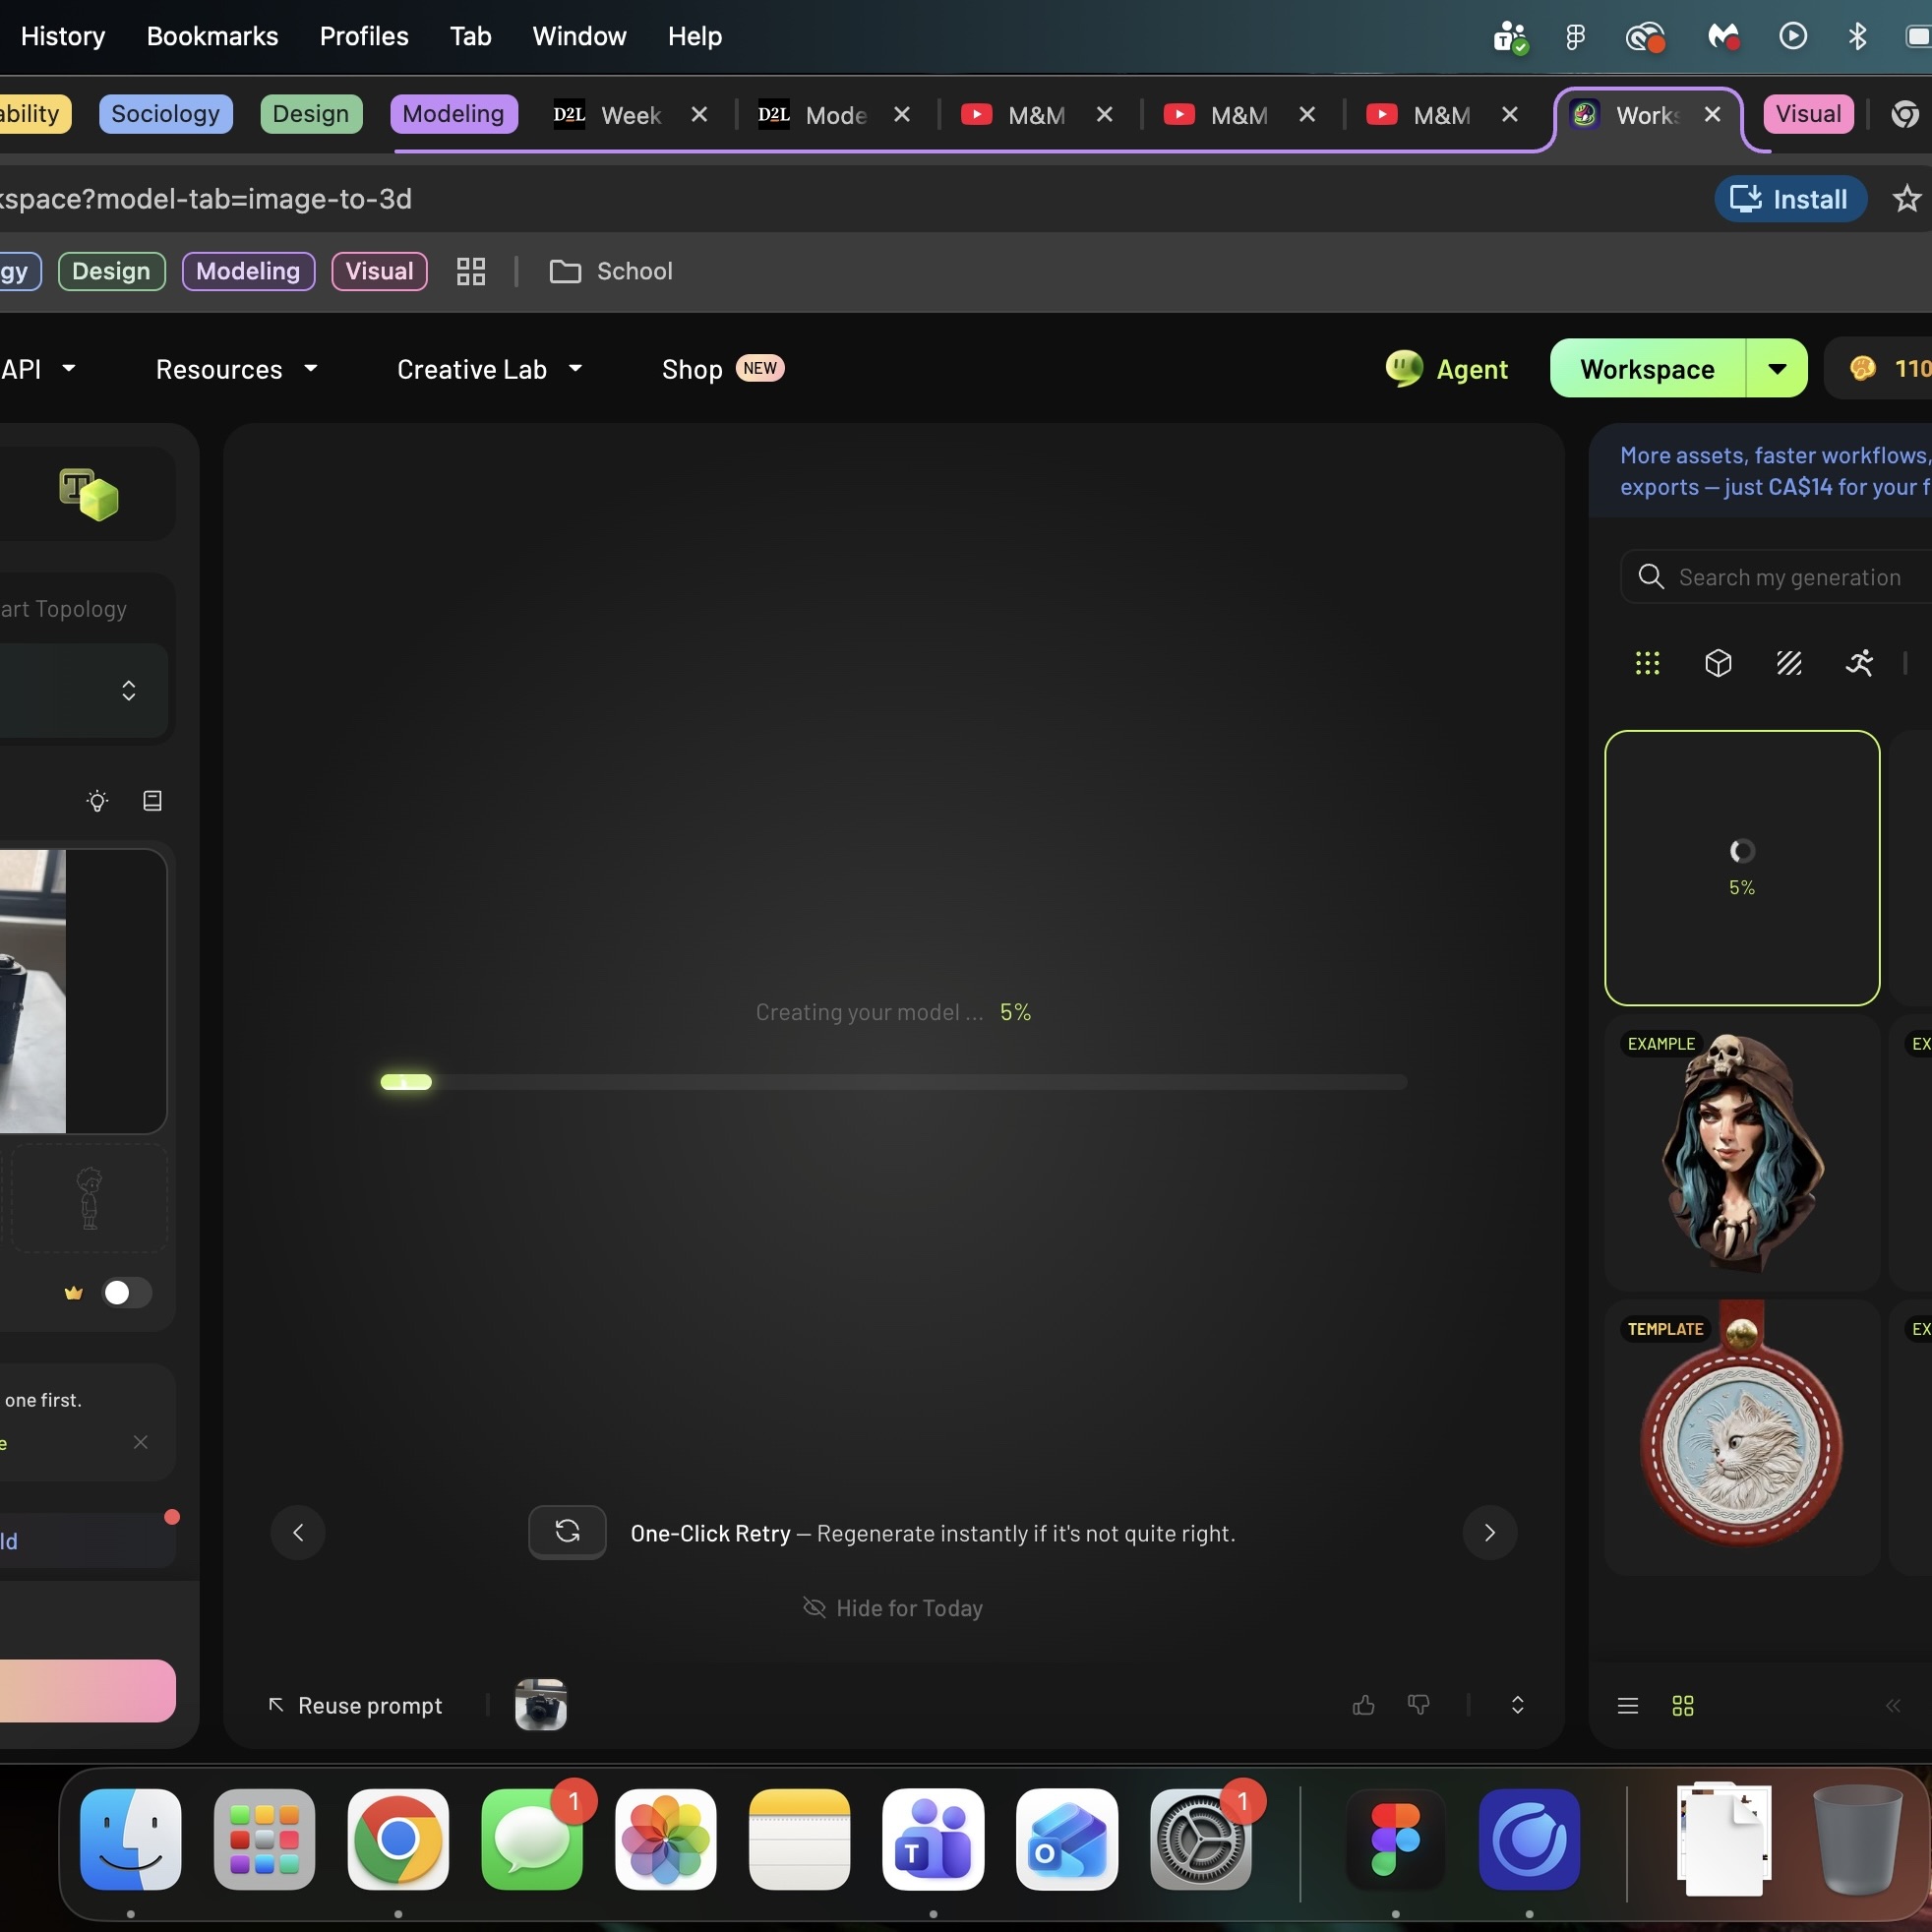
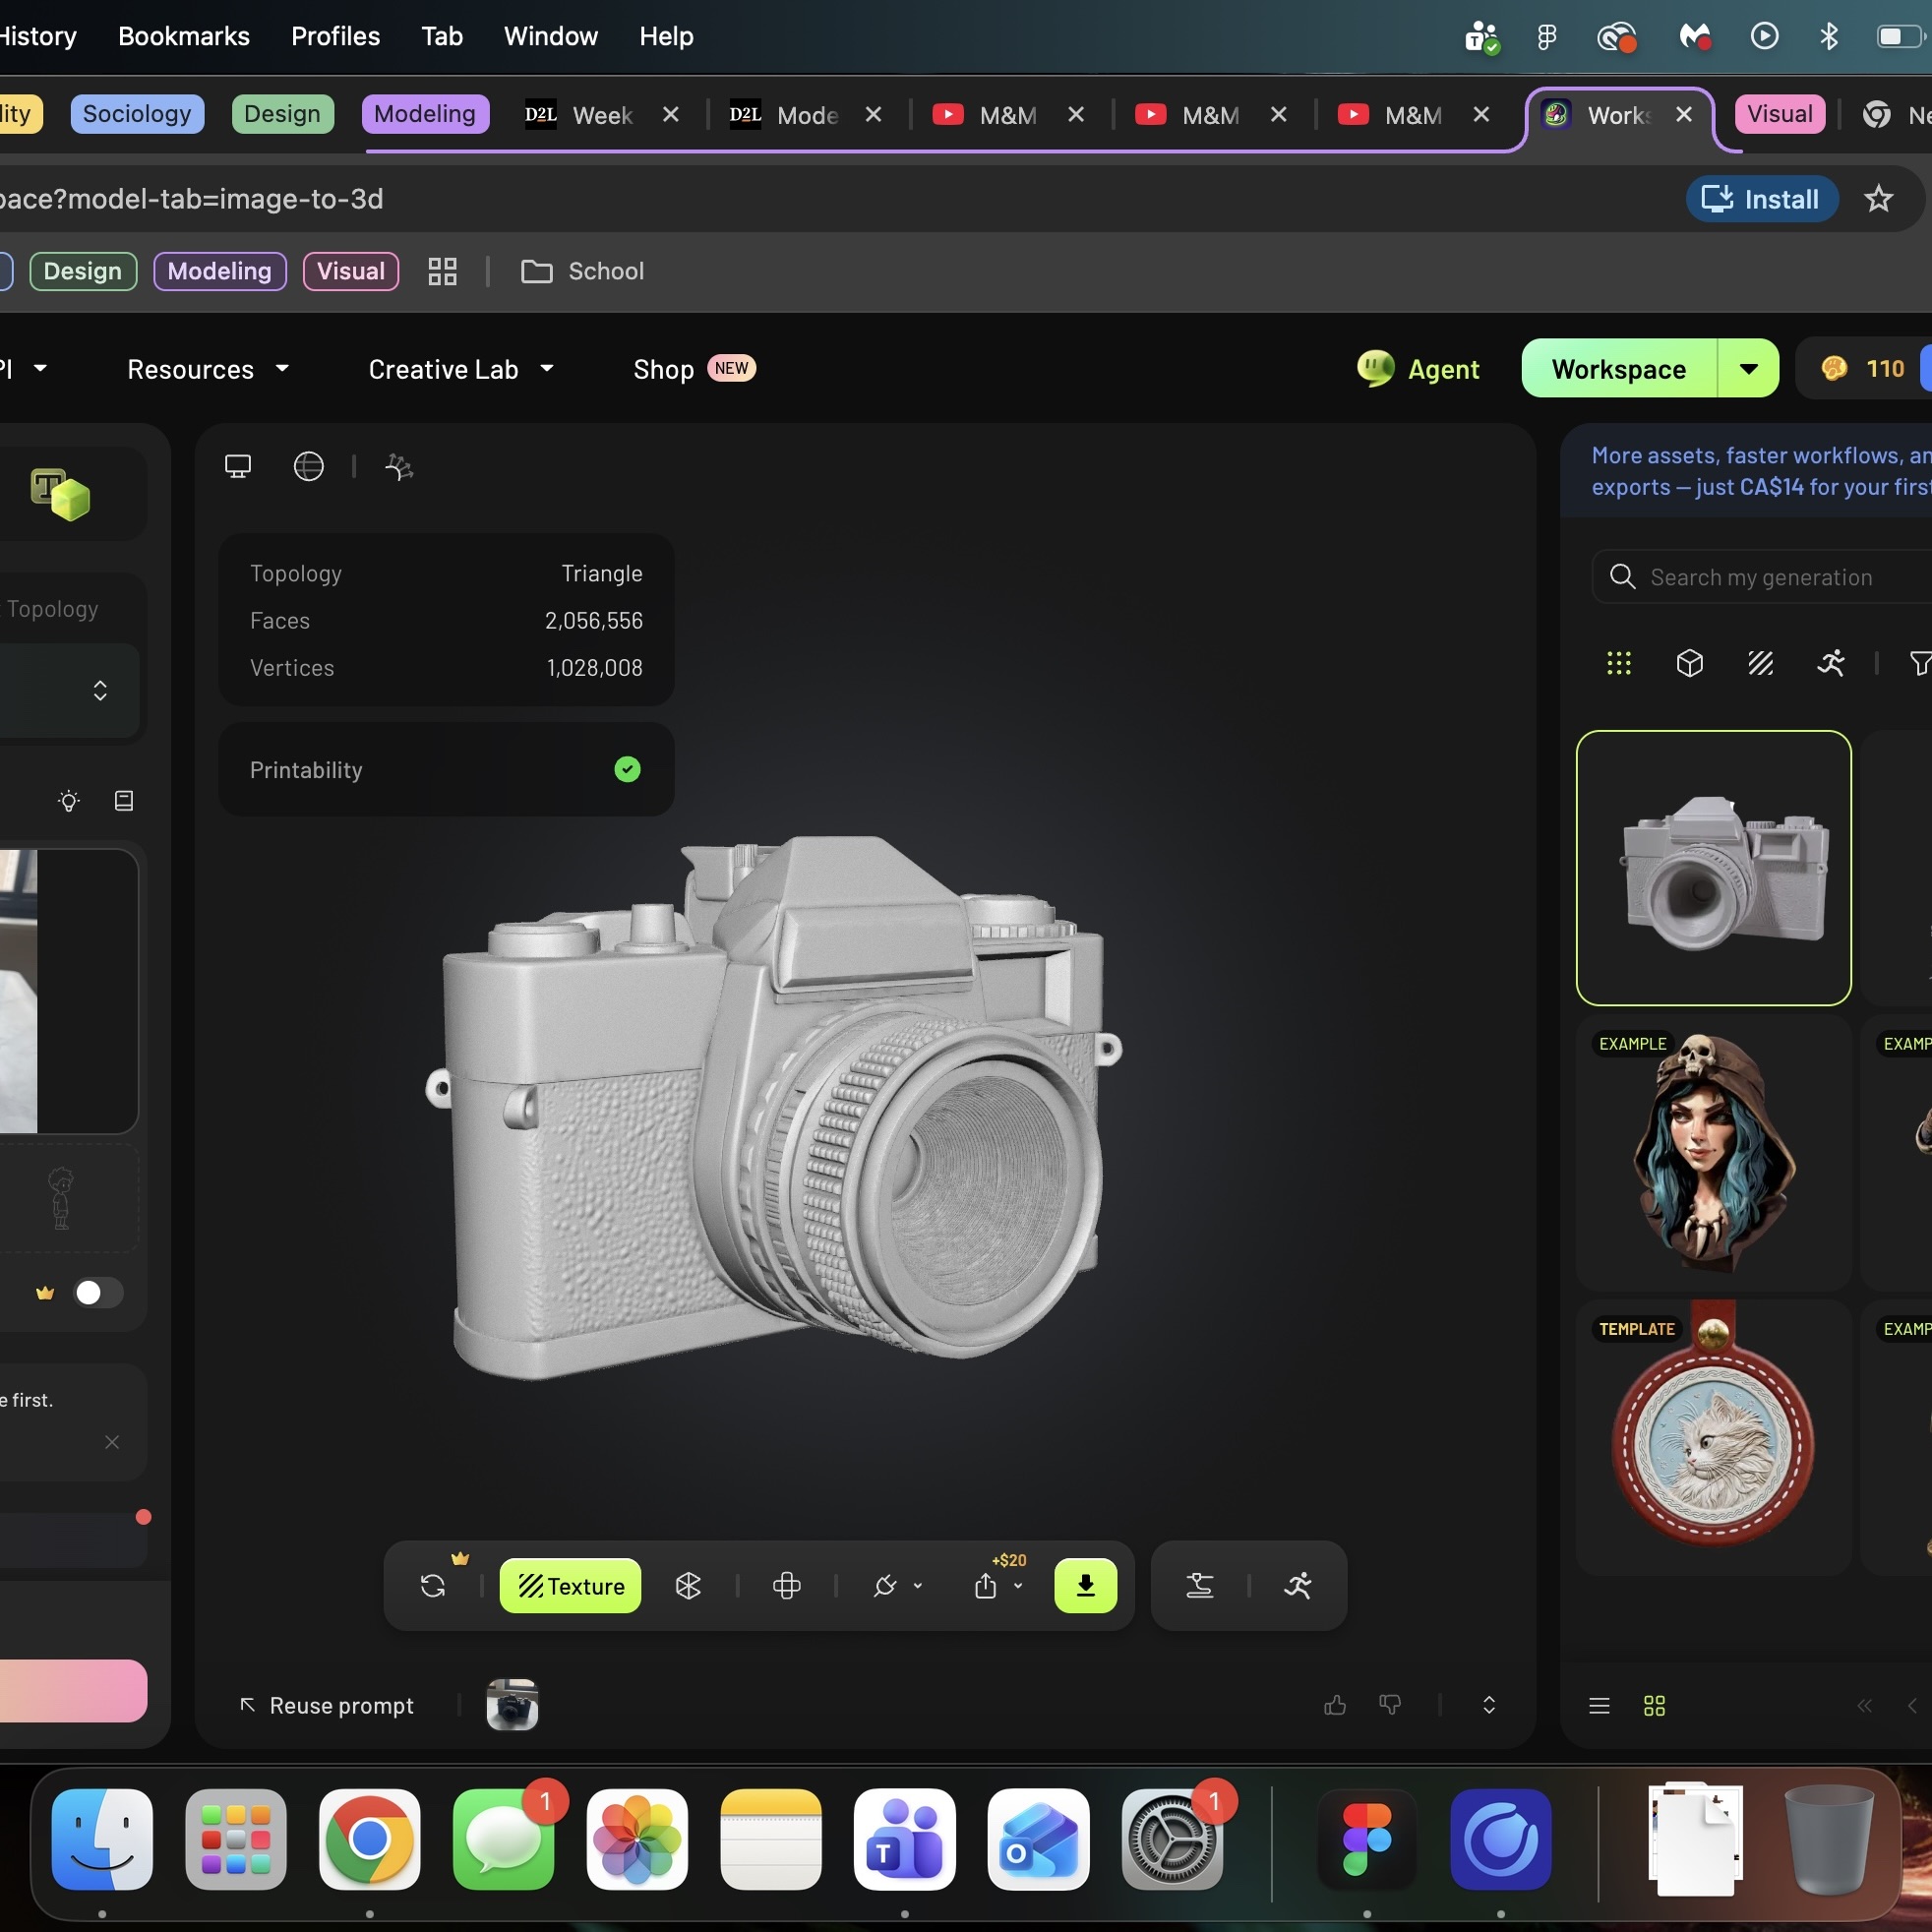
To begin my challenge I took a look at my three objects I chose as complex objects to try and model. I was trying to look for an object that would provide me a challenge. So the first photo here is of the pair of headphones I took from Challenge. The next object was of a controller, I think it would be a good challenge, since it is pretty complex, but I still thought I could do a little better and choose a harder object. The last object I chose was a camera. This I knew would be a lot harder of a challenge since it had a lot of knobs and complicated parts that would really provide a much needed challenge. Videography and photography are also a passion of mine, so it also carries meaning as well. To begin my challenge, i took the original model of my camera and tweaked some of the shapes a little bit, fixing up some mistakes, cleaning it up. This provided me a good base to build off of. The next step I completed was to condense all the shapes into different groups, which would make it a lot easier going forward and provide some much needed organization. I used the Null object tool to make a bunch of tabs that correlated with different parts of the model making the process a lot easier going forward. The next step was to start modelling the body of the camera. I decided to start entirally from scratch next to the old model as I wanted to use more advanced techniques and tools to create the shape of the model. From the tutorial I learned how to add segments and make the object editable, which would help mold the shape a lot better and give me more freedom of shapes. Next during the tutorial I noticed him add a photo to a plane, so I decided to add an actual reference of the object I was modelling within the software itself. This made my workflow a lot quicker. To do that I had to make it a material and attach that to the plane, then just rotated the plane so it was in the right posititon. This step is when the modelling officially began. Again using the segments I had created and the extrude tool plus polygon tool, I started creating the different layers of the camera. There is a part that perturdes from the camera, so I was just extending the shape so it looks like the reference. My last attempt at the model, I did not get the exact match of the body as I wanted, I hadn't learned bevel yet, so where the object sloped there was a significant lack of shape. So my next goal was to use that tool to try and raise the cube to create that arch like shape that you can see on my object. i had a bit of trouble with the tools, but I managed to get pretty close, just some issues with getting the right slope, but it does looks really close, so I left it (I will be returning to it in the next step) I decided next to start on the lens of the camera. I recreated the lens from the old model trying to make it look more realistic. I also realized when looking at the reference that the lens is a lot more hollowed out where the actual lens part is. So I created more segments and using inner extrude and polygon I slowly created a hollowed out part in the camera. I also added another cylinder in the center and made the fillet really strong on it, so it was almost spherical in shape, forming the glass part of the lens, where the shutter is. Next I returned to primitve shapes, just filling in some of the details and buttons on the object. Just fixing some of the spacing to more align with the reference and creating the slider part of the camera, to make the camera as close as I could get it to the original image. Here is just a close look at what some of the detail modelling looked like. This is me using the same segment based extrude and polygon tool to create one of the parts I added to the camera. I thought this was helpful to show as I really liked experimenting on the small details and trying to find the best way to show the details from the original object. I just found this is where I could get really creative and create new way and techniques. Last time I modelled the camera, I didn't try out or experiment with any colour, so I decided to try out some of that in my model. The material I used to replicate the dimpled outer layer of the camera was a gravel material set to black, just added texture to the object and made it come togteher a bit more. Other parts I changed the colour and material and messed with it a bit, tweaking it to get what I wanted. One thing I came across which was really fun to mess around with was the shape in which I had created the viewfinder with I added a mirror material to, which ended up looking really cool. I never figured out how to show it in the final render, so I still gotta mess around with that, but it creates such a cool illusion, which doesn't show too well in the image, but moving around the 3D space it creates almost like a parralax that I thought was just perfect for the camera model. I found out I really enjoy experimenting with textures and materials and seeing all the possible outcomes and creative solutions I could do. Next I noticed in the image of the camera this kind of subtle ridge to the lens, which is the part you use to focus. I really was determined to try and figure out how I could bring this detail into my own model, as I think it just upped the realism of the camera to a whole new level. So I used a star shape and then extruded it and messed with the amount of point to create this nice ridge shape that I can then put on my lens. I wanted to add some of the text that appears on the camera for even more detail, just like the reference image I added onto a plane. So I took the image into Photoshop and cropped it so it was just the words and then removed the background. I then exported as a .png and dragged the image onto a new plane for each text.  In doing the last step I had the planes with the images, but ran into the problem that when I went to shrink the plane, the text also shrunk and I just wanted the text to stay where it was, while shrinking the plane. The fix I came up with was to make the plane editable and then use the point tool to select the points I didn't need and delete those. I also needed to set the projection mapping to be cubic, so the words fit and looked the best within the plane. This was just a simple step I did, but I just over the ridge that I had on the old model onto the new one, it just provided much needed seperation between textures and made it look a lot more 3D. The shapes weren't lining up that well, so I was trying to fix some of those issues, where there was some bad overlap, etc. Just a small step, but I thought it was pretty useful to the overall model. This is just another look at my use of Null objects tool, these are all the different parts of the camera model. I wanted this model to be a lot more organized since that was one of the big issues with my older models. Anyways this is just to demonstrate my use of those throughout my work and it had a huge impact on making my life a lot easier and cleaner. THis is just a screenshot of when I switched over from Redshift to Standard render mode, as you will know. It did create a weird effect of the lighting, which wa sstrange. I thought this was a pretty big part of my creation, so I wanted to include it. I also then added as you can see in the image, a plane to the bottom of my work liek the tutorial showed. This just created seperation between my object and the background, so when I render it's easier to see and will help me later when I play with the lighting. So the next few steps I was was really just playing around with light and trying different things. I really struggled with moving the light around for some reason, but as I continued to explore and watched the tutorials I started to understand the concept of using the light. So the first lighting technique I was using was the infinite light, which I set to face the side of the camera to light it up. So pretty much just moving the light trying to find the best spot for it. I never figured out how to make my model not appear black when in standard mode, but I was trying to see if I could fix it with the light, so just a lot of playing around and experimenting. I then tried a target light, which almost created a spotlight effect. Again very similar to last step, I'm just messing around, moving the light around. At this point I still thought the lighting would make my model show up even though it was in red shift, but it did not. This stage I just finalised the stage and lighting and then I was all done and ready to render. Since I never figured out standard, I switched back to redshift, just so I could show my final result. So this is the final render, I think it turned out really well. Still needs some work on some clipping and the lighting, but overall I think it turned out really well and I had a really fun time continuing to play around and experiment. Although I chose to physically model the object, instead of using and messing around with AI, I did play around a little bit. I was super curious about how effective modeling with AI would be with an AI software. I used Meshy a AI 3D modeling software and the photo here shows my model generating. I was actually super surprised at the results of my AI testing. I had spent hours modelling my object and the software was able to do it in around 2 minutes. There is quite extraordinary detail in the object there are a few things that aren't right or don't show up in the final model from the original photo. I think there's even more I could do with this software, but I chose to leave it there because all I wanted was to compare my work with what AI has to offer. It definitely has its drawbacks as well as postivies.

Material Workshop 1
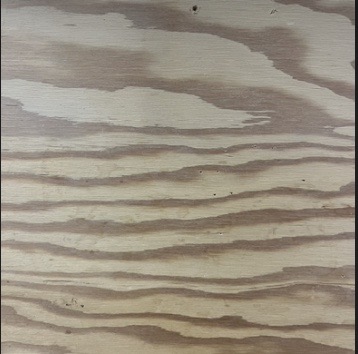
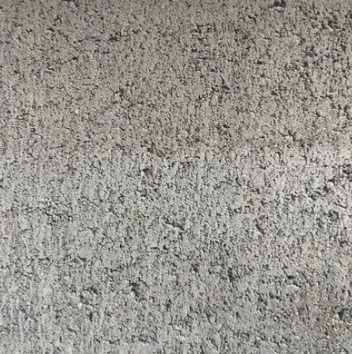
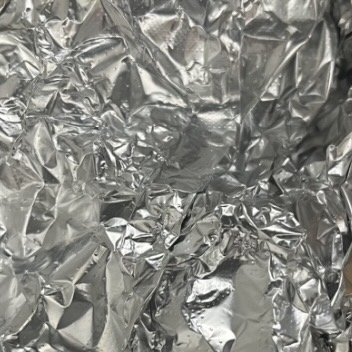
Found this wooden texture in my observation, it's good a really cool and busy texture that would make for a really cool texture for a model I also found this stone texture all around the school, it's got this gritty pattern with a nice looking material I found a sculpture made out of tinfoil which I took a picture of, the texture of tinfoil is super unique and has a lot of variation to it

Material Workshop 2

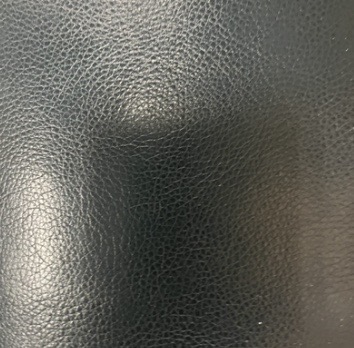
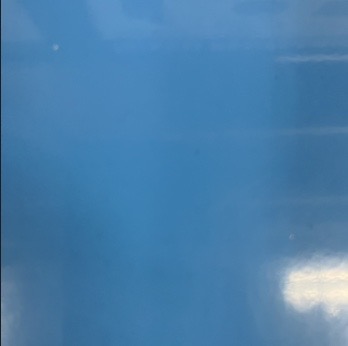
Next I found a leather kind of texture on a couch that was cool as well, it's subtle, but theres a lot of tecture there I felt like I really needed a metal texture, so I found this one while looking around school, which I thought looked nice My final texture was another really unique one, I'm not exactly sure what it was initially, but it's another busy texture, but has a marbely look to it that makes it interesting to look at

Project 1


Project 1 Models

Published 3D Model 1

My Final 3D model of the Vintage Camera

Published 3D Model 2

My Final 3D Model of the headphones

Published 3D Model 3

My Final 3D Model of the controller

×

Powered by w3.css